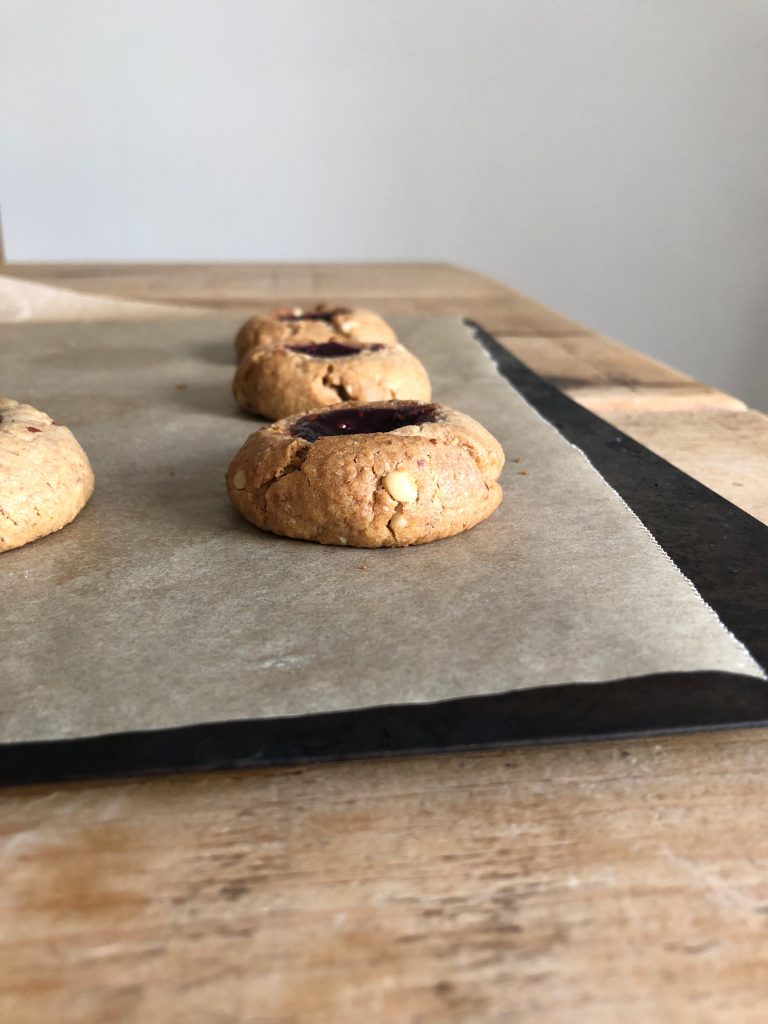
With one bowl, seven simple, store-cupboard ingredients and ten minutes in the oven, these easy thumbprint cookies are the perfect recipe to have up your sleeve for a sunny day. The kind of day when you’ve eaten your fill of ice cream, don’t want to spend too long in the kitchen but fancy a little something sweet to finish off a meal or snack on. The speed with which these thumbprint cookies can be produced, combined with wholesome ingredients and a lack of raw egg mean they’re also perfect for baking with toddlers, where time is of the essence, as is licking the bowl and spoon.
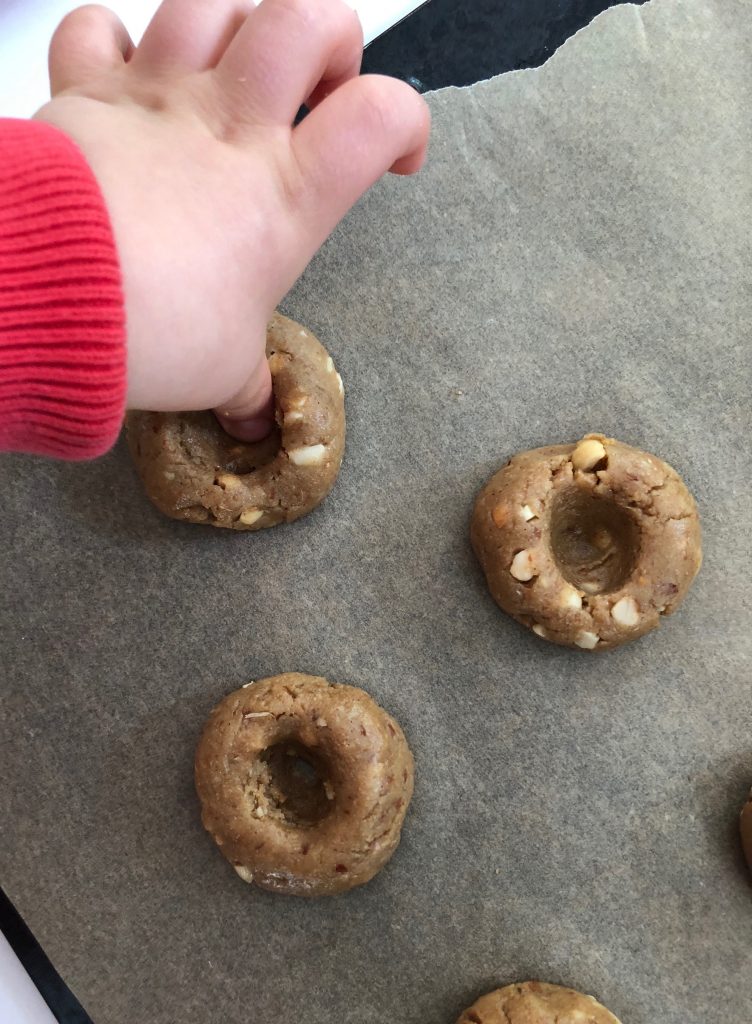
Baking with a toddler is a whole lot of fun but can be chaotic. While no means an expert on the subject, there are things I’ve learned over the last year or so of having an active little helper at my side. First up, preparation is key – weigh your ingredients into little bowls before you begin so your toddler can tip and stir and sprinkle to their heart’s content. Speaking of bowls, make sure you’re using metal or plastic: we’ve learned the hard way that glass and toddlers weren’t meant to mix (by which – for those of you worrying – I mean smashed bowls, not cut fingers or anything else, thank god). Have at least two utensils so your toddler has control of their own implement and think about giving them an extra little bowl of ingredients not needed in the final recipe to mix and spoon. Any obviously edible ingredients (raisins, chocolate chips, banana) are likely to end up in your toddler’s mouth so factor this into what you weigh out or, again, leave an extra little bowl to one side. And most importantly, relax and let them get a little messy – a floury floor or buttery ears aren’t going to break the bank or take more than a few minutes to tidy, and toddlers do so love to get properly stuck in.
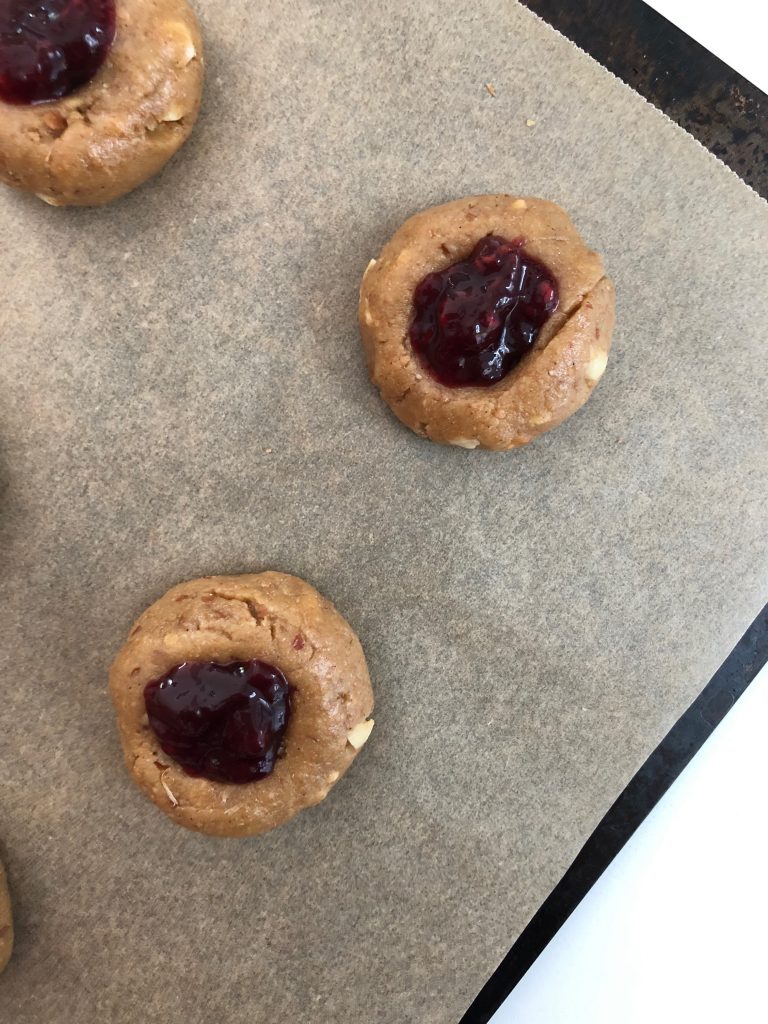
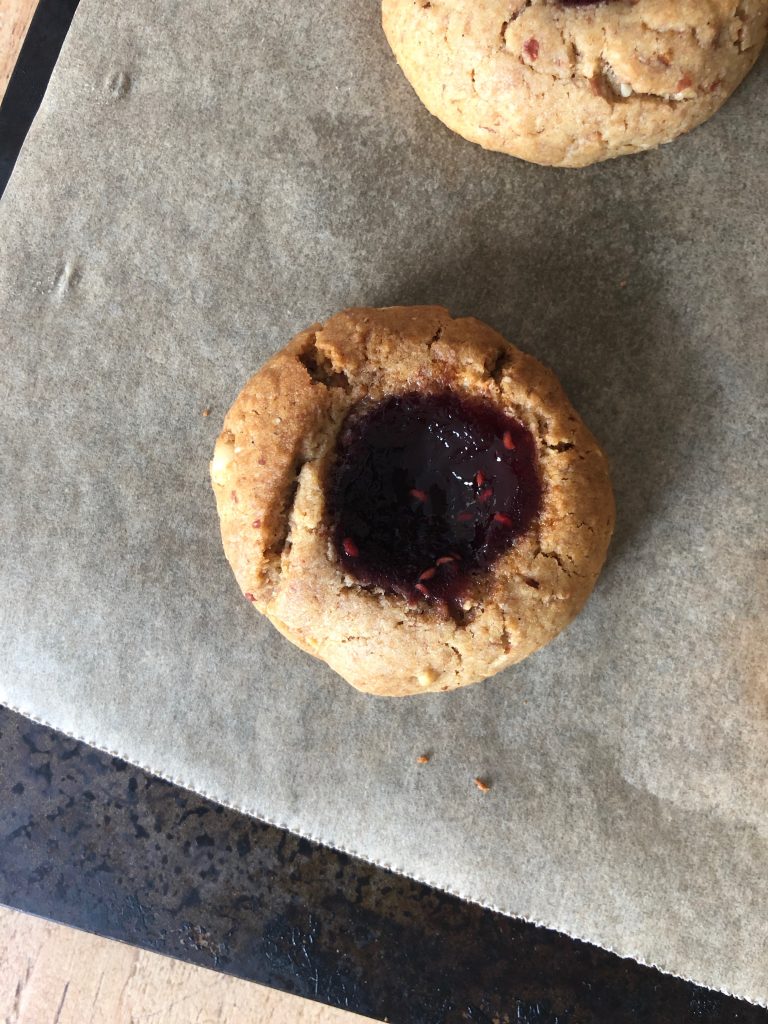
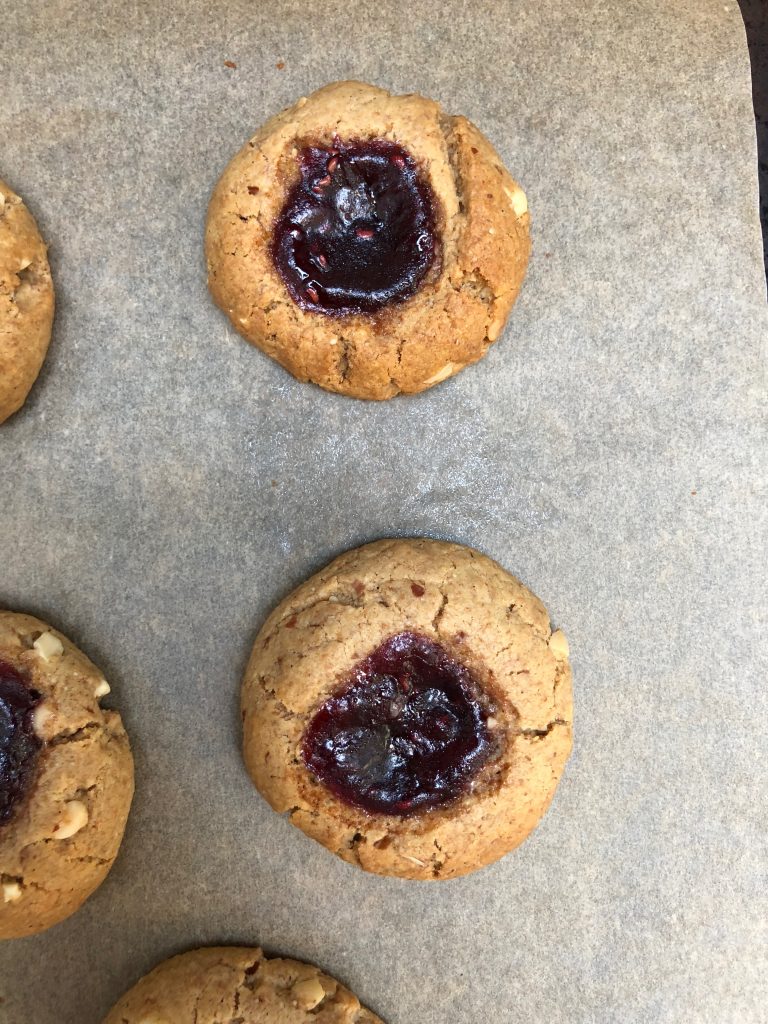
Recently we’ve been making a lot of play dough caterpillars so Nino is well versed in the art of rolling out balls. To make this even easier, I chilled the cookie dough before rolling to ensure it wasn’t too sticky. Toddler thumbprints are a little on the small side for a satisfying hole into which to spoon your jam, but an extra wiggle or help from an adult is all that’s needed. The addition of jam resulted in the consumption of perhaps a little more than I’d originally intended (one for the cookie, one for Nino, etc . . .) but we used a homemade, fruit-laden batch which eased my conscience to some extent. The result is these wholesome little cookies – crisp edged and softer towards the middle with crunchy chunks of peanut and sticky pools of jam. I used strawberry jam but most varieties work well, as would smooth peanut butter, at a pinch, although you’ll lose that texture contrast of crunch.
- 60g peanut butter
- 50g maple syrup
- 1 tbsp olive oil
- ½ tsp vanilla extract or pinch vanilla powder
- 80g wholemeal spelt flour
- ¼ tsp bicarbonate of soda
- 2 - 3 tbsp your favourite jam
- Preheat the oven to 180 C/160 C fan. Line a baking tray with parchment paper.
- In a medium bowl, stir together the peanut butter, maple syrup, olive oil and vanilla. Gently fold in the flour and bicarbonate of soda until just combined. Refrigerate for 30 minutes to allow the dough to firm up.
- When ready to bake, roll the mixture into 12 equal sized balls then press gently down onto your baking tray. Use your thumb to create a well in the middle and spoon in about a teaspoon of jam.
- Bake for 10 minutes, until firm and golden and the jam is beginning to bubble. Allow to cool completely then store in an airtight container for up to 3 days.


Oh yum! I’ve never made thumbprint cookies before, these seem like the perfect place to start. I just love peanut butter and jam!
Katie xoxo
Just made these! So yummy & I love the healthy ingredients! This is the first thumbprint cookie I’ve ever made and it was surprisingly easy, thanks for the great recipe!