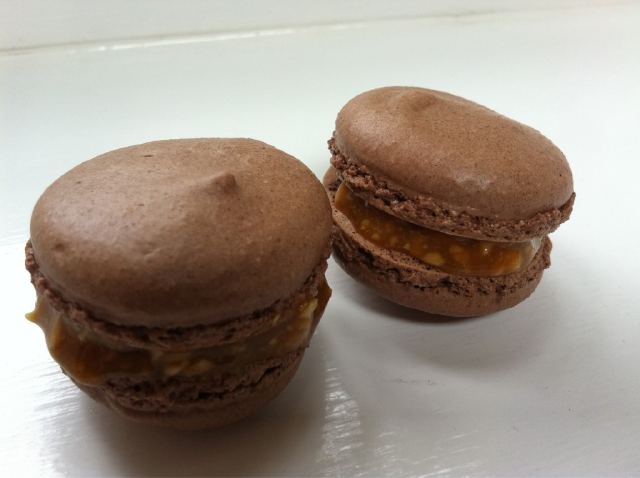
There’s no denying it, the Americans know how to do dessert. The rise of mouthwatering confection meccas like The Hummingbird Bakery means we’ve come to think nothing of putting away giant slabs of brownie, cupcakes smothered in inches of icing and whoopie pies the size of cricket balls. Dessert has become super-sweet, super-sized, and certainly not subtle.
Tag Archives: freshly baked
Chunky chocolate, raisin & walnut cookies
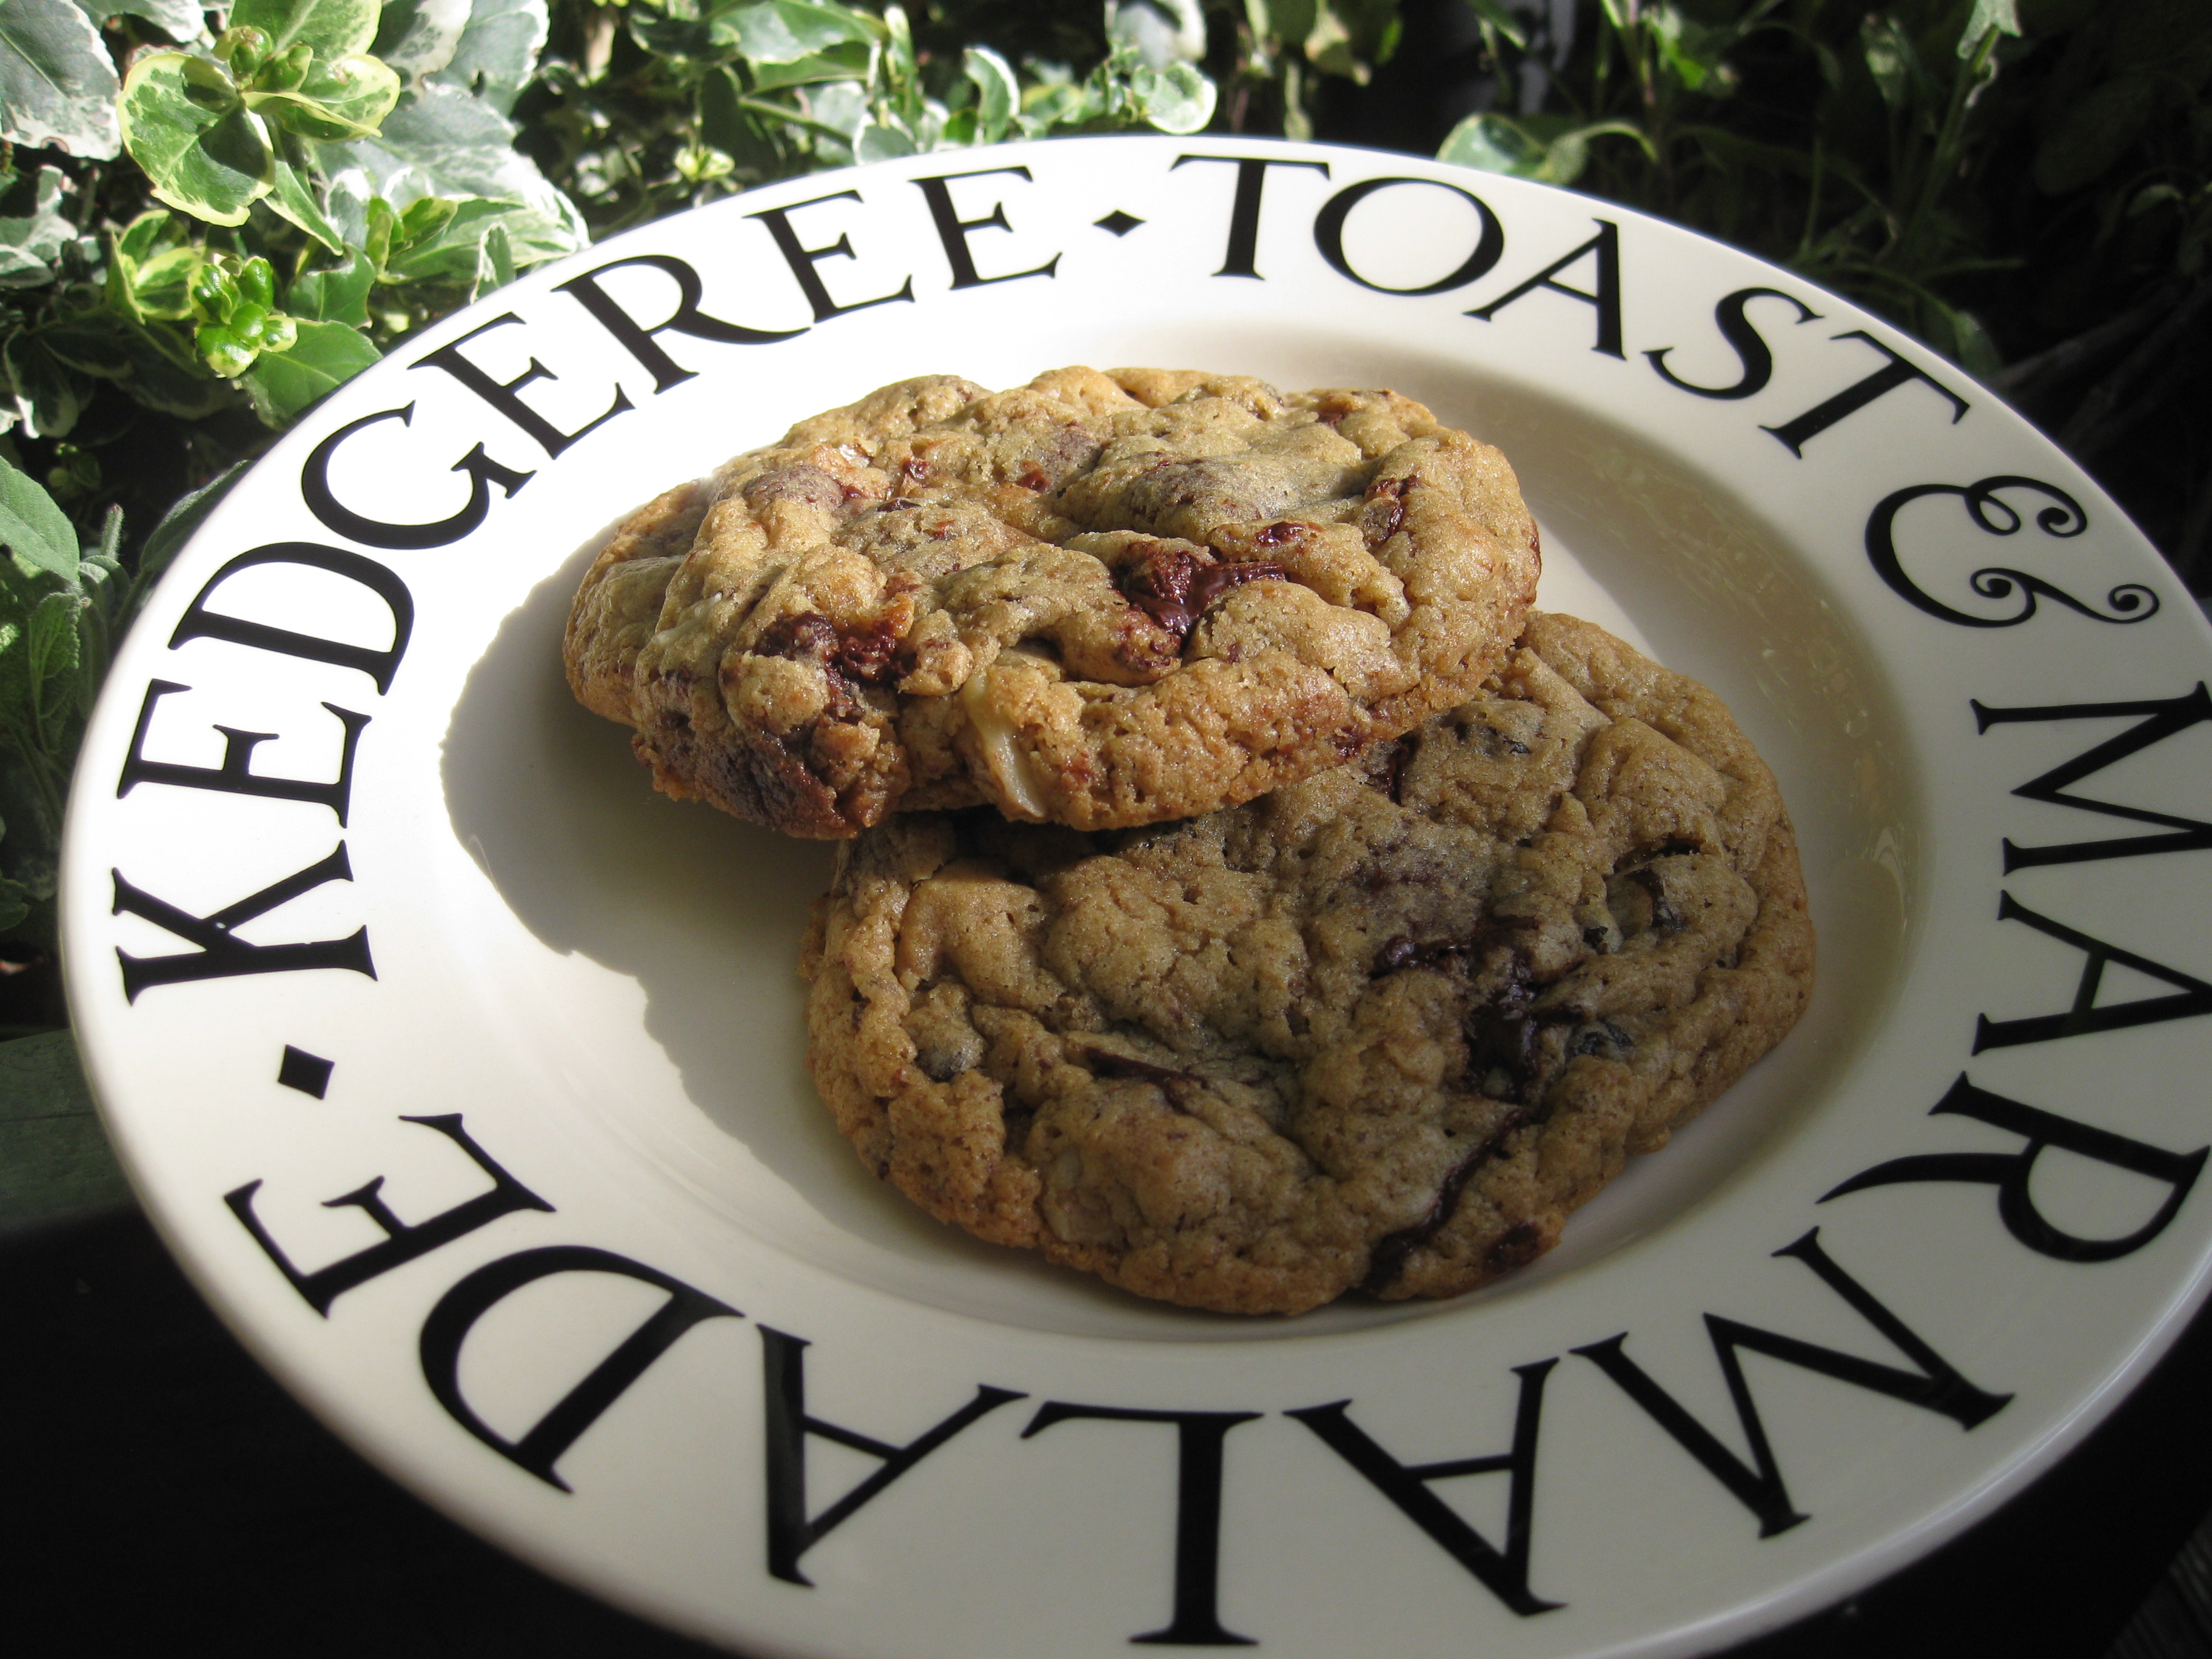
A couple of weeks ago I posted the results of my recent quest for the perfect chocolate chunk cookie. Dense and chewy, with a crispy edge and large dark chocolate chunks, these giant cookies were definitely up there. But perfection isn’t a finite thing, and yesterday I decided to rustle up another batch, using the lessons I’d learnt from last time round.
Honey-soaked carrot cake
 Watching an episode of River Cottage on TV the other day, I was momentarily transported by Hugh and his crew into the romantic rural idyll that is their world. A place where bread is always freshly baked, beautiful ripe fruit drips from the trees, butter is churned before the cow can even bat an eyelid, and spring lambs and rosie-cheeked children skip side-by-side across verdant pastures . . . A little far-fetched perhaps, but I think you get my drift. It’s a pretty far cry from the scraggy bush of rosemary cowering between two giant weeds that constitutes my little London garden anyway.
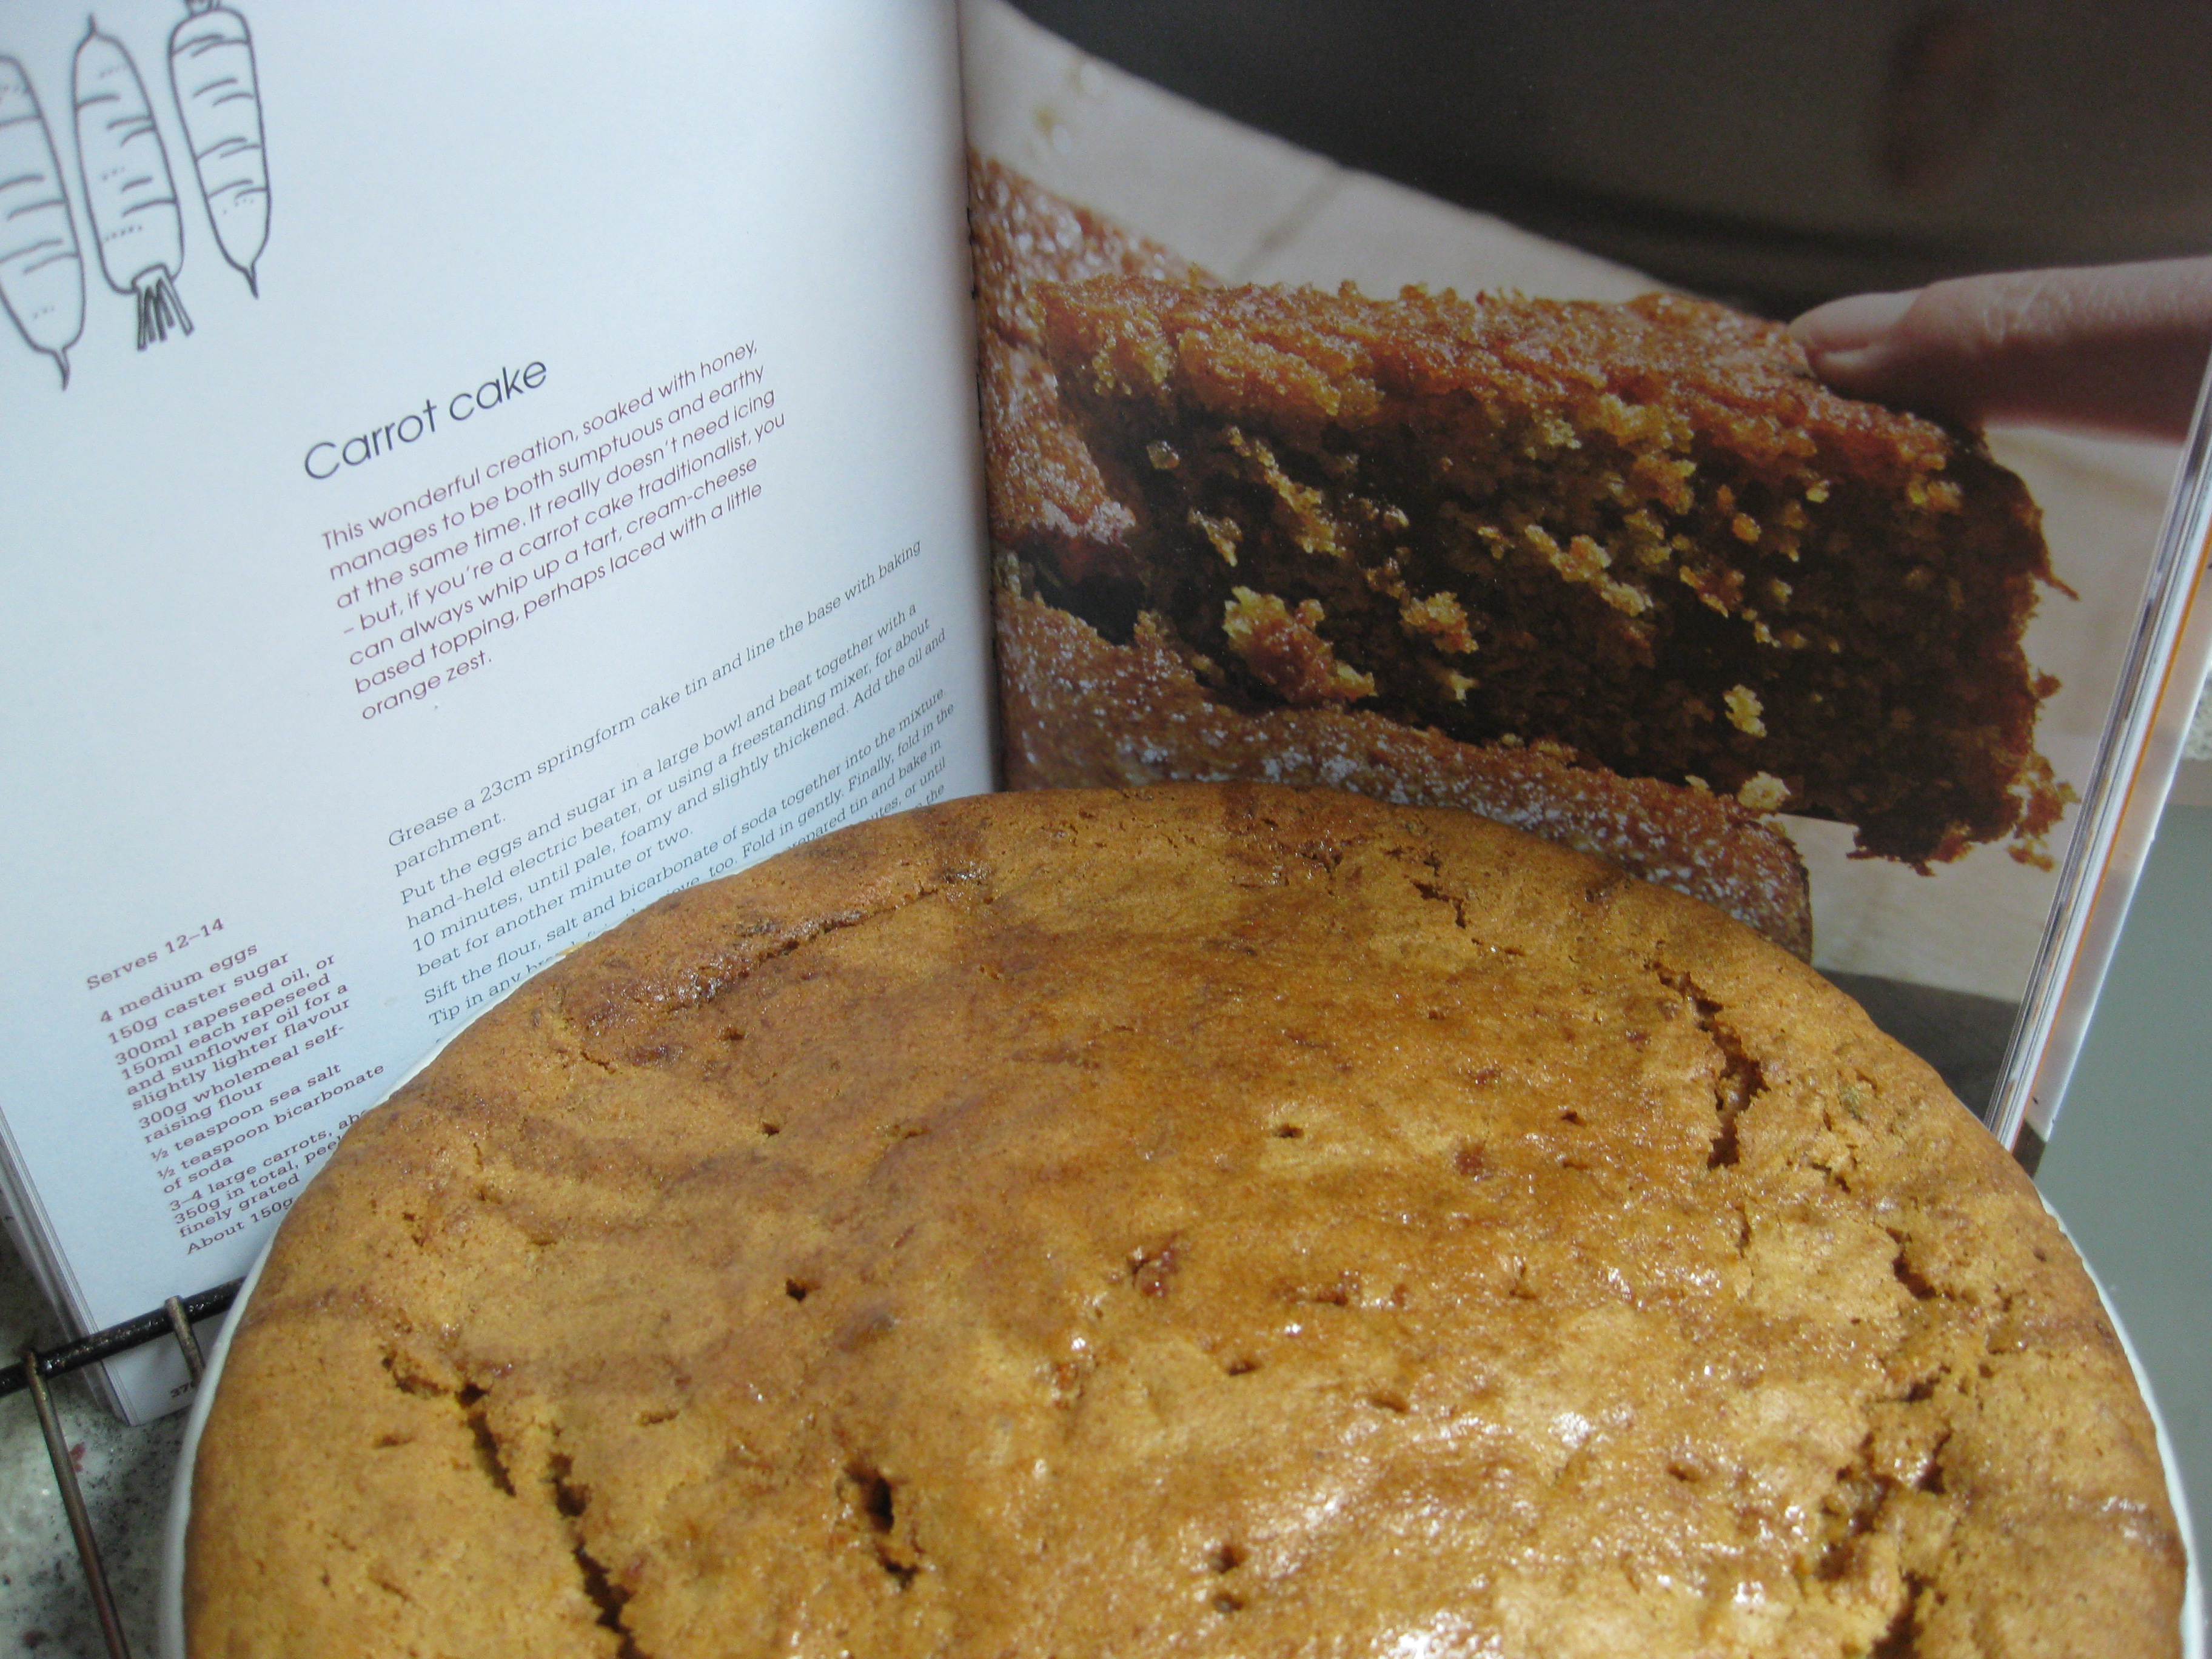
That’s not to say a girl can’t dream. Or indeed cook her way through a whole array of culinary highlights by way of some gorgeous recipe books (and let’s be honest, it’s mostly the food I’m after; stick me in a pair of muddy wellies in deepest Devon and I’d probably be howling for the bright lights and my local Waitrose after a shamefully short period of time). I’ve already sung the praises of The River Cottage Bread Handbook in a previous post, and River Cottage Every Day, a more recent purchase, is even better, packed with beautiful photos and gorgeous, simple recipes that really work first time.
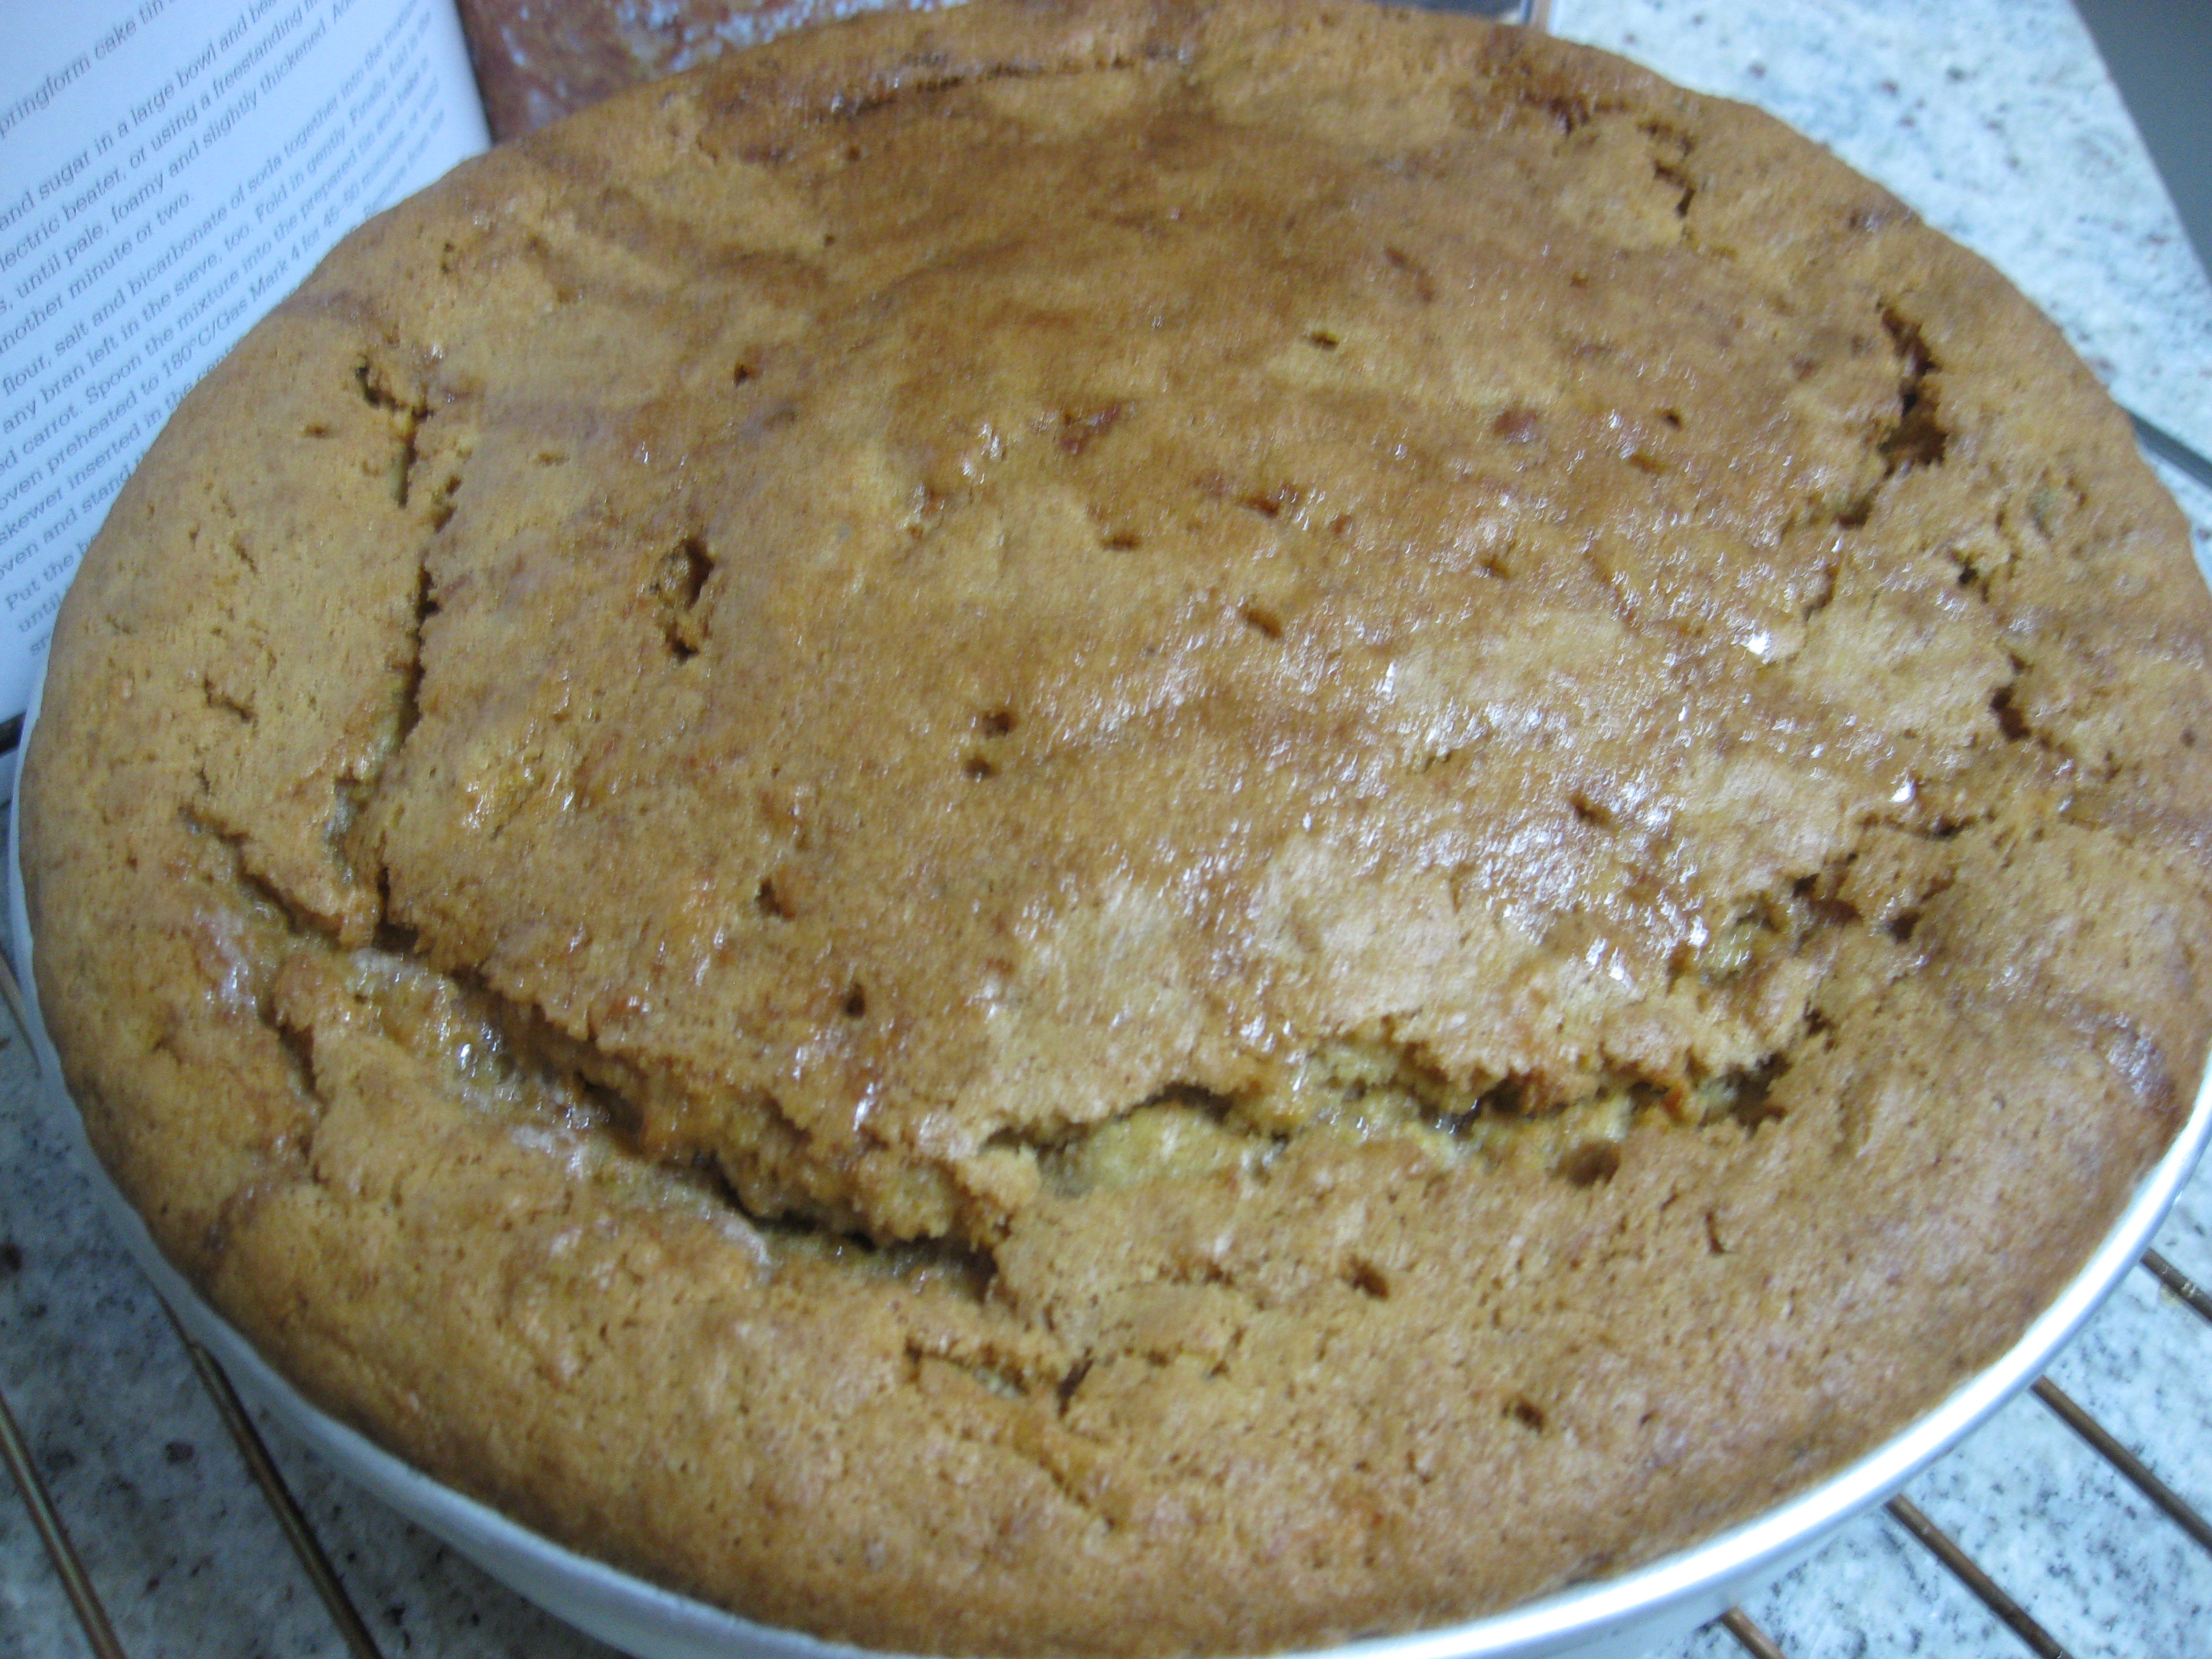 This carrot cake is one of those recipes. We went to a leaving party this weekend for a friend who’s jetting off to a new job abroad and I wanted to bake a surprise cake to mark the occasion. After a bit of devious digging I discovered that carrot cake was the thing that would really hit the spot.
There’s a lot of hype around vegetables in cakes at the moment from the likes of low-fat champion Harry Eastwood (I’m yet to try one of her Petit Pois cupcakes but they look intriguing); the replacement of butter with nutritious vegetables adds moisture and reduces fat meaning you really can have your cake and eat it. However while our constant need to innovate means that courgette, beetroot and pumpkin have briefly replaced the humble carrot at the top of the pile, this recipe reminds you that the original sometimes is still simply the best.
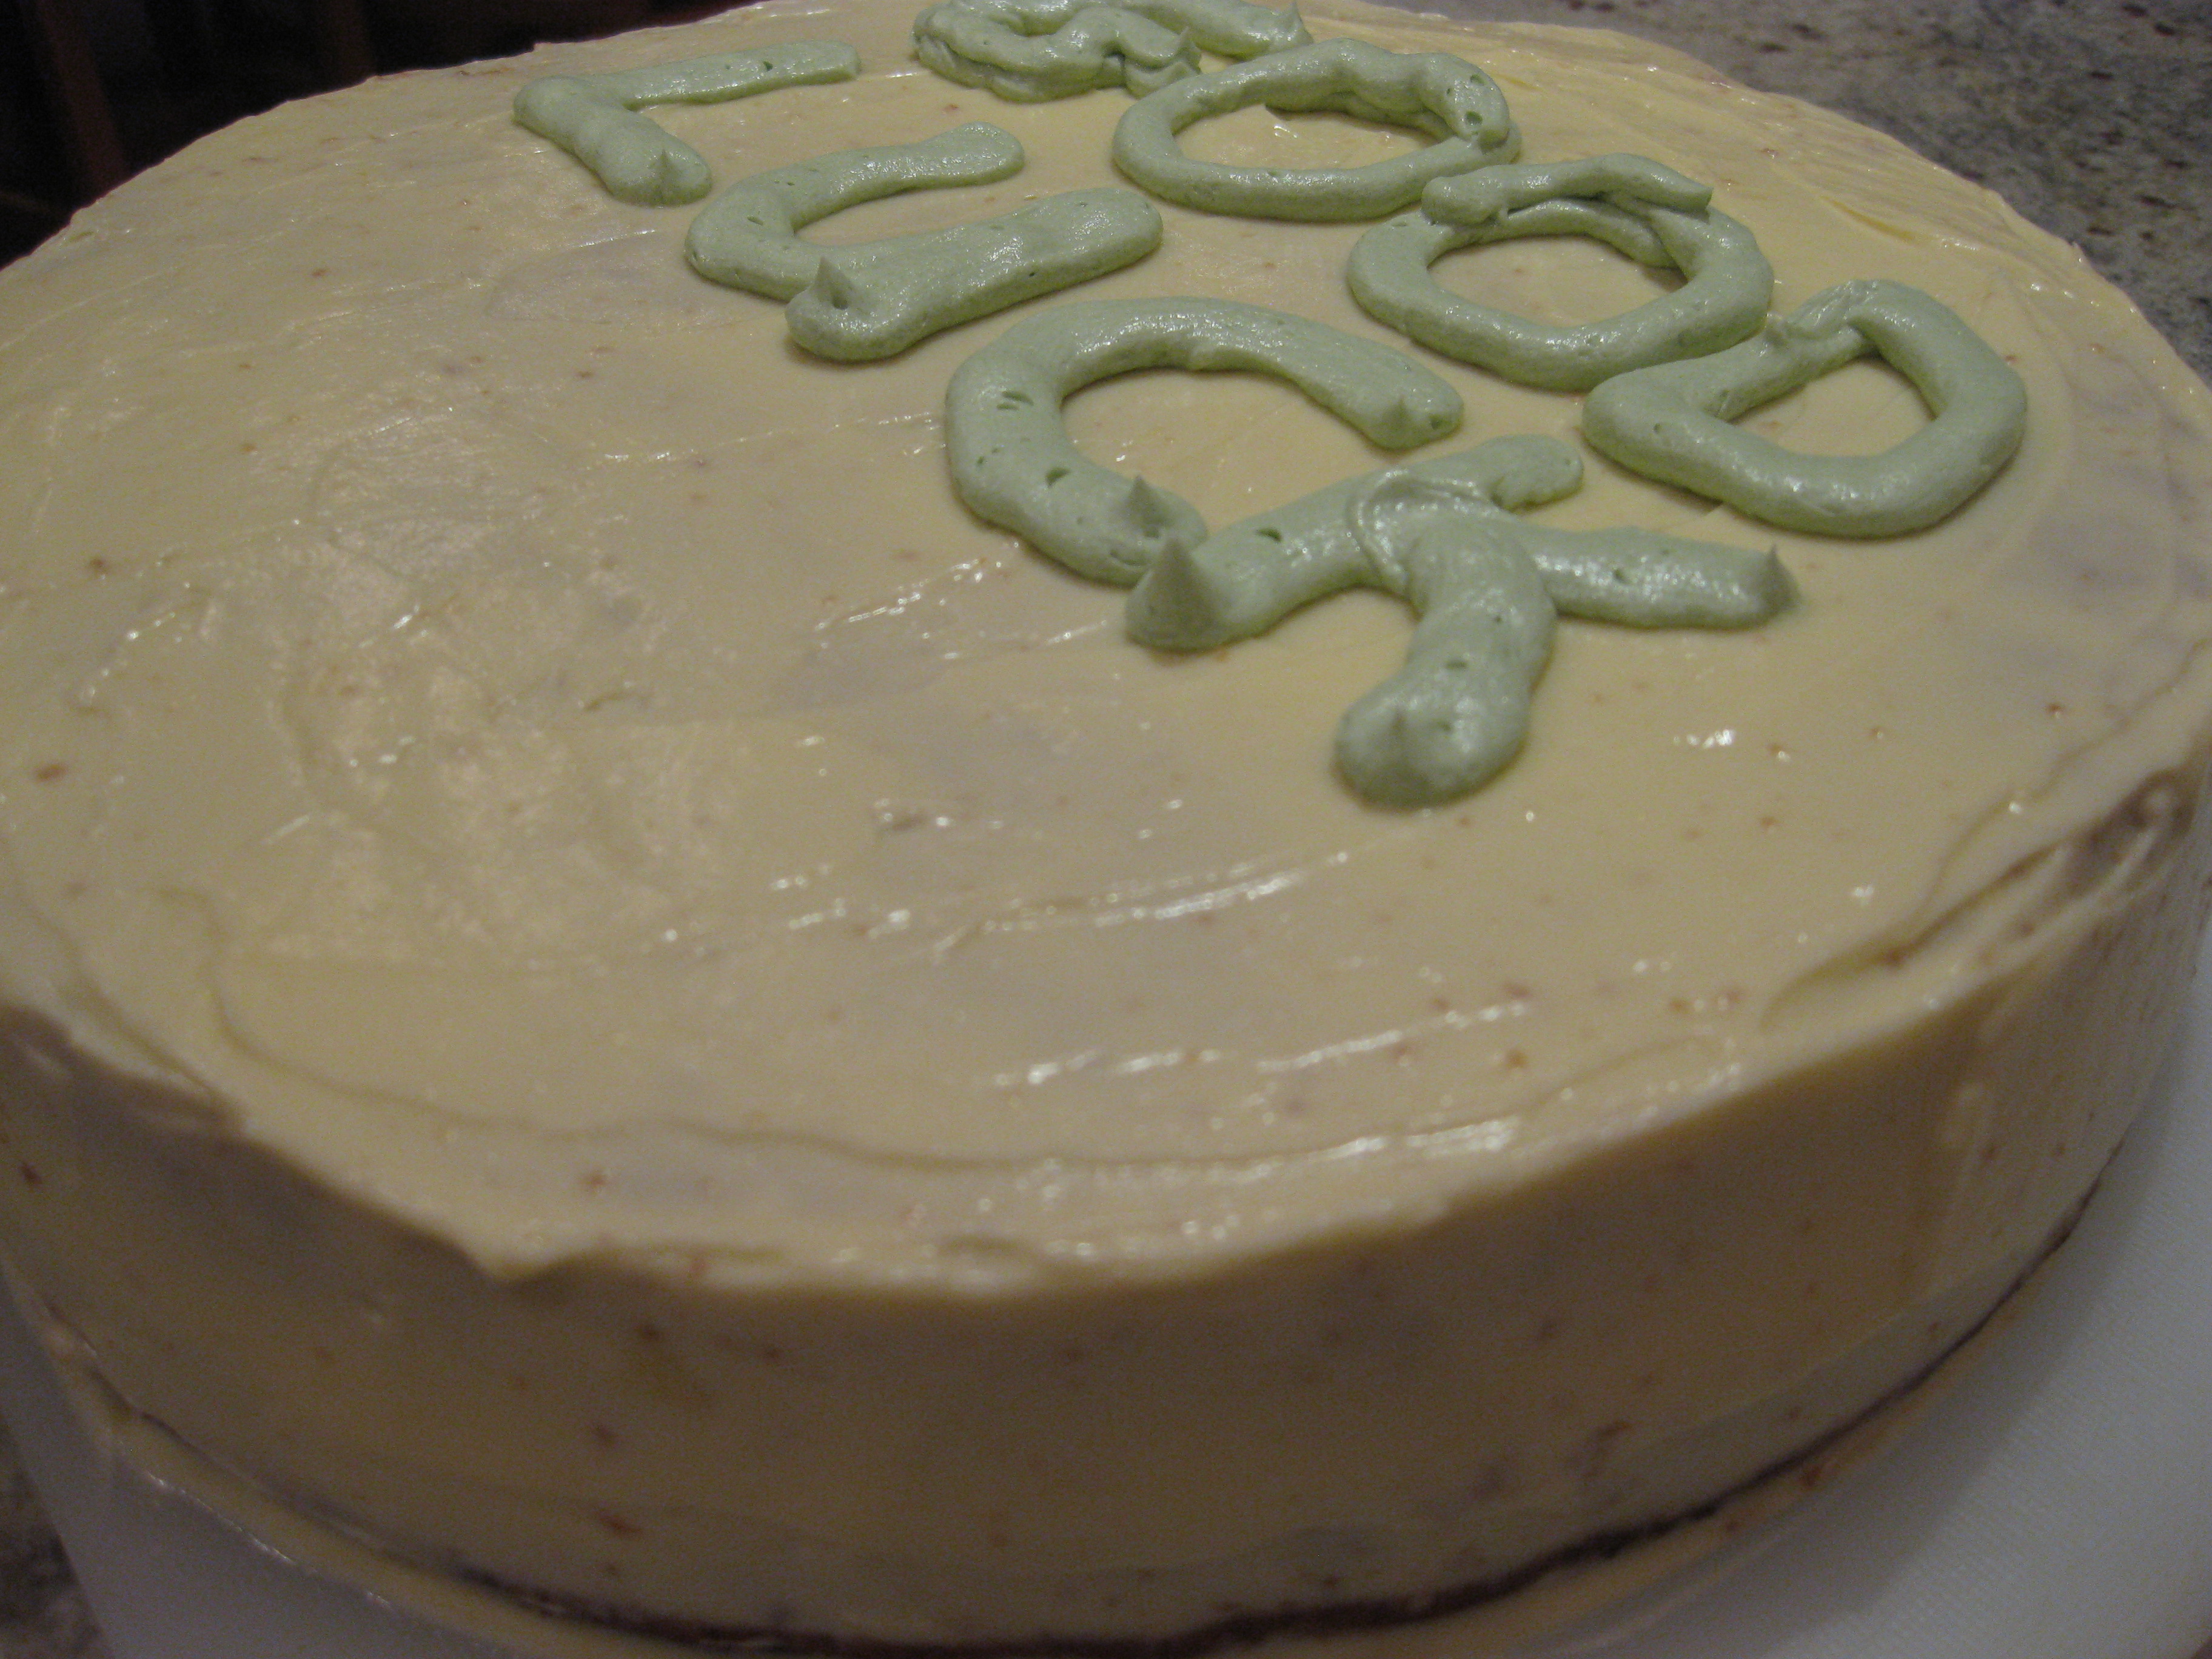 The recipe below will serve at least twelve comfortably, more if you do as I did and stuff and smother it with a rich cream cheese frosting (totally unnecessary as Hugh points out but utterly indulgent and delicious). It’s light on spice so you could throw in a little cinammon if you like. I think it would also be wonderful with a handful of walnuts thrown in, or some syrupy sultanas if you’re feeling fruity.
Honey-soaked carrot cake with cream cheese frosting (from River Cottage Every Day)
Ingredients:
- 4 medium free range
- 150g caster sugar (use golden for a slightly caramel flavour)
- 150ml each rapeseed and sunflower oil (I used a mixture of ground nut and sunflower which worked perfectly)
- 350g carrots, peeled and finely grated
- 300g wholemeal self-raising flour
- 1/2 tsp salt
- 1/2 tsp bicarbonate of soda
- 100g runny honey
Cream cheese frosting:
- 125g unsalted butter, softened
- 200g icing sugar, sieved
- 250g cream cheese
- Finely grated zest of 2 limes
Method:
Preheat the oven to 180 degrees C. Grease and line a 23cm cake pan.
Put the eggs and sugar in a large mixing bowl and beat together with a hand held electric mixture for about 10 minutes, until pale, foamy and slightly thickened. Yes, your hand will feel like it’s going to fall off with all the vibrations, but the mixture does need this time to get nice and aerated. Add the oil and beat for a couple of minutes more.
Sift together the flour, salt and bicarbonate of soda into the mixture. Tip any bran left in the sieve into the mixture too. Fold in gently. Finally, fold in the grated carrot. Pour into the prepared tin and bake for 45-50 minutes or until a skewer inserted into the centre comes out clean.
Put the honey in a saucepan over a low heat and heat gently until the honey is liquid. Pierce the hot cake all over with a skewer then slowly pour on the hot honey so it soaks into the cake. Leave in the tin to cool completely before turning out.
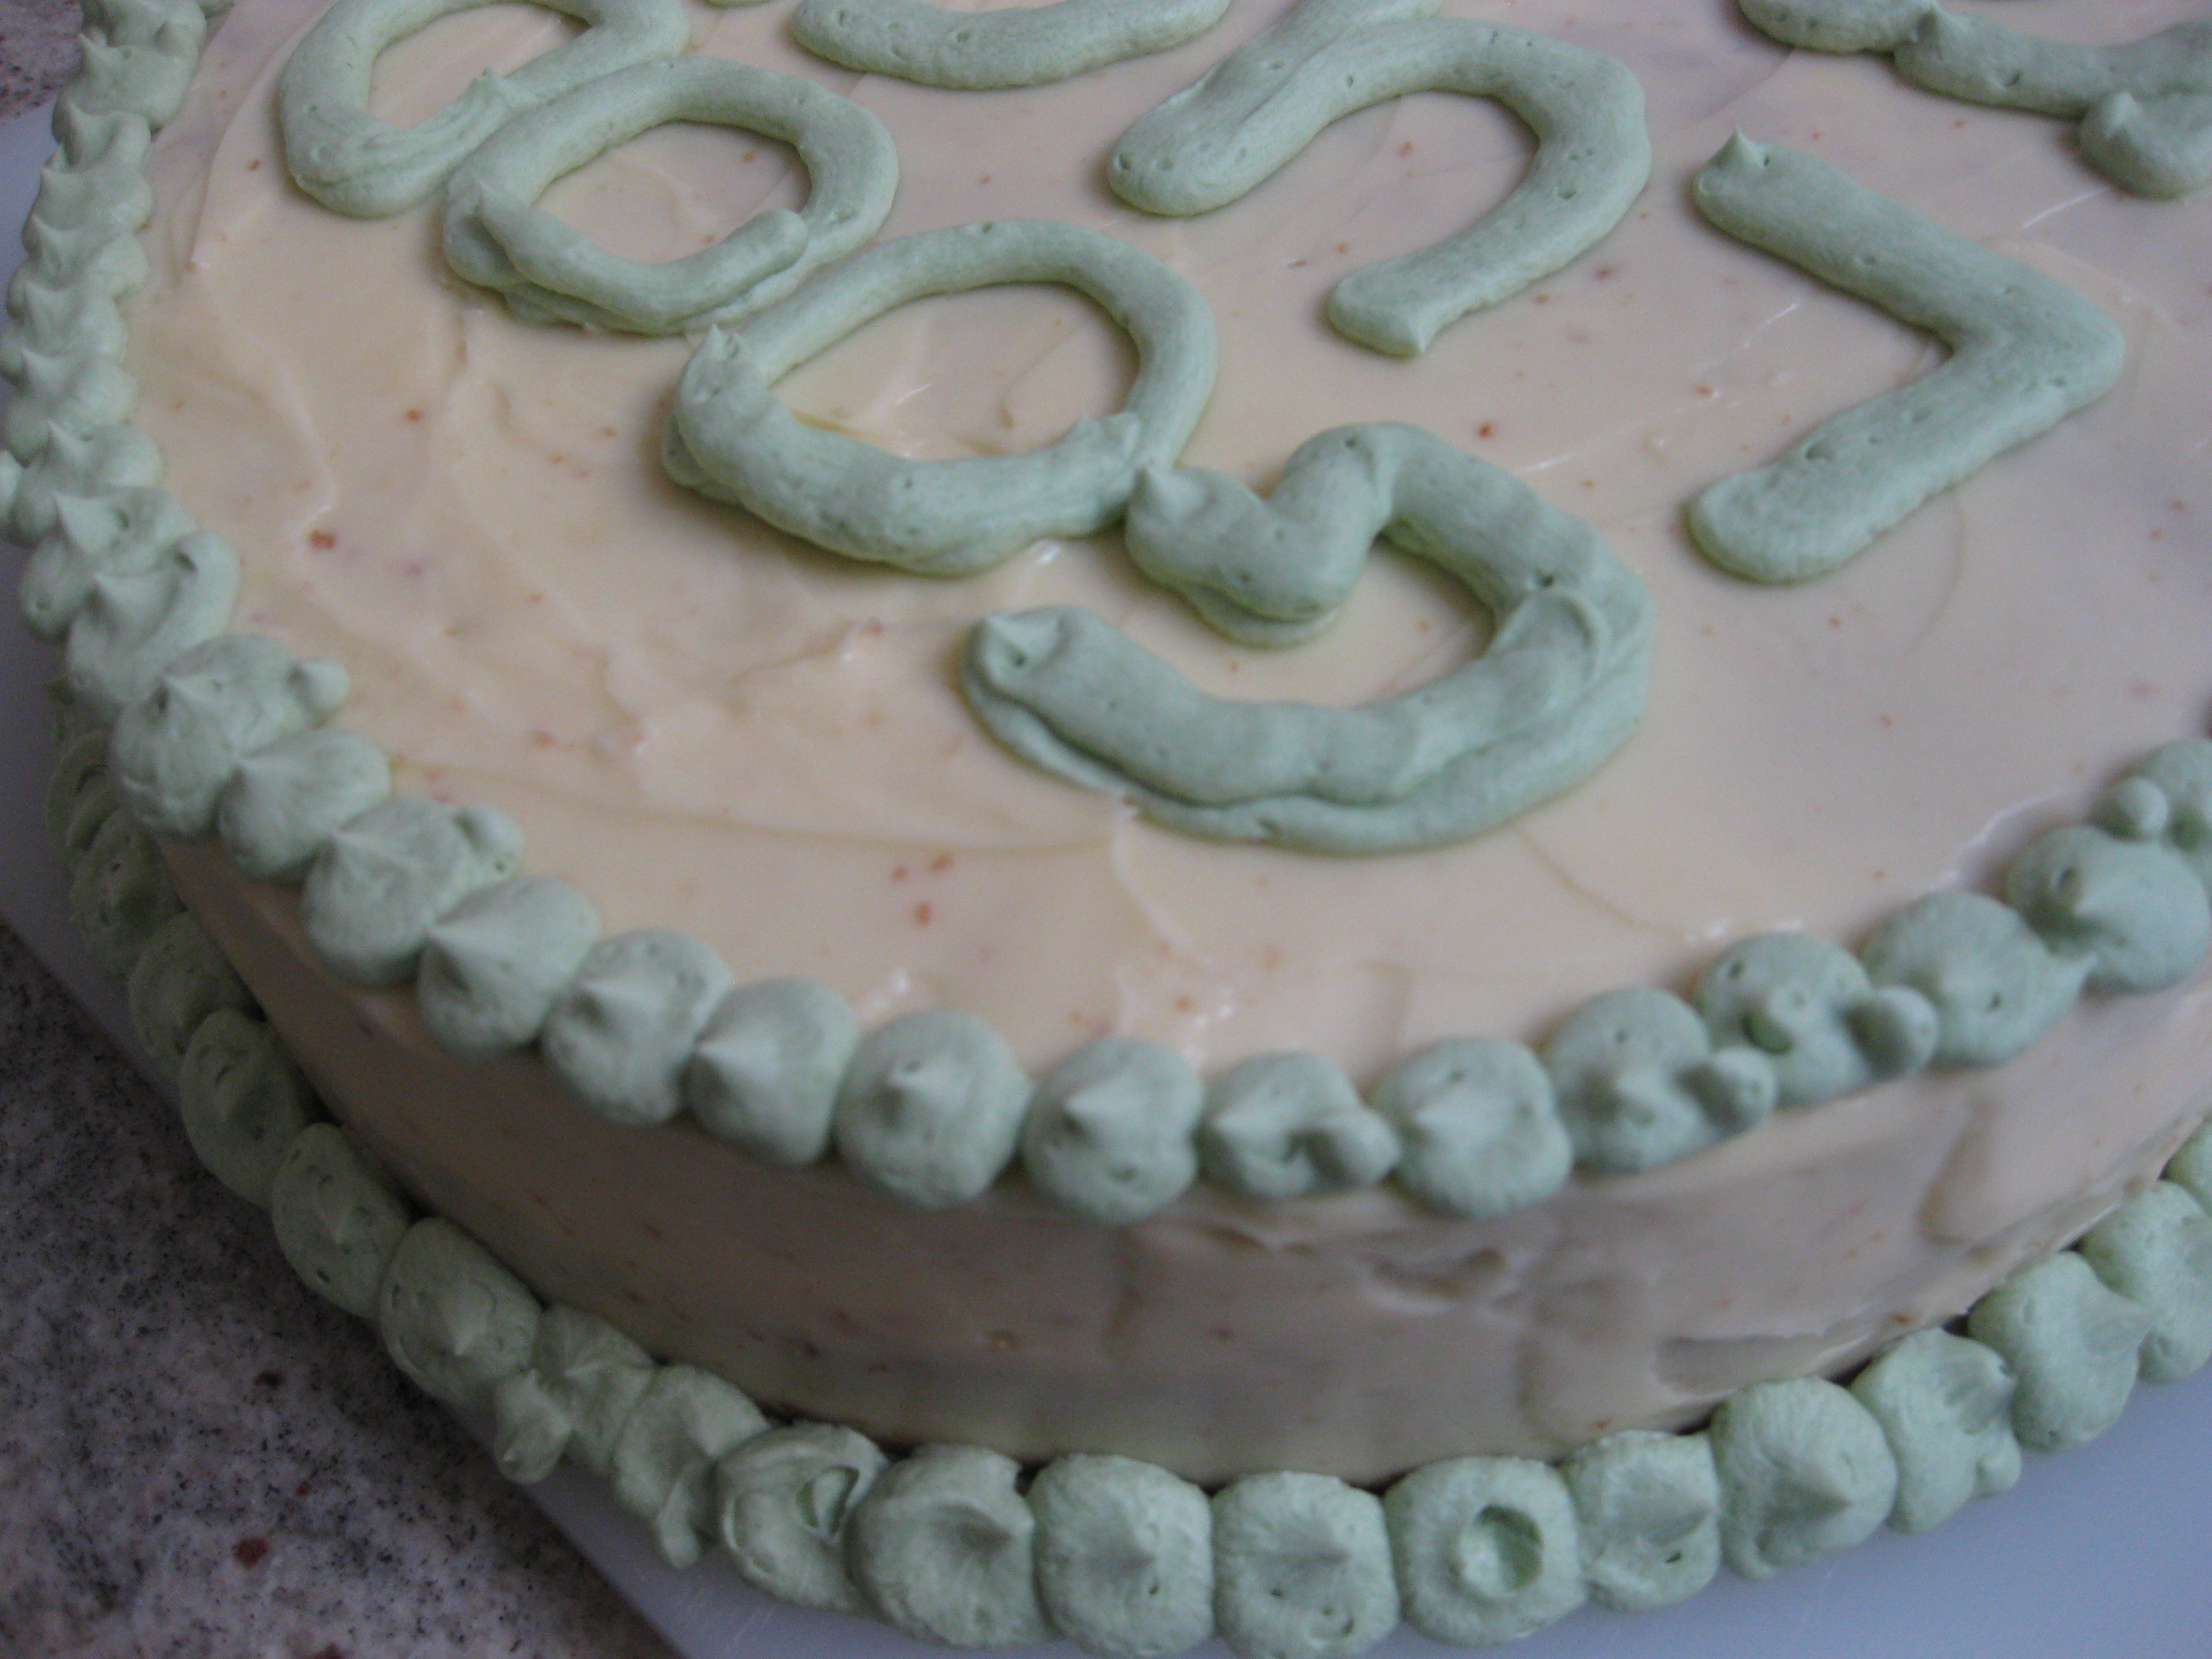
As Hugh says in the book, this cake is completely lovely as it is – soft, syrupy and incredibly moist. However for all carrot cake traditionalists out there, smothering it in a tart cream cheese frosting is the ultimate indulgence. Simply sling the soft butter and icing sugar into a magimix and whizz til smooth and fluffy. Add the cream cheese and lime zest and whizz again until smooth. Once cold, slice the cake in half, stuff it with icing then sandwich the two halves together and smother with the remaining frosting. De-lish.
Banana, chocolate & walnut loaf
Over the last few days I’ve seen quite a few blog posts cropping up with recipes recommending what to do with leftover Easter chocolate. Rocky road, tiffin, brownies, rice crispy cakes, chocolate cake, chocolate sauce and more; these are all suitably worthy resting places for those sad little eggs and shells that didn’t quite make it into the Easter morning binge. But to be honest, I’ve never really had this issue of ‘egg-cess’ (sorry), having subscribed to more of an ‘all or nothing’ approach to anything sweet from a young age. Consuming my own body weight in chocolate before Easter breakfast has now become pretty much standard practice.
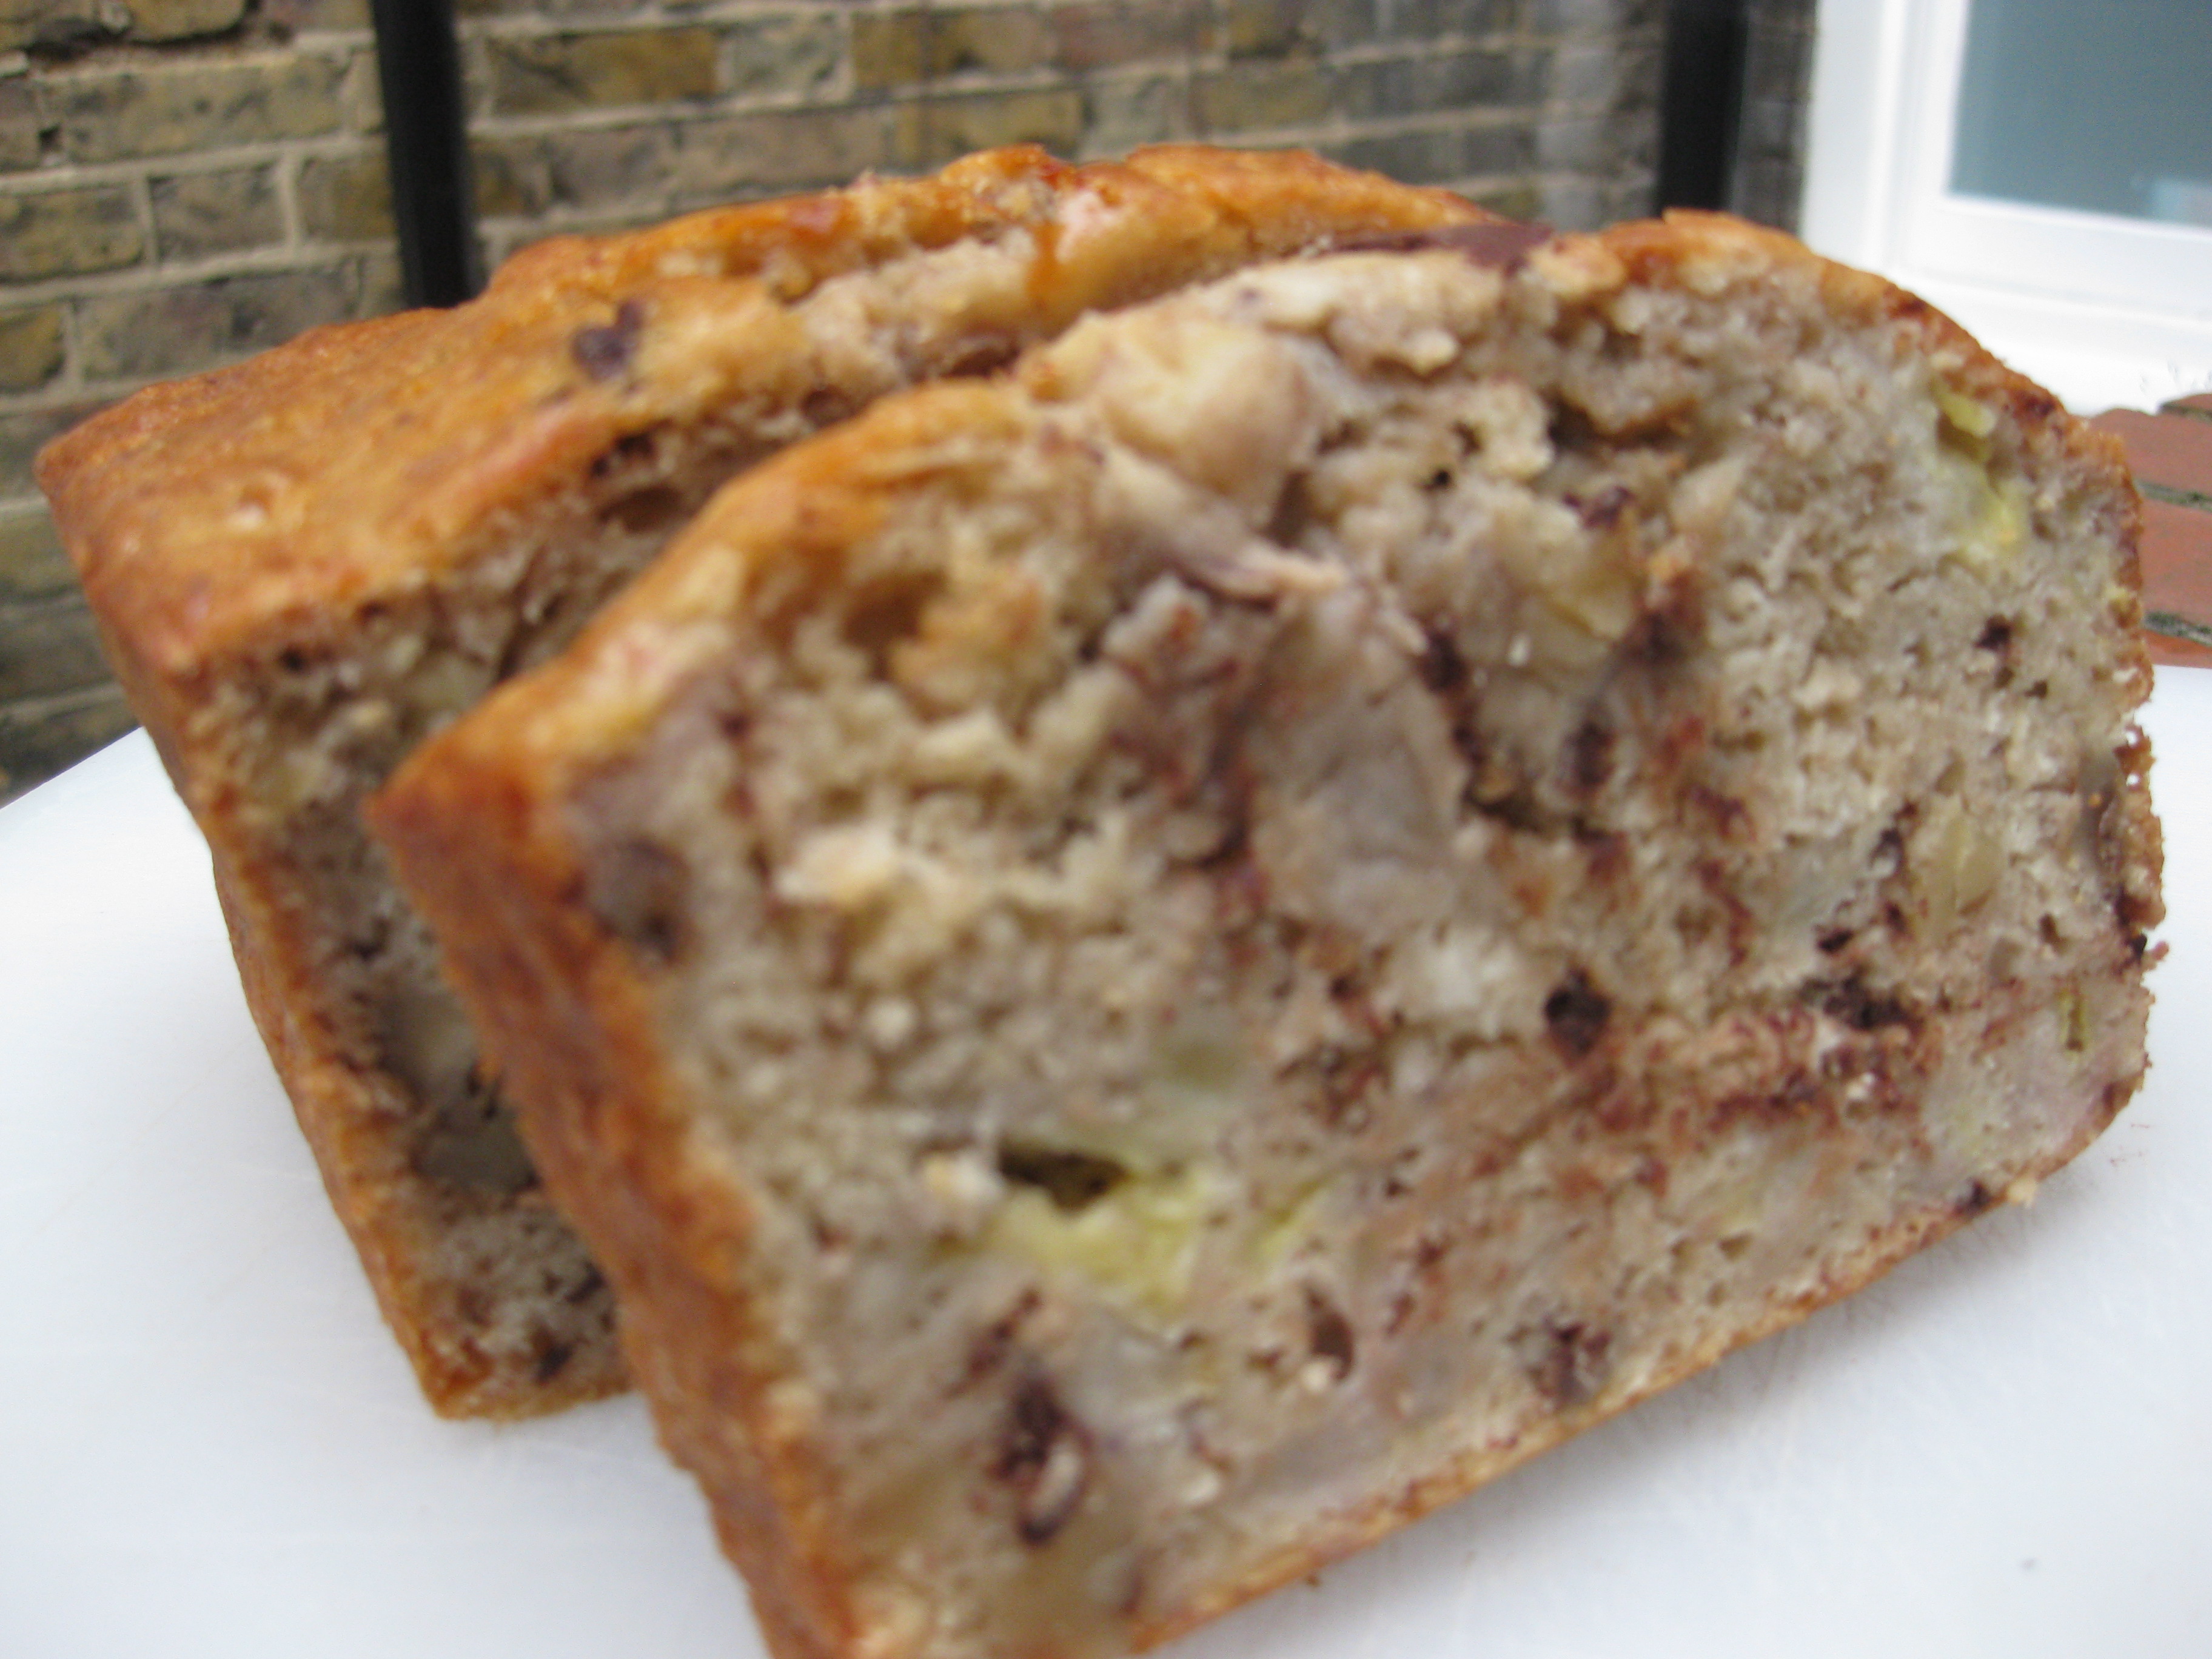
Having said that, yesterday a little bit of Easter egg chocolate did manage to sneak its way into the mixing bowl as I was making my favourite banana loaf recipe. I’d returned home after Easter to a pile of soft, slightly blackened bananas and needed a recipe to salvage them pretty quickly, This sticky, moist banana loaf was the perfect answer- in fact, it simply doesn’t taste the same if the bananas you use aren’t blackened, squidgy and sickly sweet. And the addition of a few nuggets of deliciously dark chocolate prevents the richness of the banana from becoming overpowering.
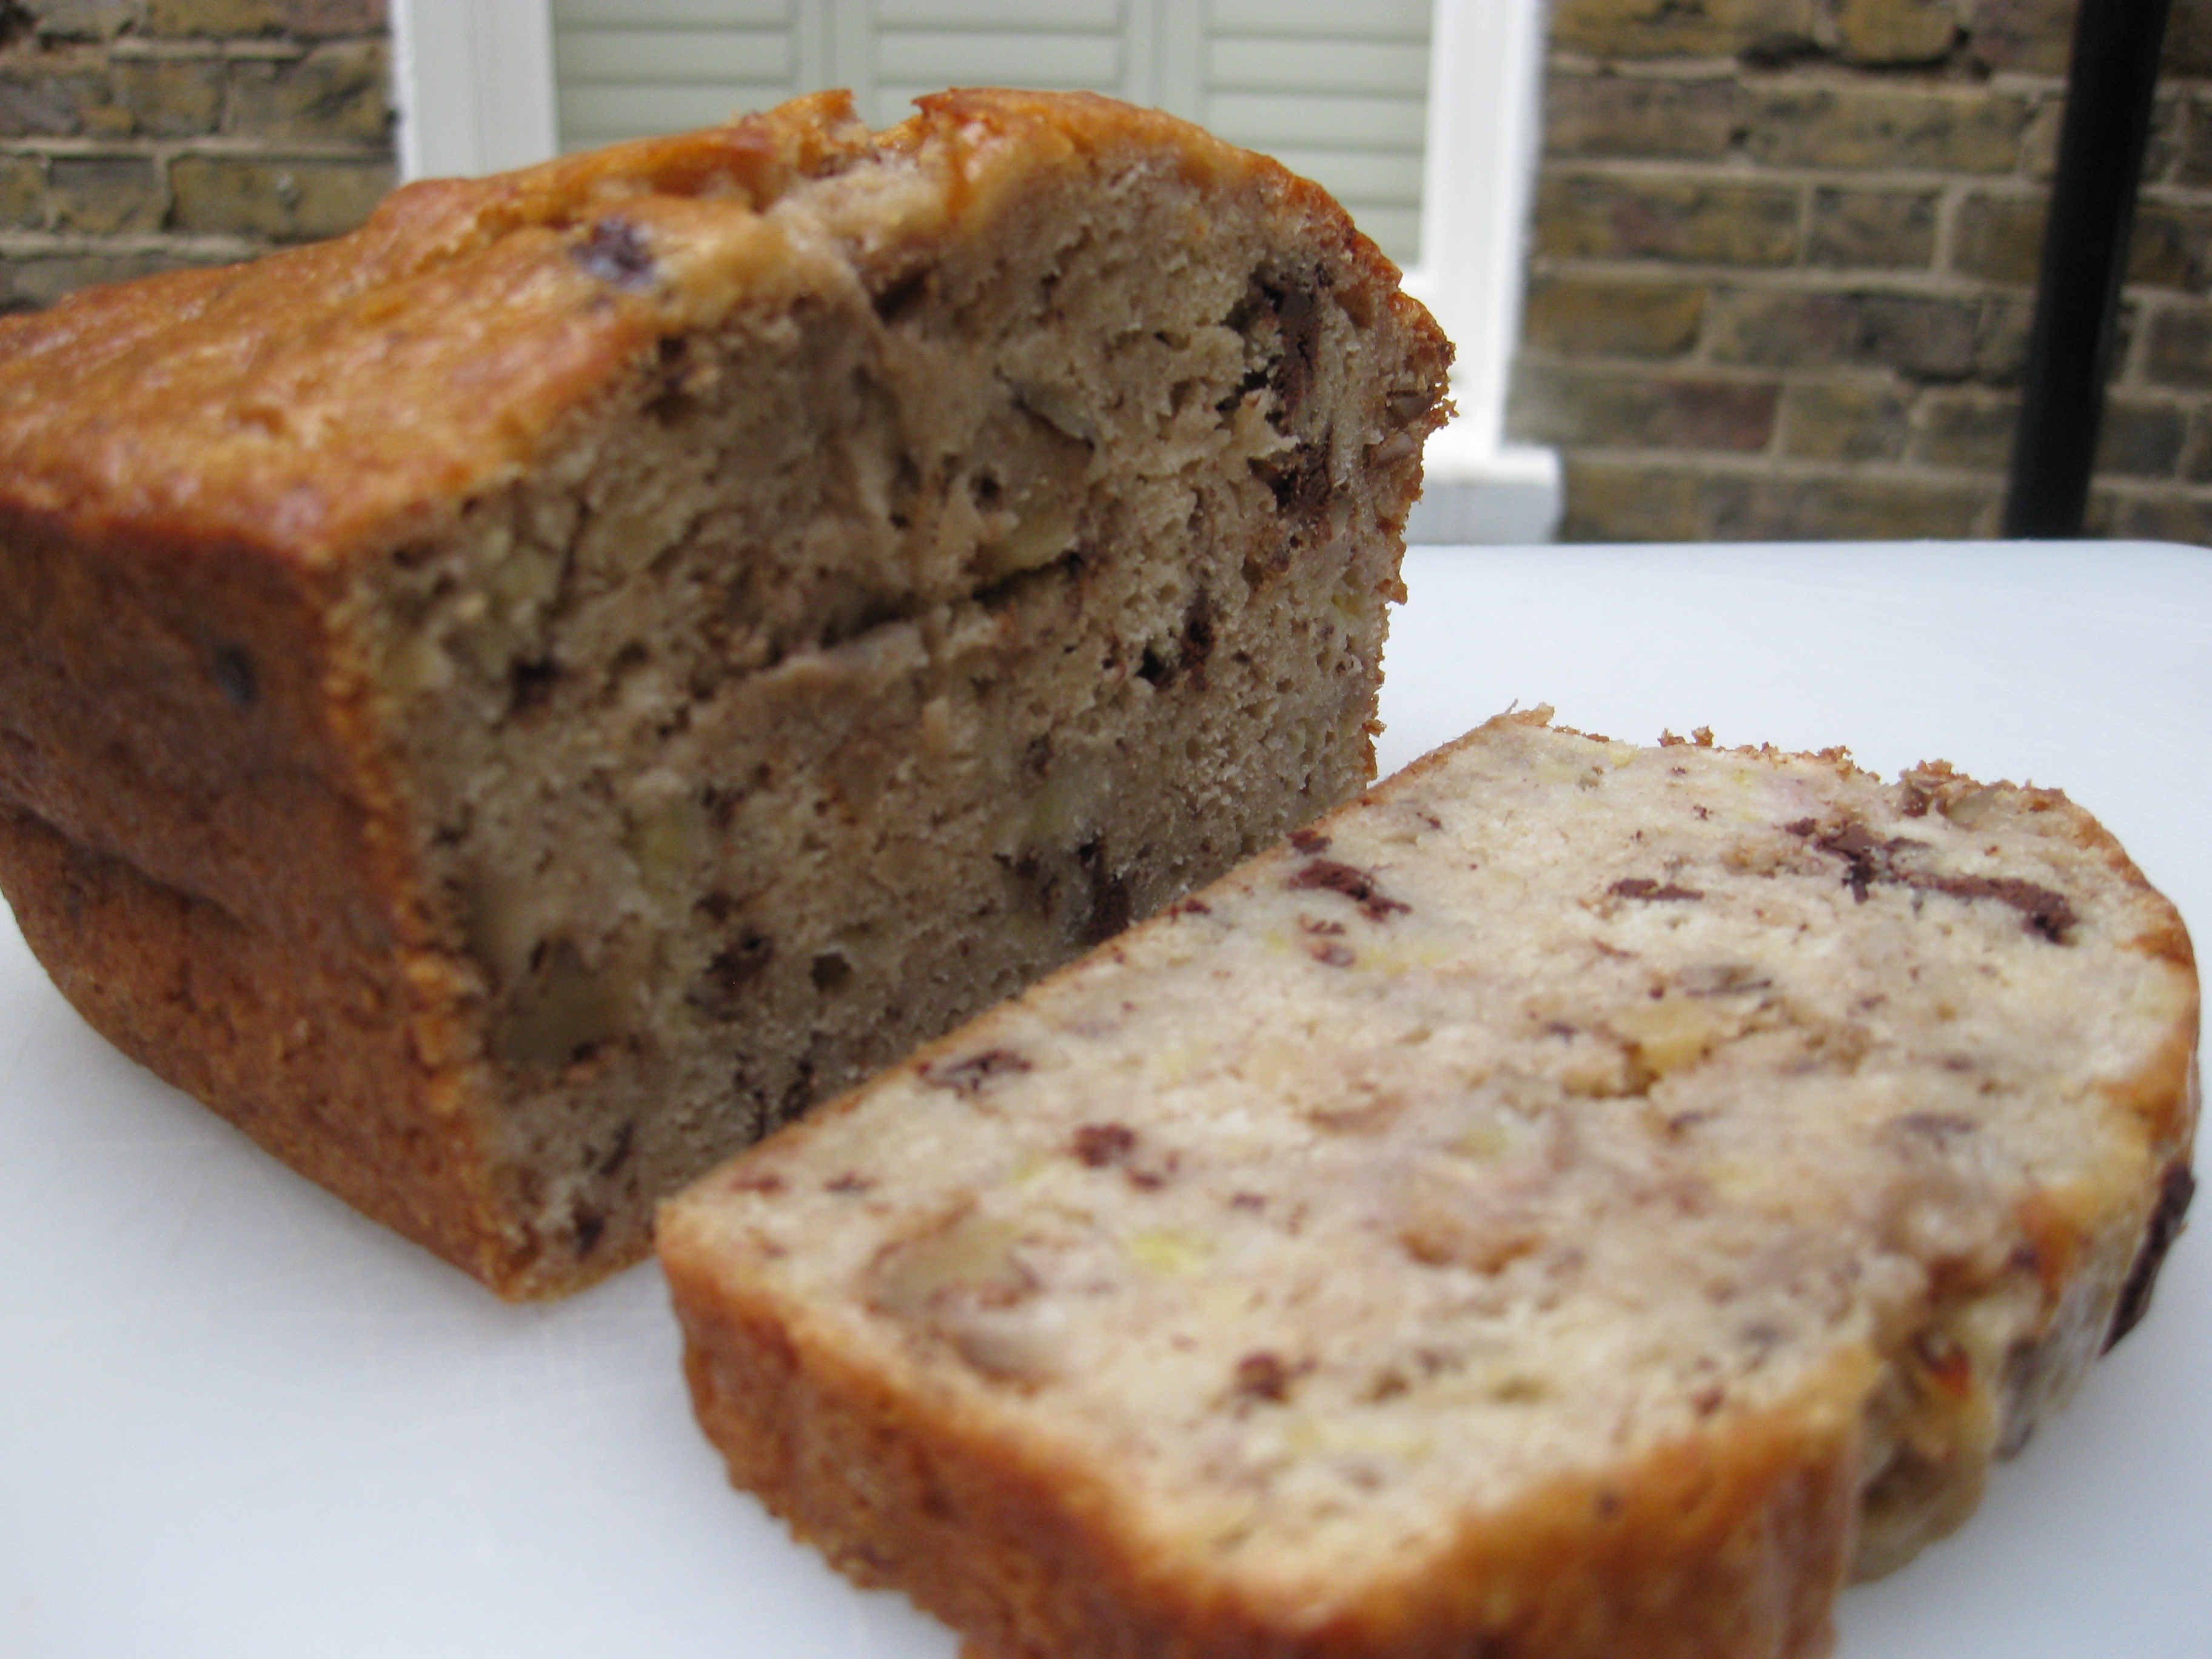
I mentioned a few weeks ago my discovery of a delicious banana, chocolate and walnut loaf recipe on Gourmet Traveller ‘s blog. I’ve made it a few times since, tweaking the ingredients here and there, and the result is always spot on – dense, moist and nutty inside, crusty and golden on the top, with a richly intense banana flavour and little hits of chocolate. This loaf is delicious as a dessert with natural Greek yoghurt or vanilla ice cream, the perfect tea-time snack served straight up, or an incredible indulgence toasted and smothered in butter. It’s really more of a cake than a loaf though, so arteries take heed if you do decide to go for this final option.
Banana, Chocolate and Walnut Loaf
(adapted from a Gourmet Traveller recipe)
4 large ripe bananas
100g unsalted butter, slightly soft
140g soft brown sugar
2 large free range eggs
50g walnuts, chopped
50g dark chocolate (70% cocoa minimum), chopped
150ml semi-skimmed milk
140g plain flour
140g wholemeal flour
1 tsp bicarbonate of soda
1 level tbsp demerara sugar
Preheat the oven to 160°C. Grease a 900g (2lb) loaf tin with butter and line the base with baking parchment.
Peel and roughly mash the bananas with a fork. In a separate large mixing bowl, whisk the butter and sugar together until pale and creamy. Crack in the eggs and whisk further to combine, then stir in the mashed banana, walnuts, chocolate and milk. Stir thoroughly to incorporate all the ingredients – the banana means there may be a few lumps.
Sift the flours and bicarbonate of soda into the bowl and gently fold into the wet mixture until just combined. The key here is to work carefully to preserve the lightness of the cake batter. Pour the batter into your prepared loaf tin and sprinkle with the demerara sugar.
Bake in the oven for 1 hour – you’ll know it’s done when a metal skewer inserted in the middle comes out mostly clean. If it’s still wet with batter, pop your loaf back in the oven for another 15 minutes, covering with foil if the top is browning too much. When cooked, remove from oven and leave to sit for 5 minutes before transferring the loaf out onto a wire ack to cool completely.
Homemade Hot Cross Buns
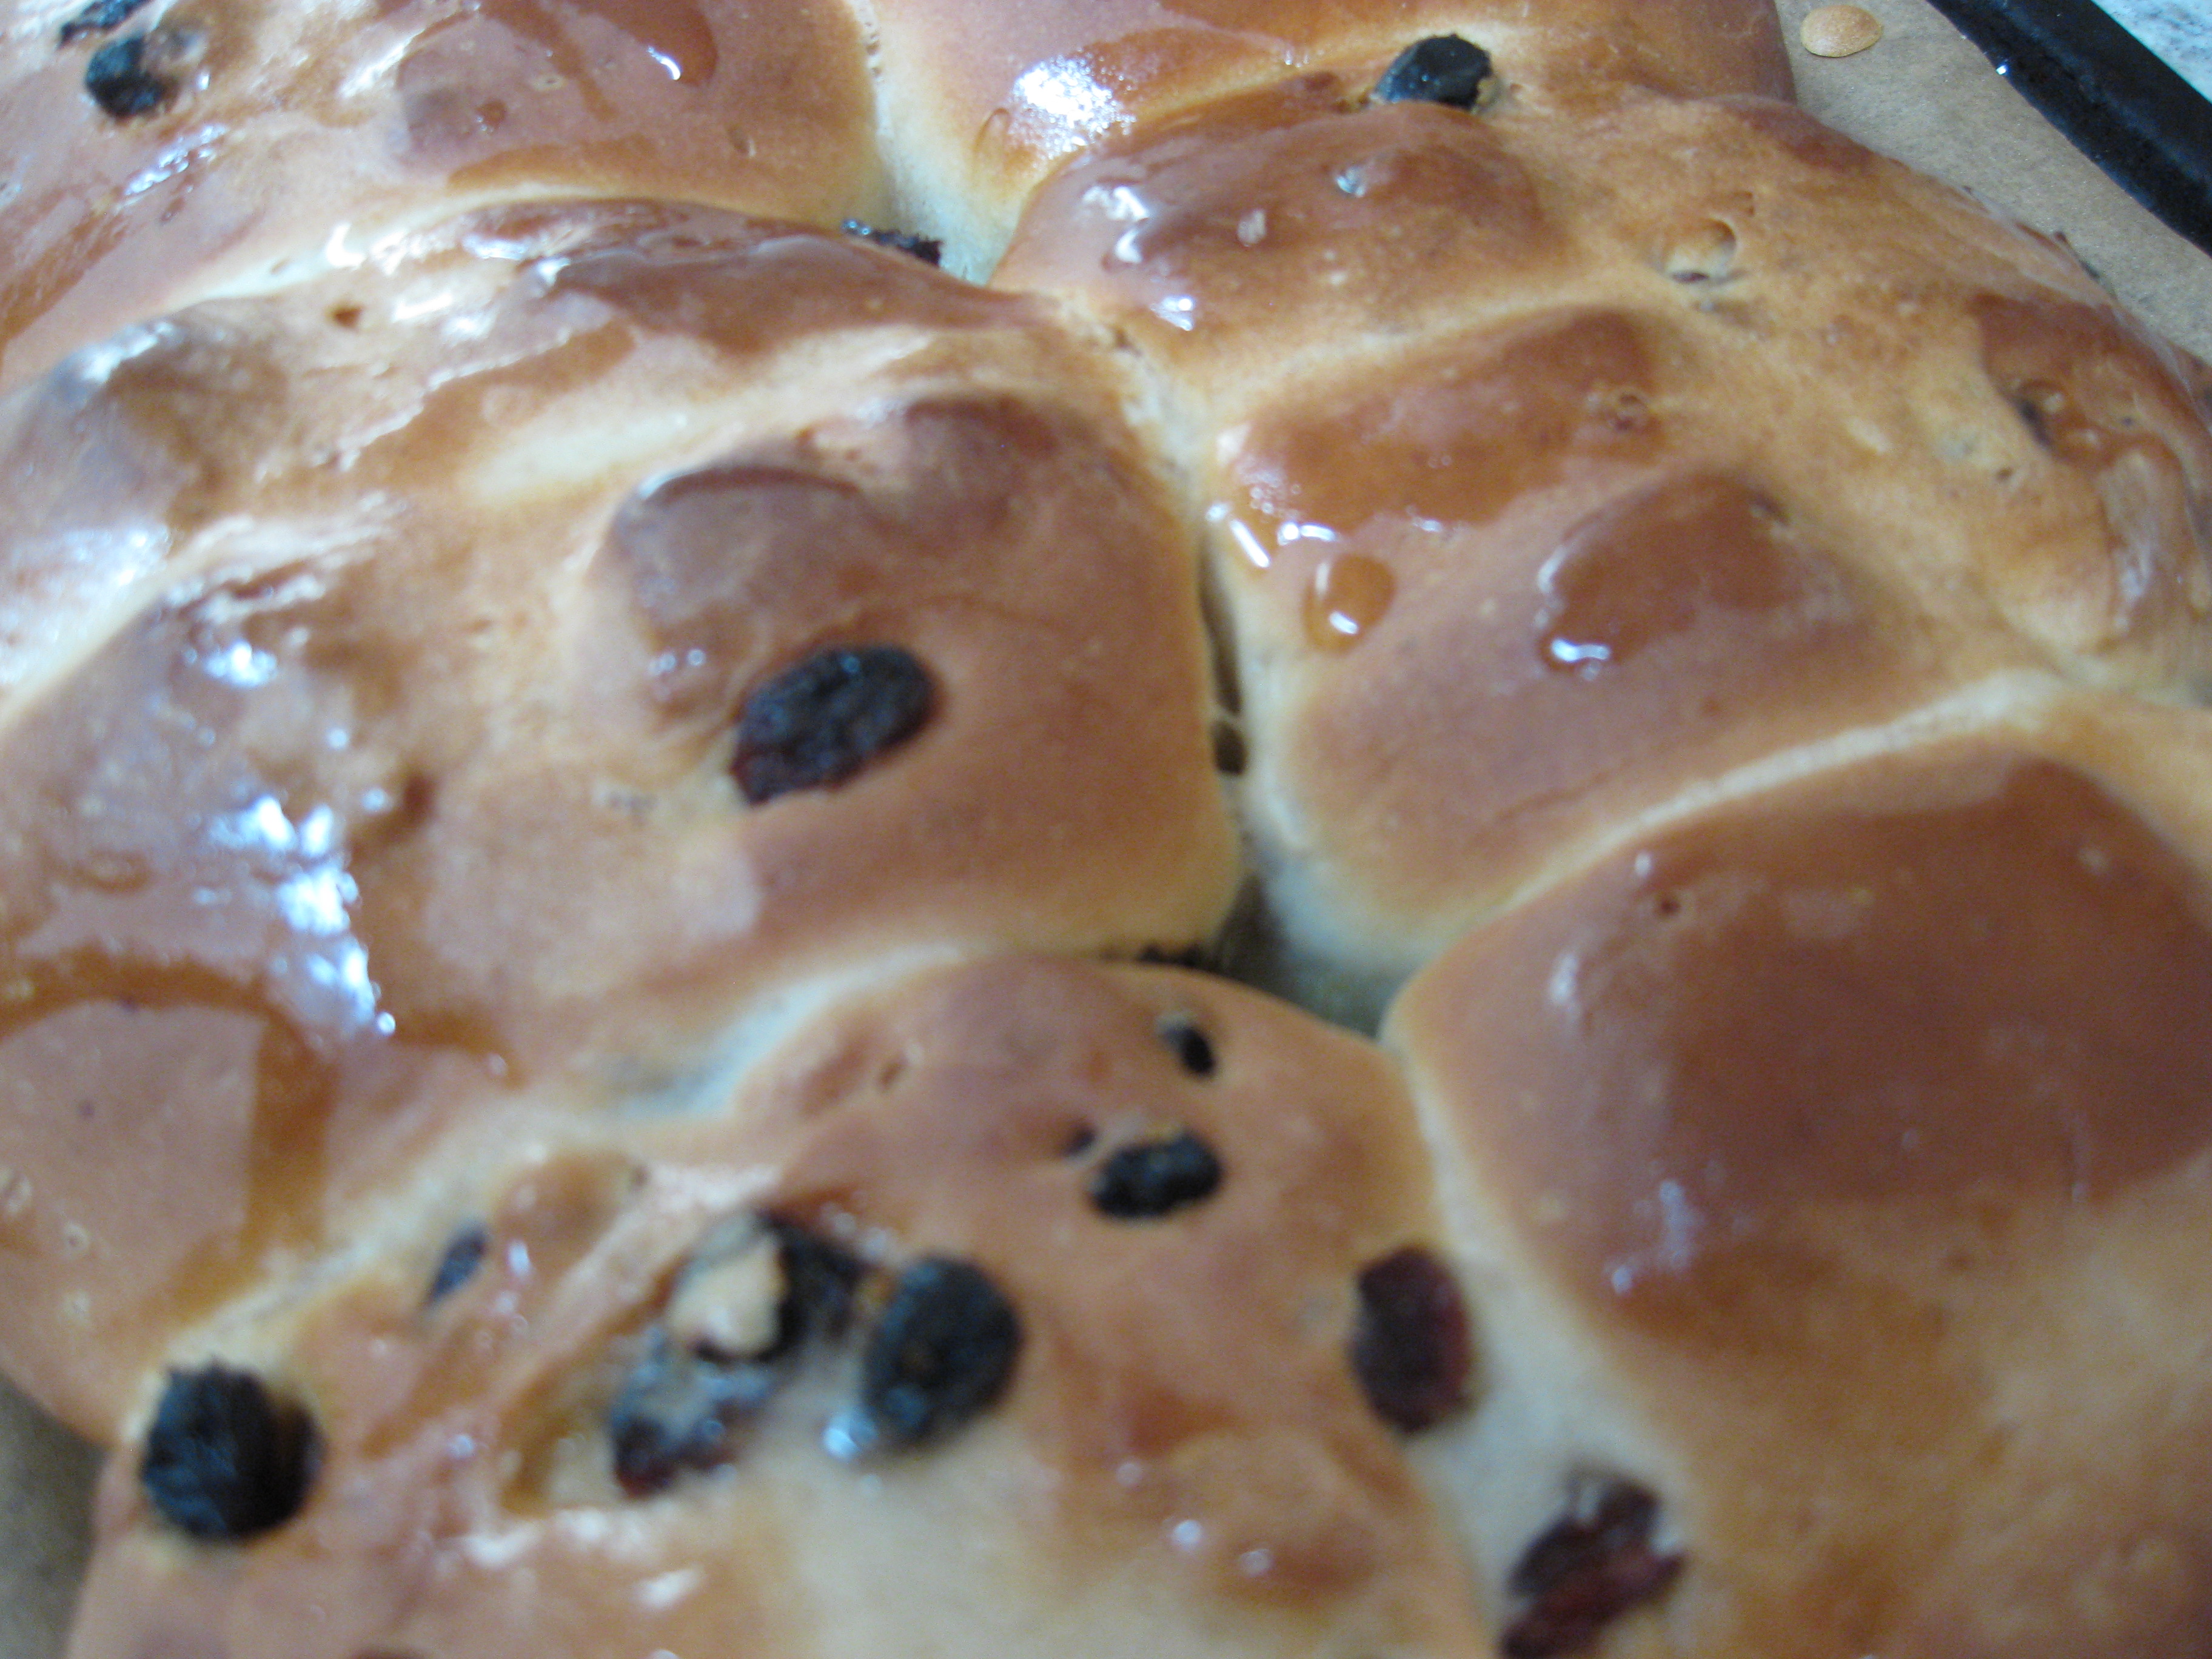 When I started blogging as thelittleloaf a couple of months ago, one of the first people I asked for their honest opinion (Mum, Dad and Carniverous Boyfriend don’t count) was a friend who lives in Sydney. Launching yourself out there into the blogosphere is a pretty daunting prospect; I worried what people would think of my blog. Could I actually write? Would my recipes work? And, perhaps most importantly, would anyone care? I know that the immediacy of the internet means your audience could just as easily be in the next room as on the next continent, but perhaps subconsciously it felt safer to try my ideas out on someone who lives over 10,000 miles away.
As you might expect from a dedicated carb lover and little loaf, my first ever post was a malty wholemeal loaf. After lots of fun baking, uploading my photos and thinking of what to include in my post, I duly sent the link Down Under to see what my friend had to say. She wrote back to describe in laugh-out-loud detail (Jess, have you considered your own blog?), her own bread baking attempts and the often inedible results, asking if I wouldn’t mind sharing any tips I had. Hurrah! Her heartfelt and immediate response made me realise there might actually be a market, albeit a small one so far (Mum, Dad and CB, again I don’t think you count), for my amateur exploration into the world of bread, baking and other good things you can put in your mouth.
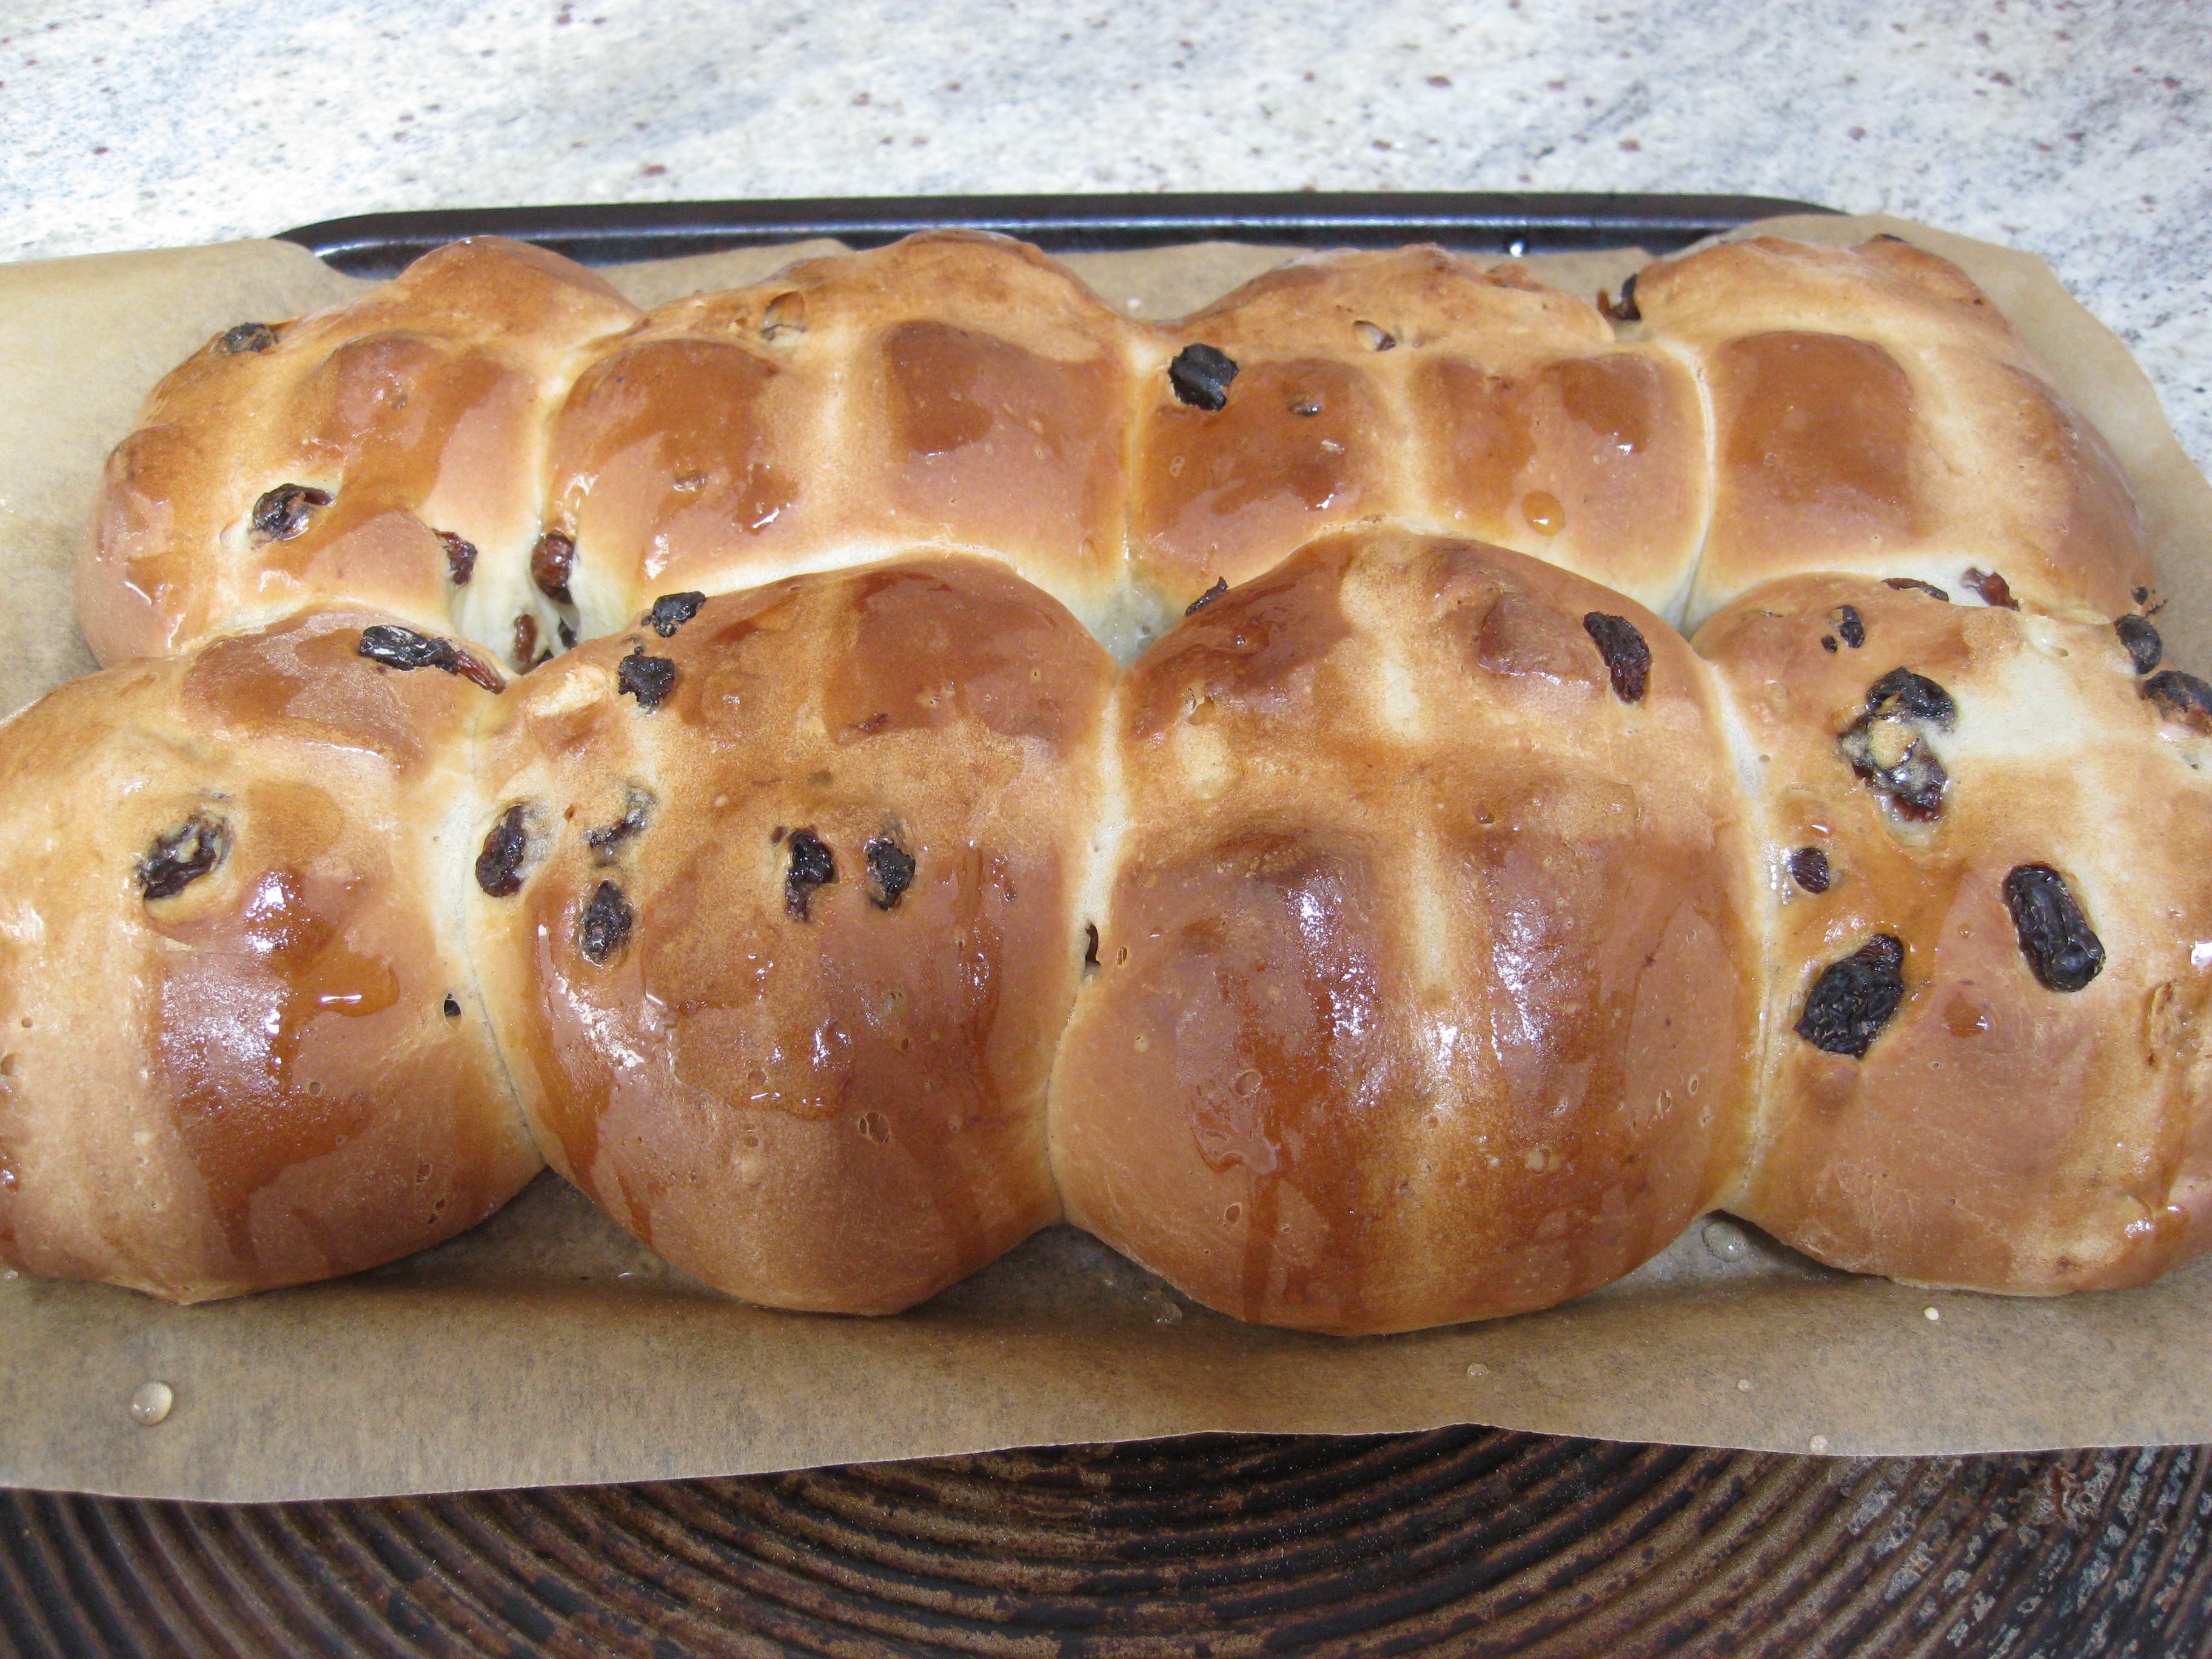
One particular baking challenge my friend mentioned in her email was hot cross buns. Apparently her most recent batch were renamed ‘hot cross biscuits’ by her husband on account of their texture. I’d never attempted to bake hot cross buns before, but I love eating them every Easter so I decided to do some research and find her the perfect recipe for these sweet, fruity buns.
My first port of call was the River Cottage Bread Handbook by Daniel Stevens. This is the book that tutored me towards my very first light, crusty crumb – a loaf I could actually be proud of. But although I absolutely trust Daniel’s step-by-step guidance, I wanted to see what other bakers were doing with this Easter classic, and had already got my eye on a couple of recipes on the Guardian website.
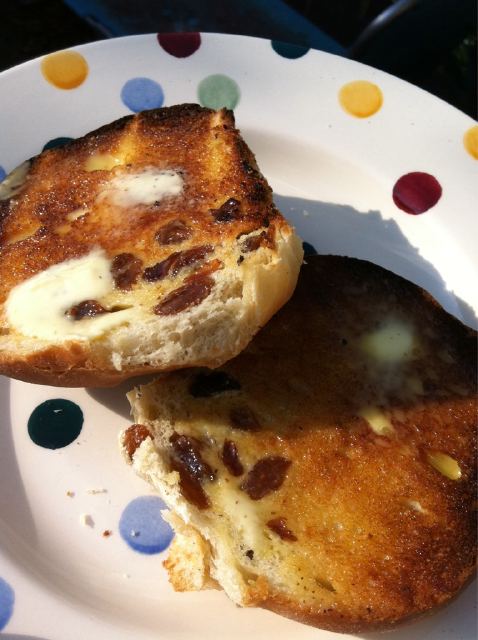 I’m yet to make a recipe by baker-extraordinaire Dan Lepard that hasn’t come out delicious, and I loved the look of his spiced stout buns, especially the idea of soaking the dried fruit in tea for an extra moist richness. I’d also bookmarked Felicity Cloake’s recipe as I’m an avid follower of her ‘How to cook perfect . . .’ series. She’d already done a lot of the legwork for me, incorporating tips from Dan Lepard, Nigella Lawson and another baking blog I love, Wild Yeast. Her ‘perfect’ hot cross bun photo also gave me a glimmer of hope for my own ‘first ever bun’ attempts – totally gorgeous but in a very homemade, rustic way. Last but not least, I had a quick peak at Signe Johansen’s recipe, a Scandinavian food blogger I’ve been following since I found her incredible chocolate chip cookie recipe. She had an awesome idea for an Easter loaf using the same mixture of ingredients, but I decided to forgo this til another occasion in favour of the traditional real deal bun.
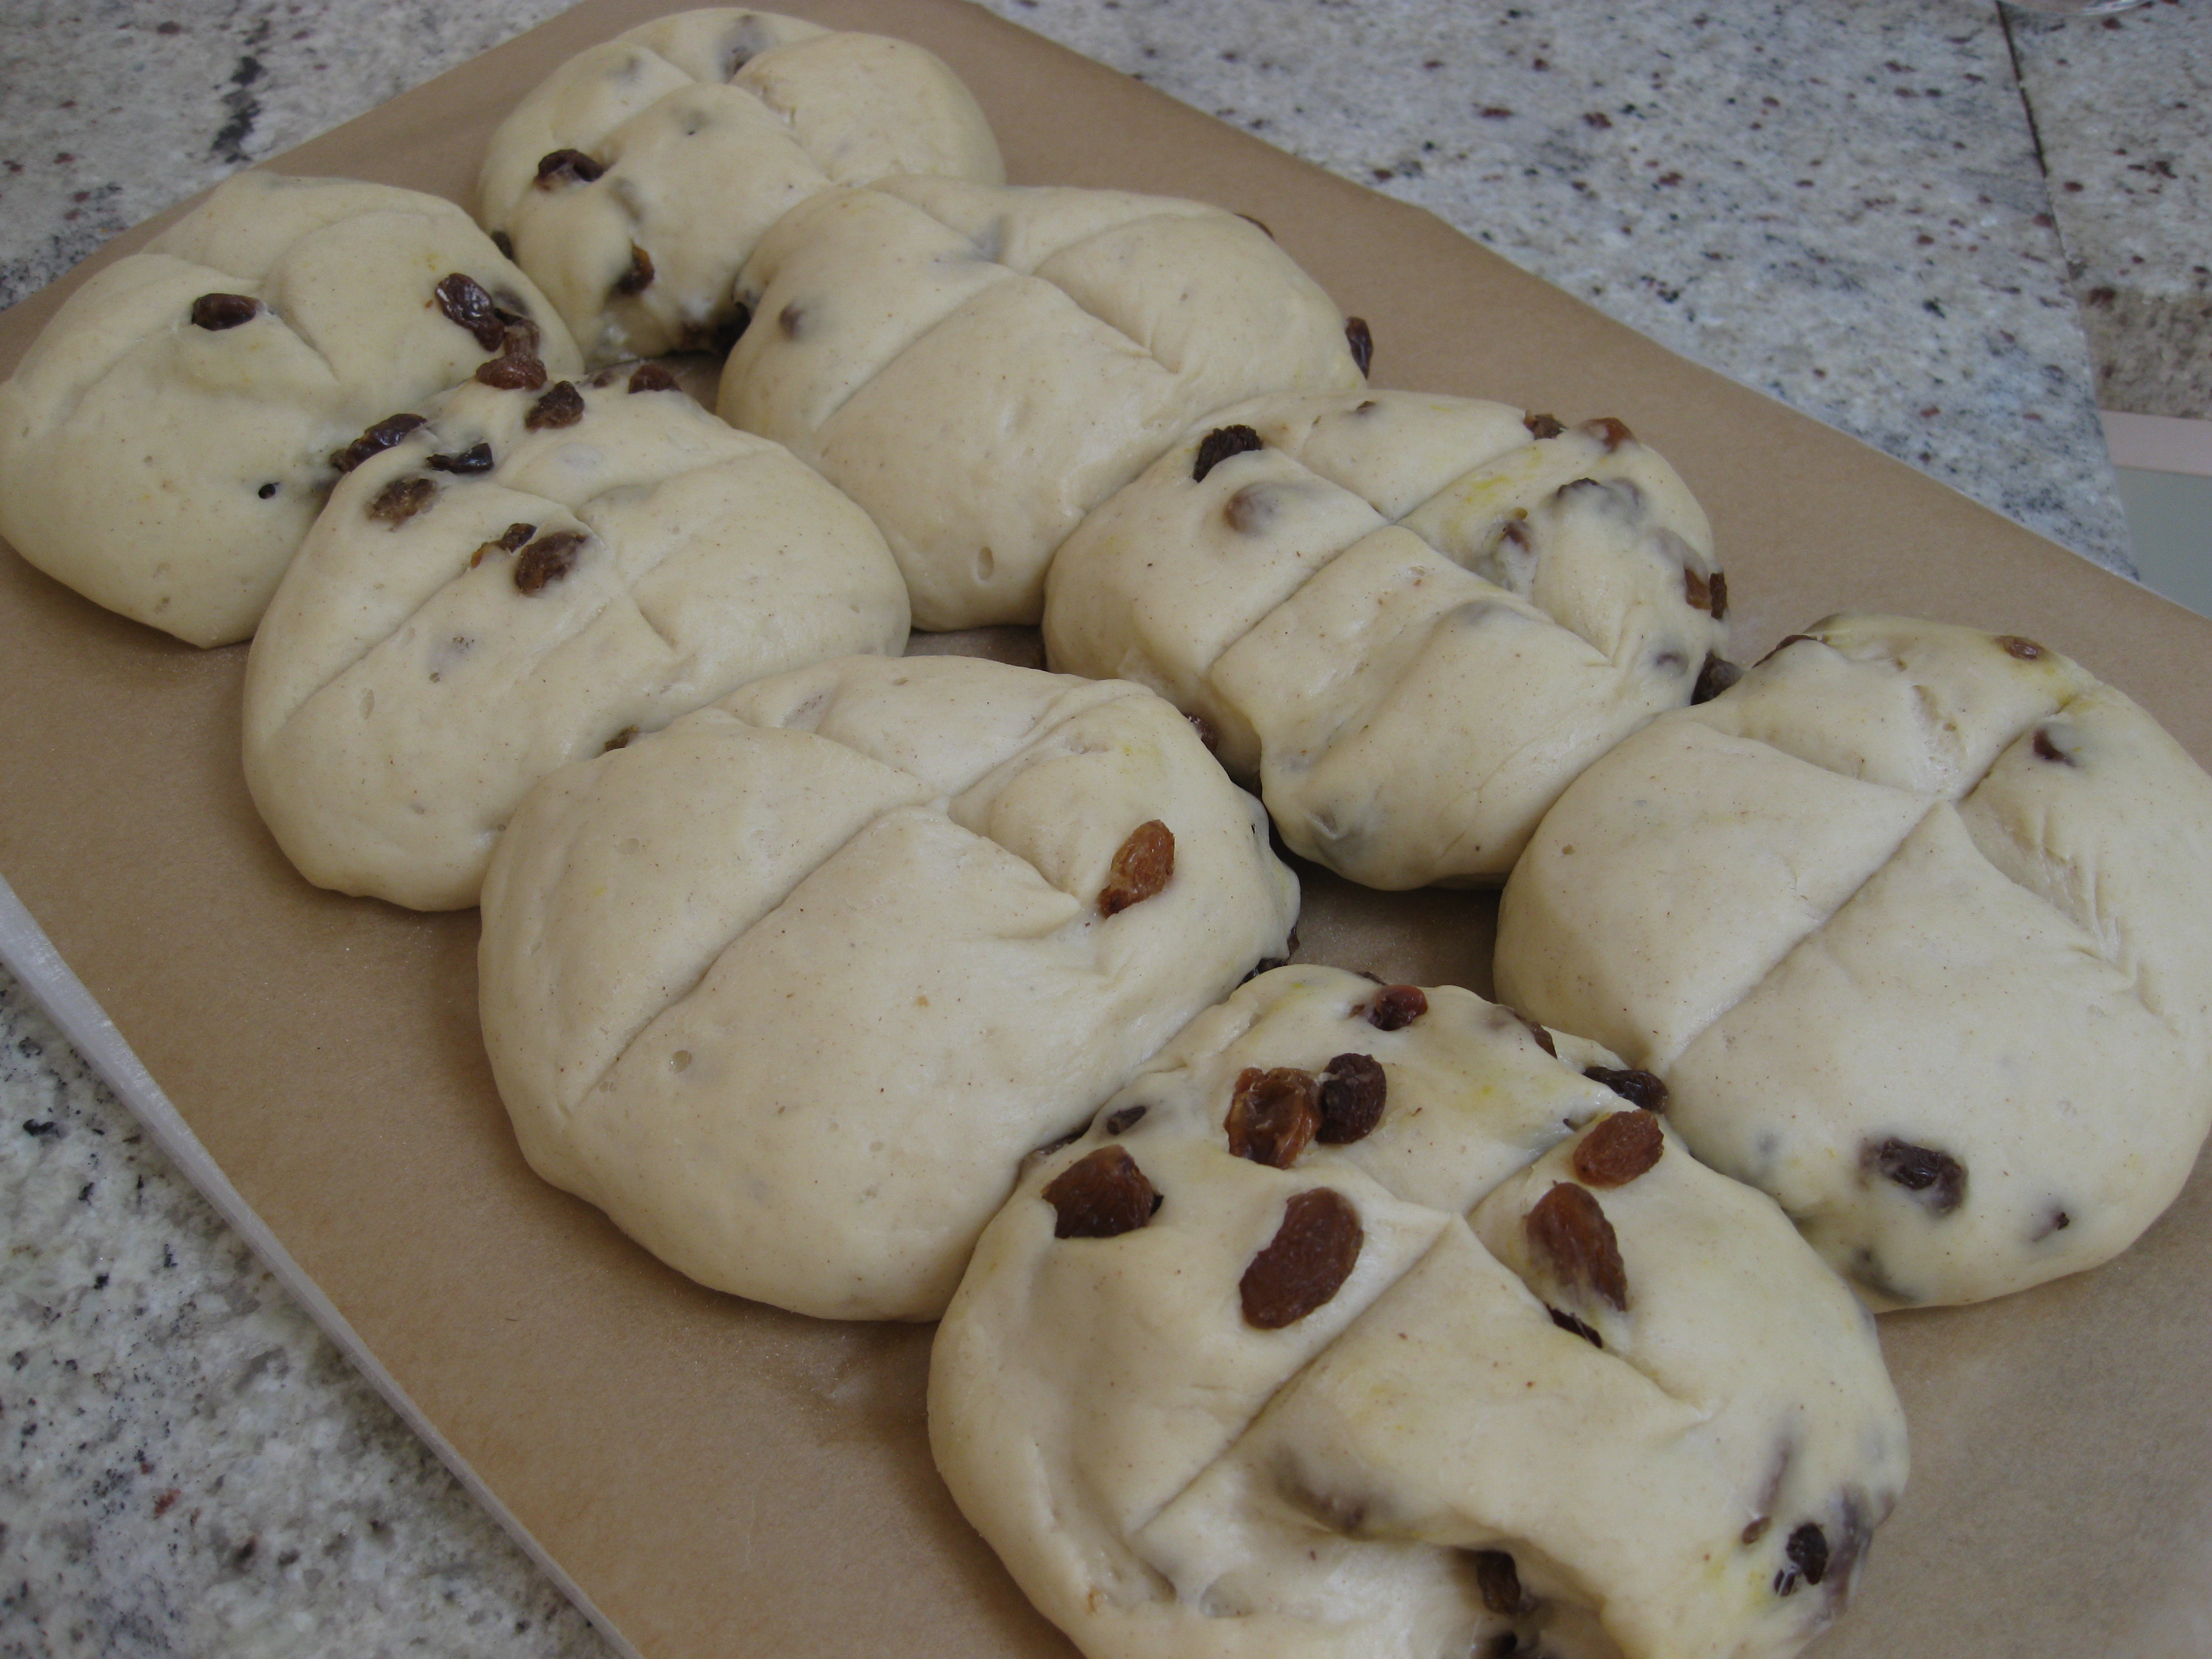
So Jess (and all you other baking enthusiasts out there), for what it’s worth, here’s my recipe for the perfect hot cross bun. The photos above were taken from my first attempt, and next time I’ll be making my buns smaller and further apart (the photos above suggest a bun on steroids – all subsequent modifications have been accommodated in my recipe below). I hope you enjoy making these as much as I did.
Hot cross buns
(make 12 regular or 16 small-ish buns)
100ml hot black tea
120g raisins, currants, sultanas & mixed peel of your choice
125ml water
125g milk
2 cloves
1 stick cinammon
Pinch saffron
Pinch grated nutmeg
250g plain white flour
250g strong white flour
5g instant powdered yeast
10g salt
50g golden caster sugar
1 large free range egg, beaten
50g butter, chilled
Finely grated zest of half an orange
For the crosses:
50g plain white flour
1tsp sunflower oil
80ml water
To finish & glaze:
1tbsp apricot (or other) jam
1 tbsp boiling water
Method:
The night before you want to make your buns, soak the dried fruit in the hot black tea. This will give the fruit a dark, unctuous quality.
The next day, strain the dried fruit and set aside. Heat the water, milk, cloves, cinammon, saffron and nutmeg in a small pan til just boiling, then remove from the heat and leave to cool slightly and infuse. In a large bowl mix together the flours, yeast, salt and sugar. Grate the chilled butter into the bowl and rub it into the flour mixture with your fingertips until well mixed. Add the warm milk mixture, dried fruit, sugar, egg and orange zest, and mix to form a soft, sticky dough, then knead for around 10 minutes until soft, silky and elastic.
*n.b. Most of the recipes I looked at suggested doing this step in a food mixer if possible, as the dough is very wet and sticky. I don’t have one, so decided to get stuck in and knead by hand. At first I thought I must have made a massive error as I grappled with a sticky, slimy-looking, unresponsive gloop. But I promise, persevere with your kneading for a few minutes, don’t be tempted to drown it in extra flour, and it will turn into a lovely soft dough*
Lightly grease a clean bowl and put the dough into it. Cover with a tea towel and leave in a warm place to rise . This will take 1-2 hours depending on where you leave it. Once the dough has doubled in size, tip it out of the bowl and knead for a minute or so, then divide into 12 even sized pieces and roll into bun shapes.
Put the buns on a floured baking sheet, run a sharp knife over the top to form crosses, then cover with the same tea towel and leave to prove until doubled in size – around 30 mins to an hour.
Preheat the oven to 200 degrees C. To make the crosses, whisk together the flour, water and oil til smooth, then spoon into a greaseproof piping bag and snip a tiny hole in the end. Pipe thin crosses across the buns. My piping bag split and I ended up having to do this by hand with a teaspoon, hence the slightly rustic crosses in the pictures above, but although they don’t look perfect, I quite like the rough-around-the-edges homemade look. Pop the buns in the oven and bake for 15-20 mins until golden and delicious.
A couple of minutes before the buns are ready, mix the boiling water and apricot jam in a small bowl. Remove your hot cross buns from the oven and brush with the syrupy glaze. Transfer to a wire rack and leave to cool. Enjoy toasted with wedges of slightly salty butter or, for my ultimate hot cross bun indulgence, eat cold with thick cream and strawberry jam.
Chocolate & Dulce de Leche Brownies
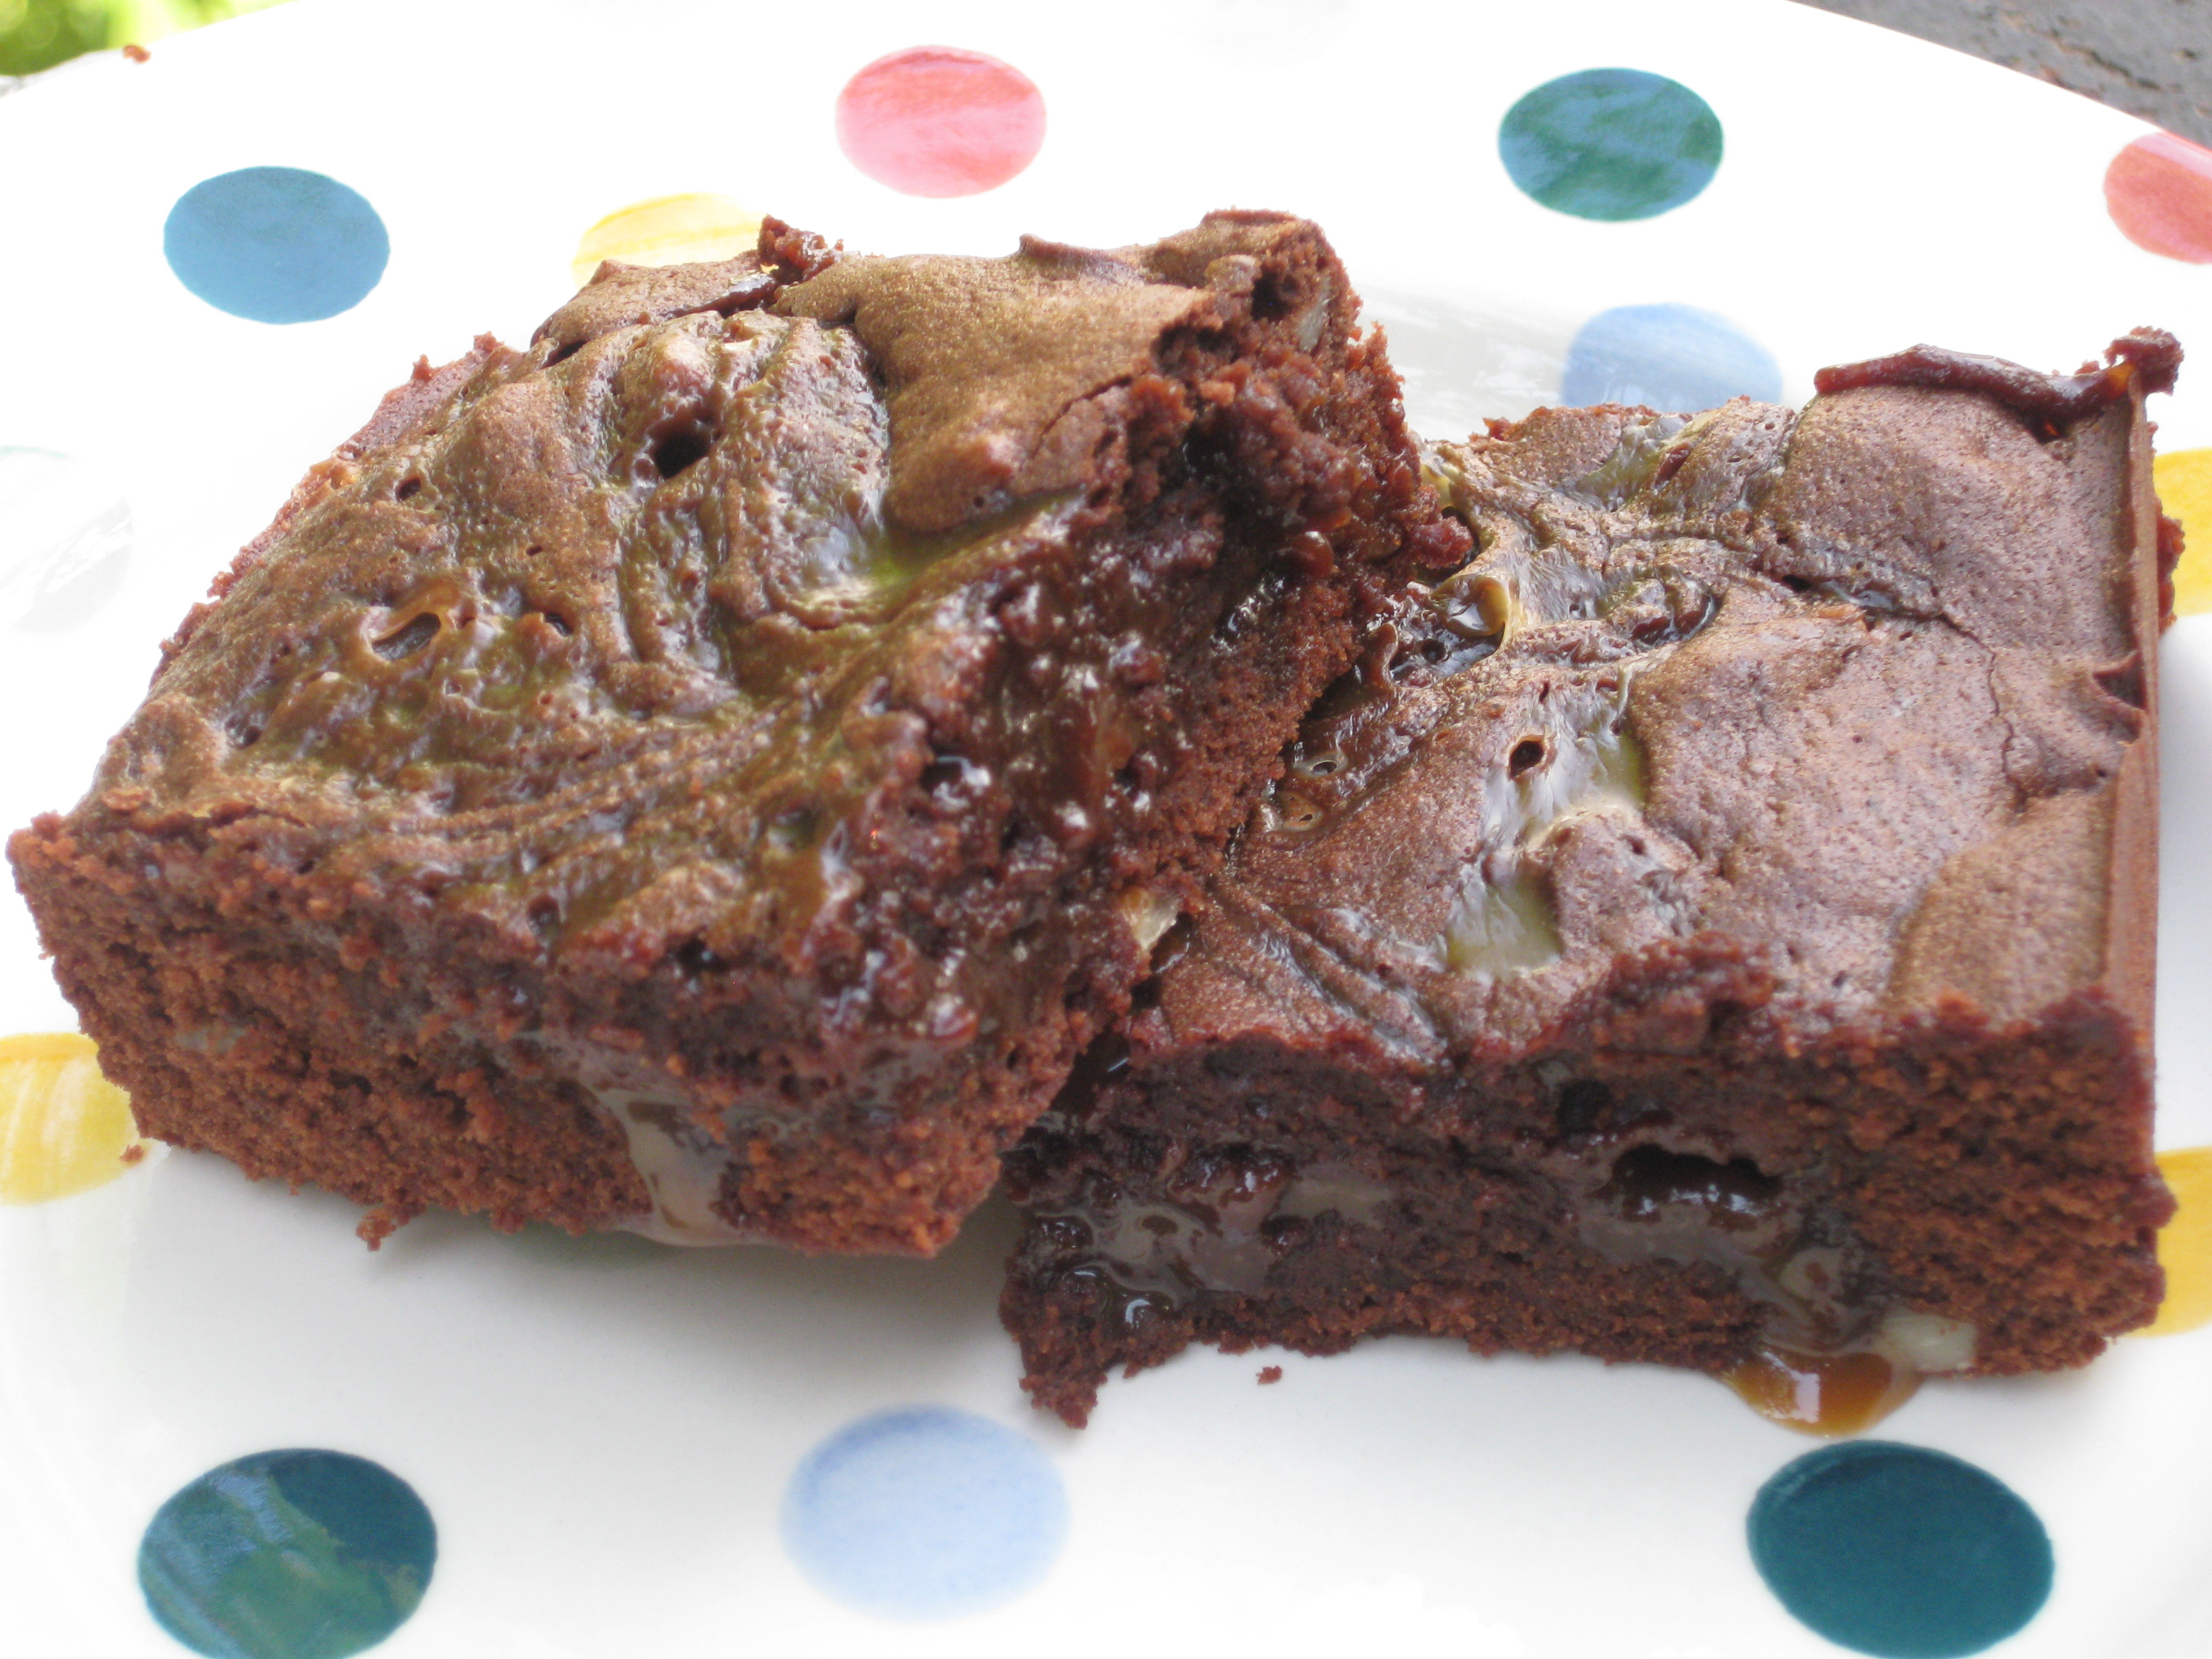 If you’ve read many of my previous posts on this blog, you’ll know that I love chocolate and I love baking. It’s been a while since I last made brownies, and a pre-Easter dinner party at a friend’s flat this week seemed like the perfect excuse to try a new recipe. I’ve been reading David Lebowitz‘s gorgeous blog for a while now, and amongst a number of delicious looking recipes, I’d bookmarked these amazing looking Dulce de Leche brownies.
If you’ve not tried Dulce de Leche before, now is your moment. Literally ‘milk sweetness’ or ‘milk candy’, it’s an unctuously thick caramel-like sauce made from sweetened condensed milk, and one of the most delicious things you’re ever likely to put in your mouth. Continue reading
The perfect chocolate chunk cookie
If I had a pound for every blog post out there talking about the quest for the perfect chocolate chip cookie, I would be a very rich girl. Whether it’s UK bloggers lamenting the lack of good recipes using metric measurements, or US bloggers vying for the ultimate ‘just like Mom used to make’ recipe, chocolate chip cookie chat is definitely a hot topic on the baking agenda of the blogosphere.
And not without good reason. There’s nothing better than sinking your teeth into thick, chewy American style cookie, soft in the middle, crispy and buttery round the edges and studded with bittersweet chocolate chunks. We’re not talking ‘dip in your tea and nibble appreciatively’ British style biscuit here, this is a full on super-sweet indulgence best enjoyed with a complete lack of guilt and a giant glass of cold milk.
I recently made a batch of crispy chewy oatmeal and raisin cookies. Oaty, nutty and possibly slightly too worthy, they got me thinking about other cookie recipes to try, and I began my search for the ultimate chocolate chunk cookie recipe (note chunk, not chip – I think coarse chunks of chopped dark chocolate deliver a far superior cookie to their oversweet, manufactured cousin the chip).
After trawling my favourite foodie sites, I was delighted to find that a fellow blogger had already done most of the legwork for me. I arrived at Signe Johansen’s blog Scandilicious through Google search and will definitely be returning to read her simple, beautiful compilation of recipes and foodie thoughts. Signe’s ‘quest for the perfect chocolate chip cookie’ took her on a journey through baking books and tweets, allowing her to incorporate tips from various seasoned bakers while weeding out any strange or over-the-top suggestions. The result is the recipe below, which I knew I had to try as soon as I saw her pictures.
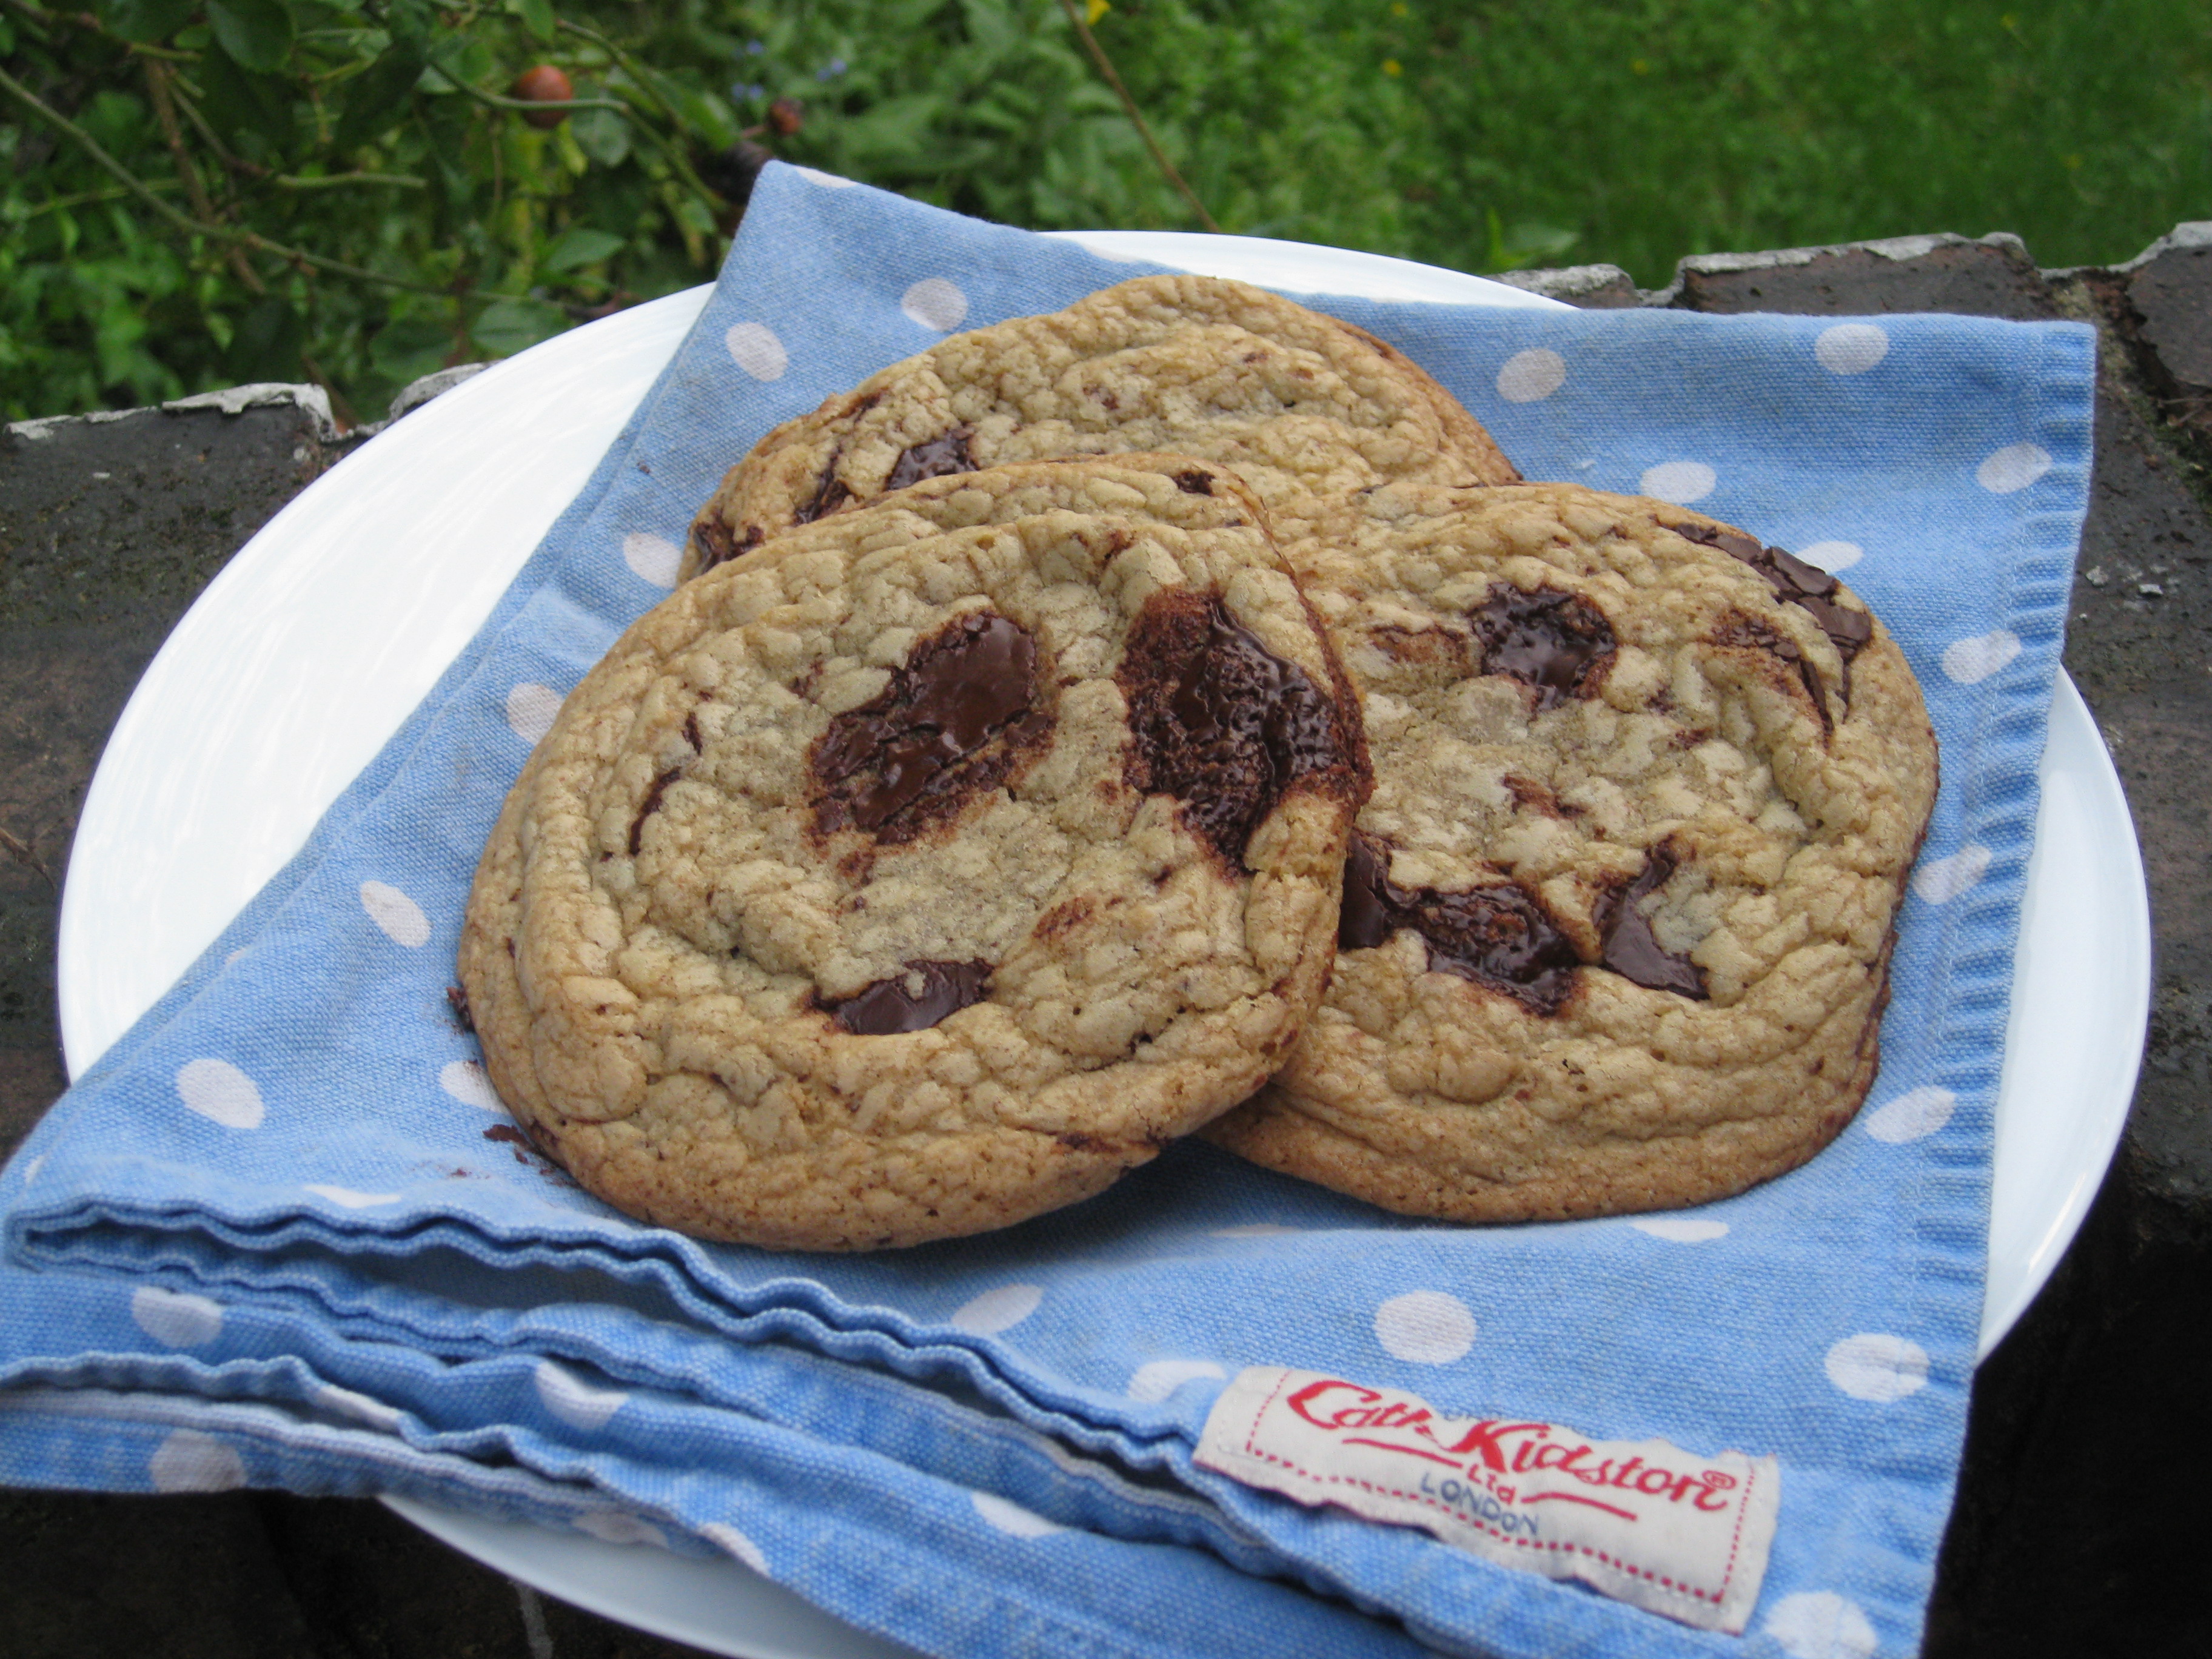
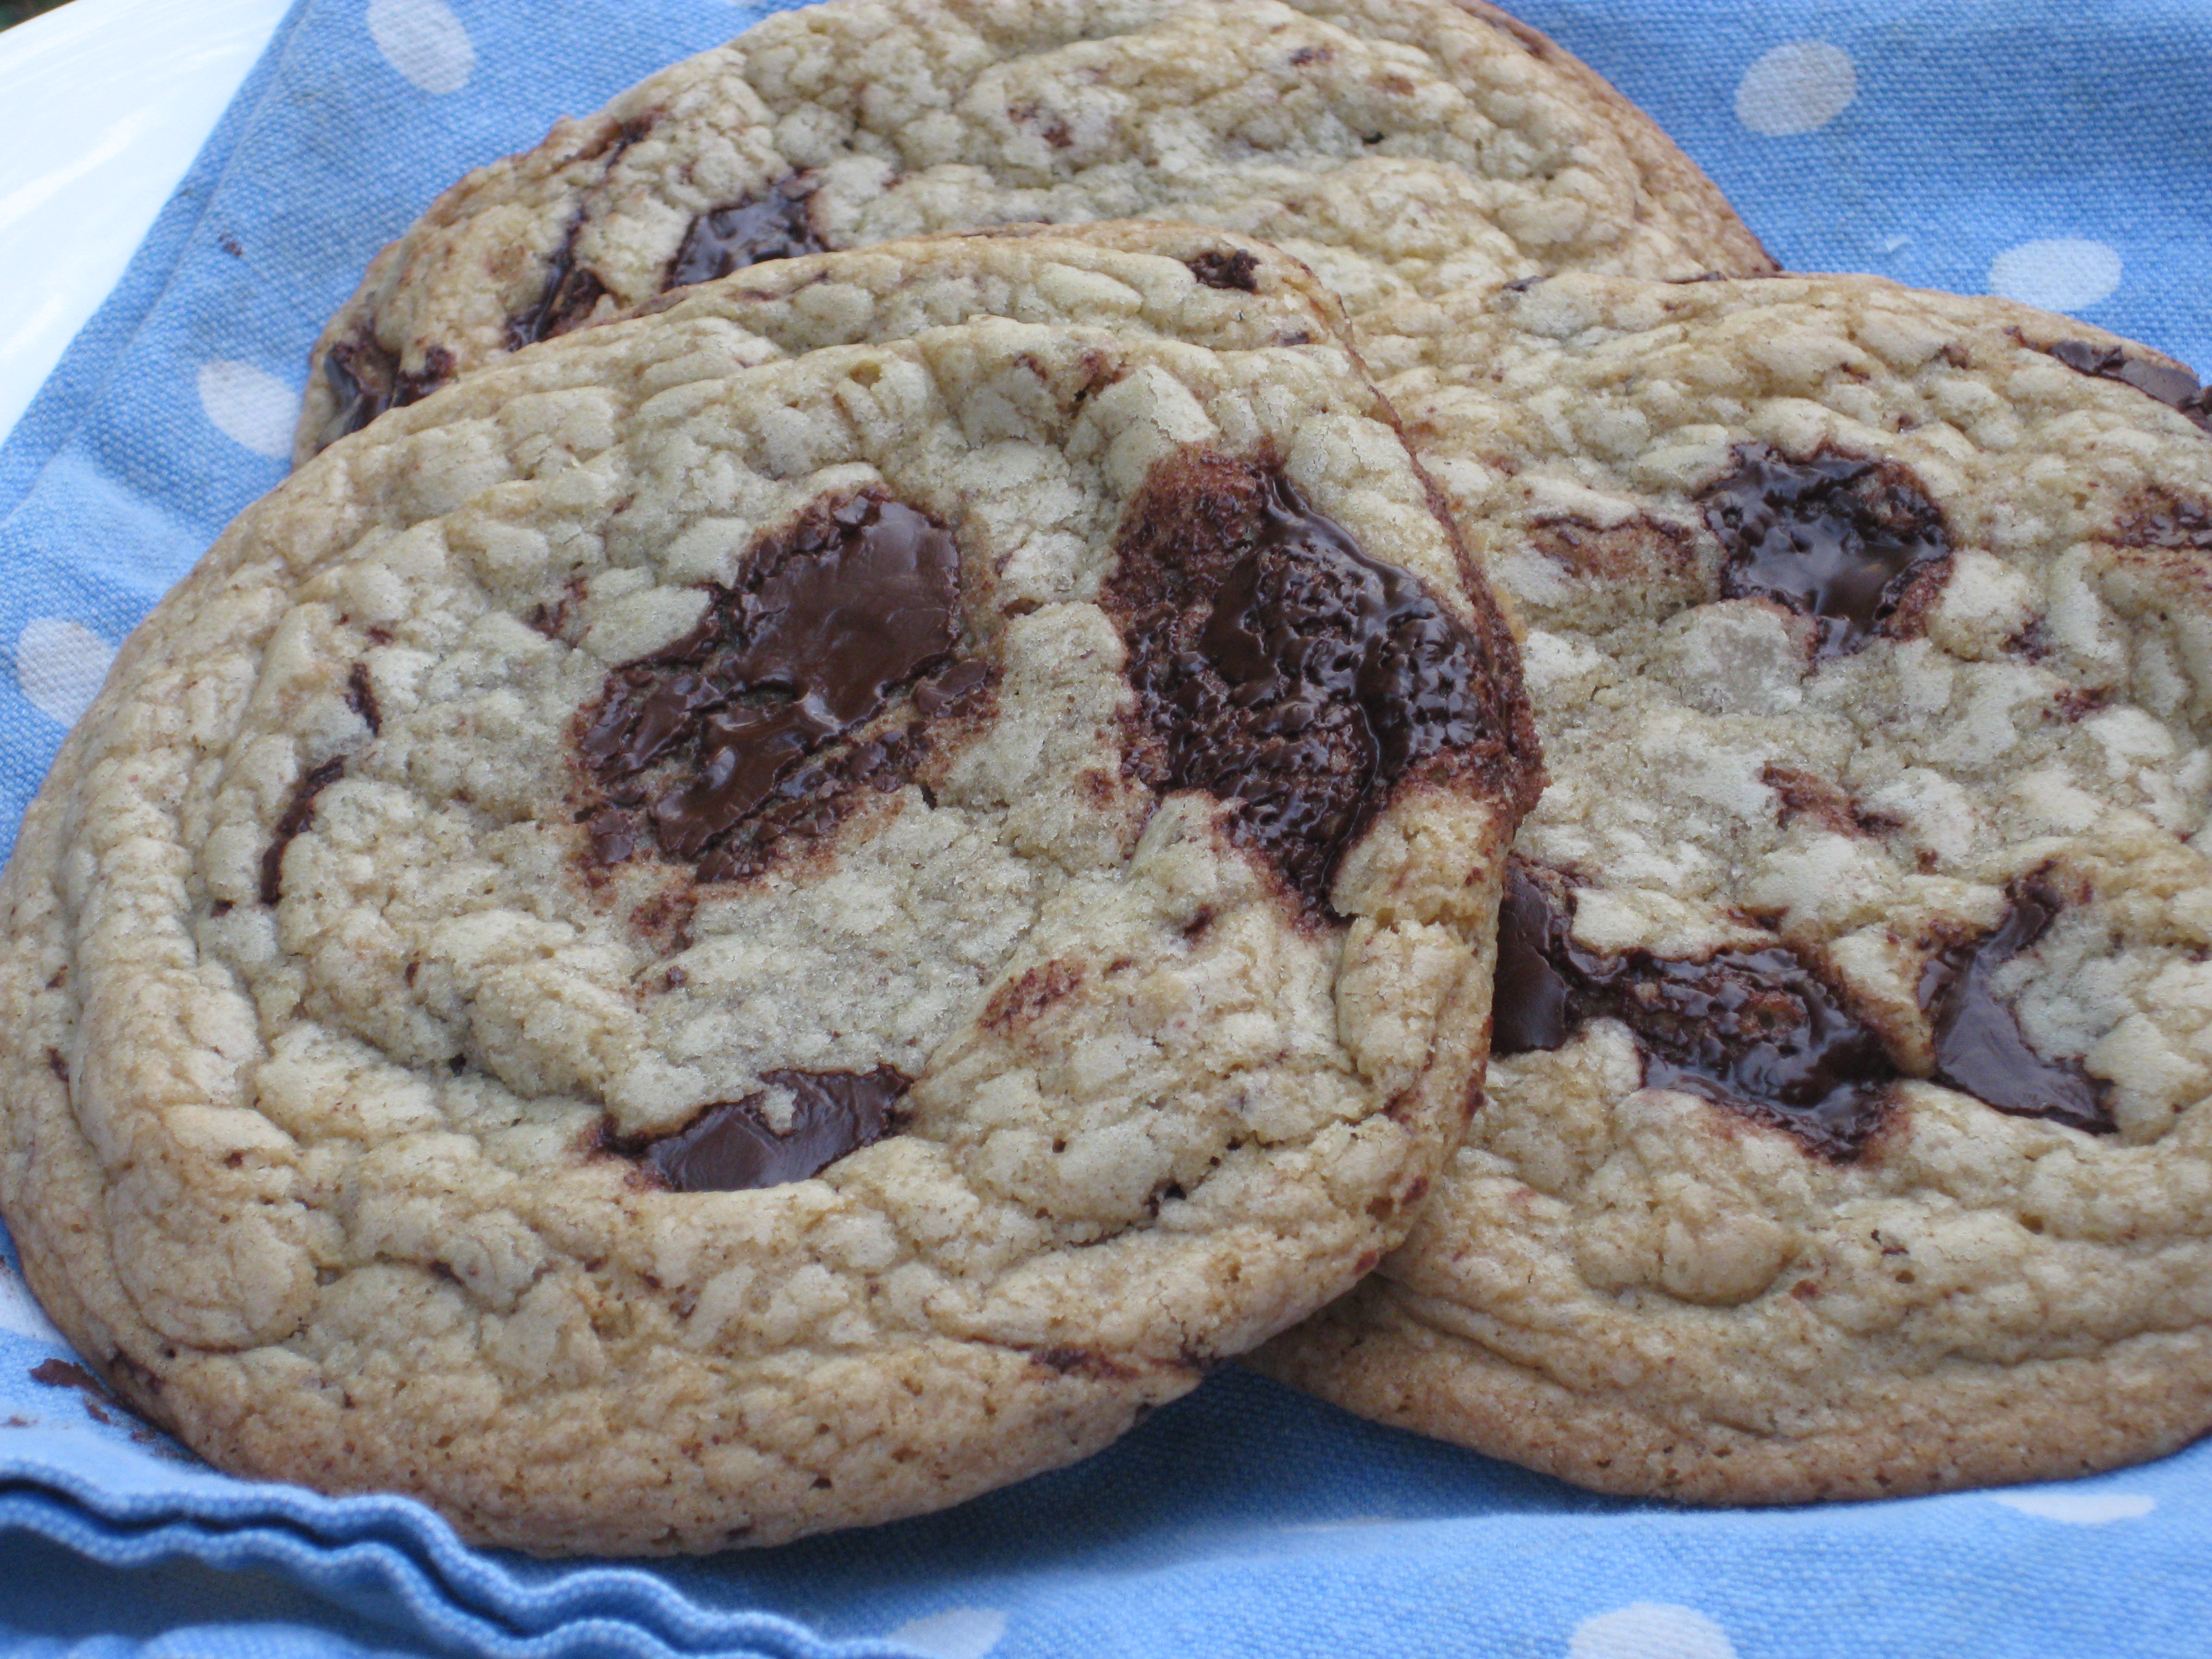
Chewy, crispy and not too sweet, with delicious chunks of dark chocolate, this one’s going straight to the top of my ultimate chocolate chunk cookie leader board. I think it’s going to be hard to top, but if you think you’ve got a better recipe I’d love to try it out so please get in touch!
Incredible giant chocolate chunk cookies (adapted from Signe Johansen’s blog)
Ingredients
- 300g plain white flour
- 1/2 tsp baking powder
- 1/2 tsp sea salt
- 180g salted butter, melted
- 200g light brown muscovado sugar
- 100g golden caster sugar
- 1 large free range egg plus one large yolk
- 2 tsp vanilla extract
- 150g dark chocolate, 70% cocoa minimum, coarsely chopped
Method:
- Preheat the oven to 160 C/ 325 F. Line two baking sheets with baking parchment and set aside.
- Sieve together the flour, baking powder and sea salt.
- Whisk together the melted butter together with both sugars, then add the large egg, extra yolk and vanilla to the mixture. Whisk again and then stir in the flour, beating the mixture for a few minutes to stretch the gluten strands.
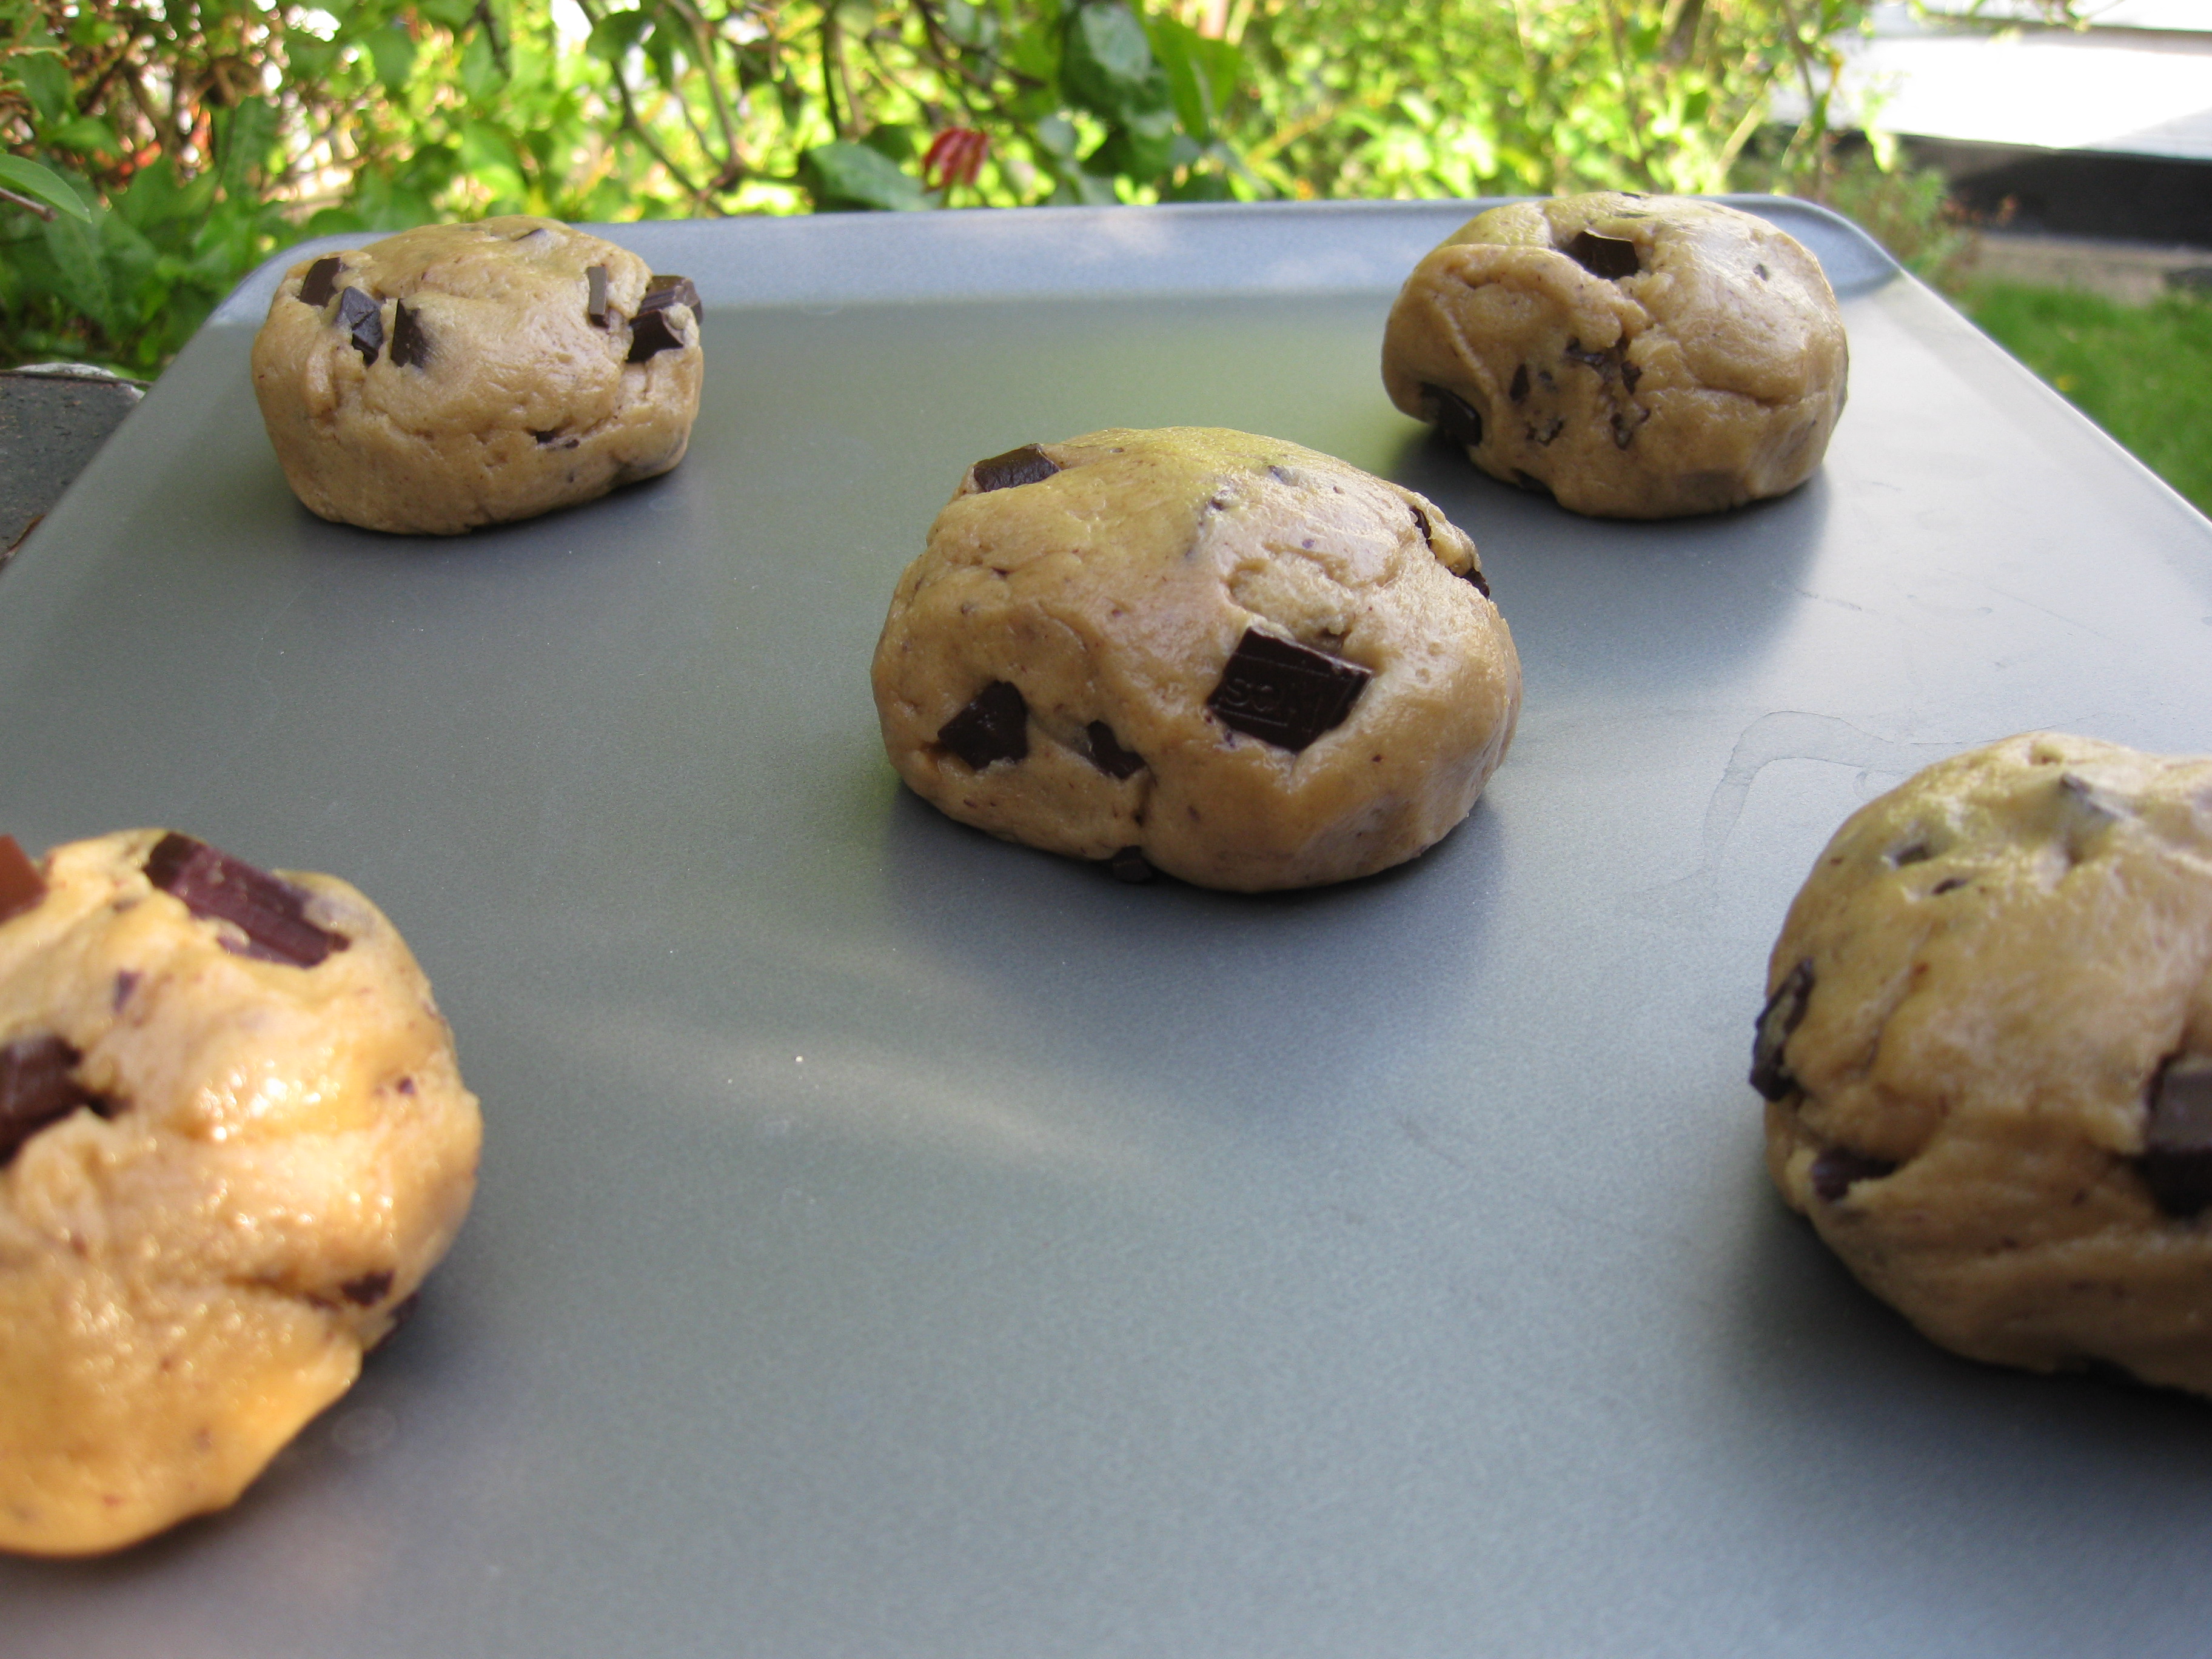
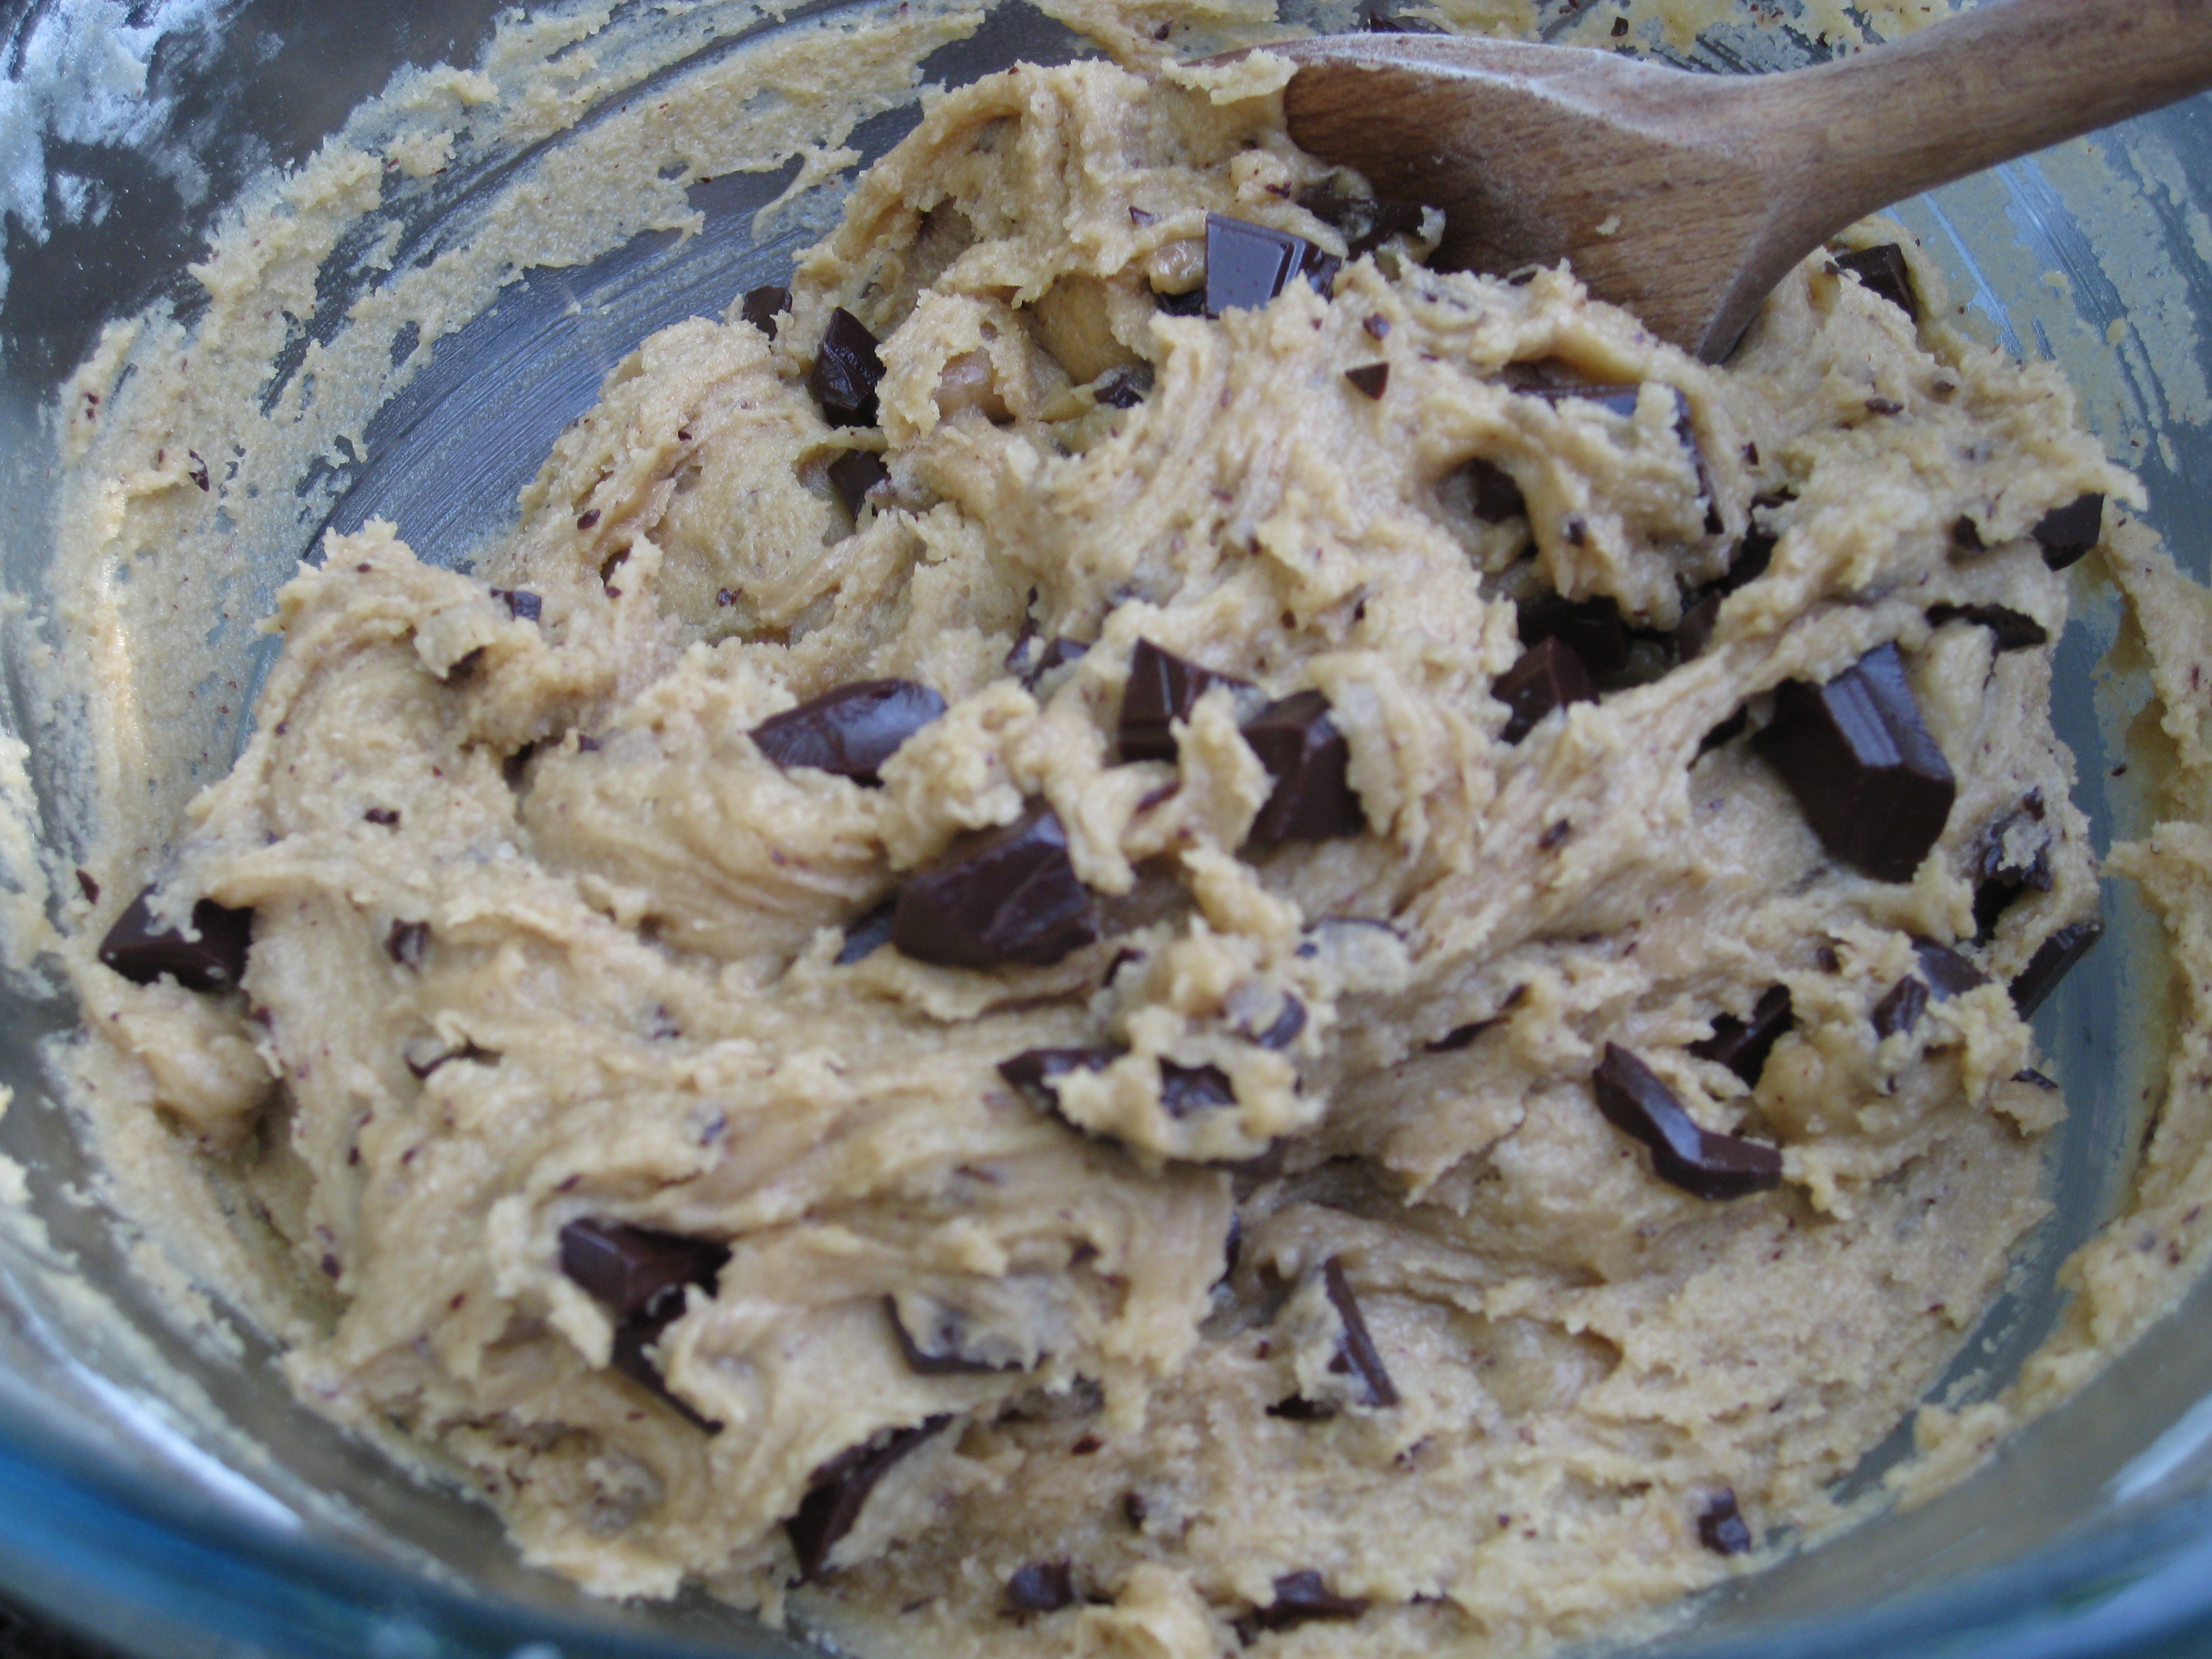
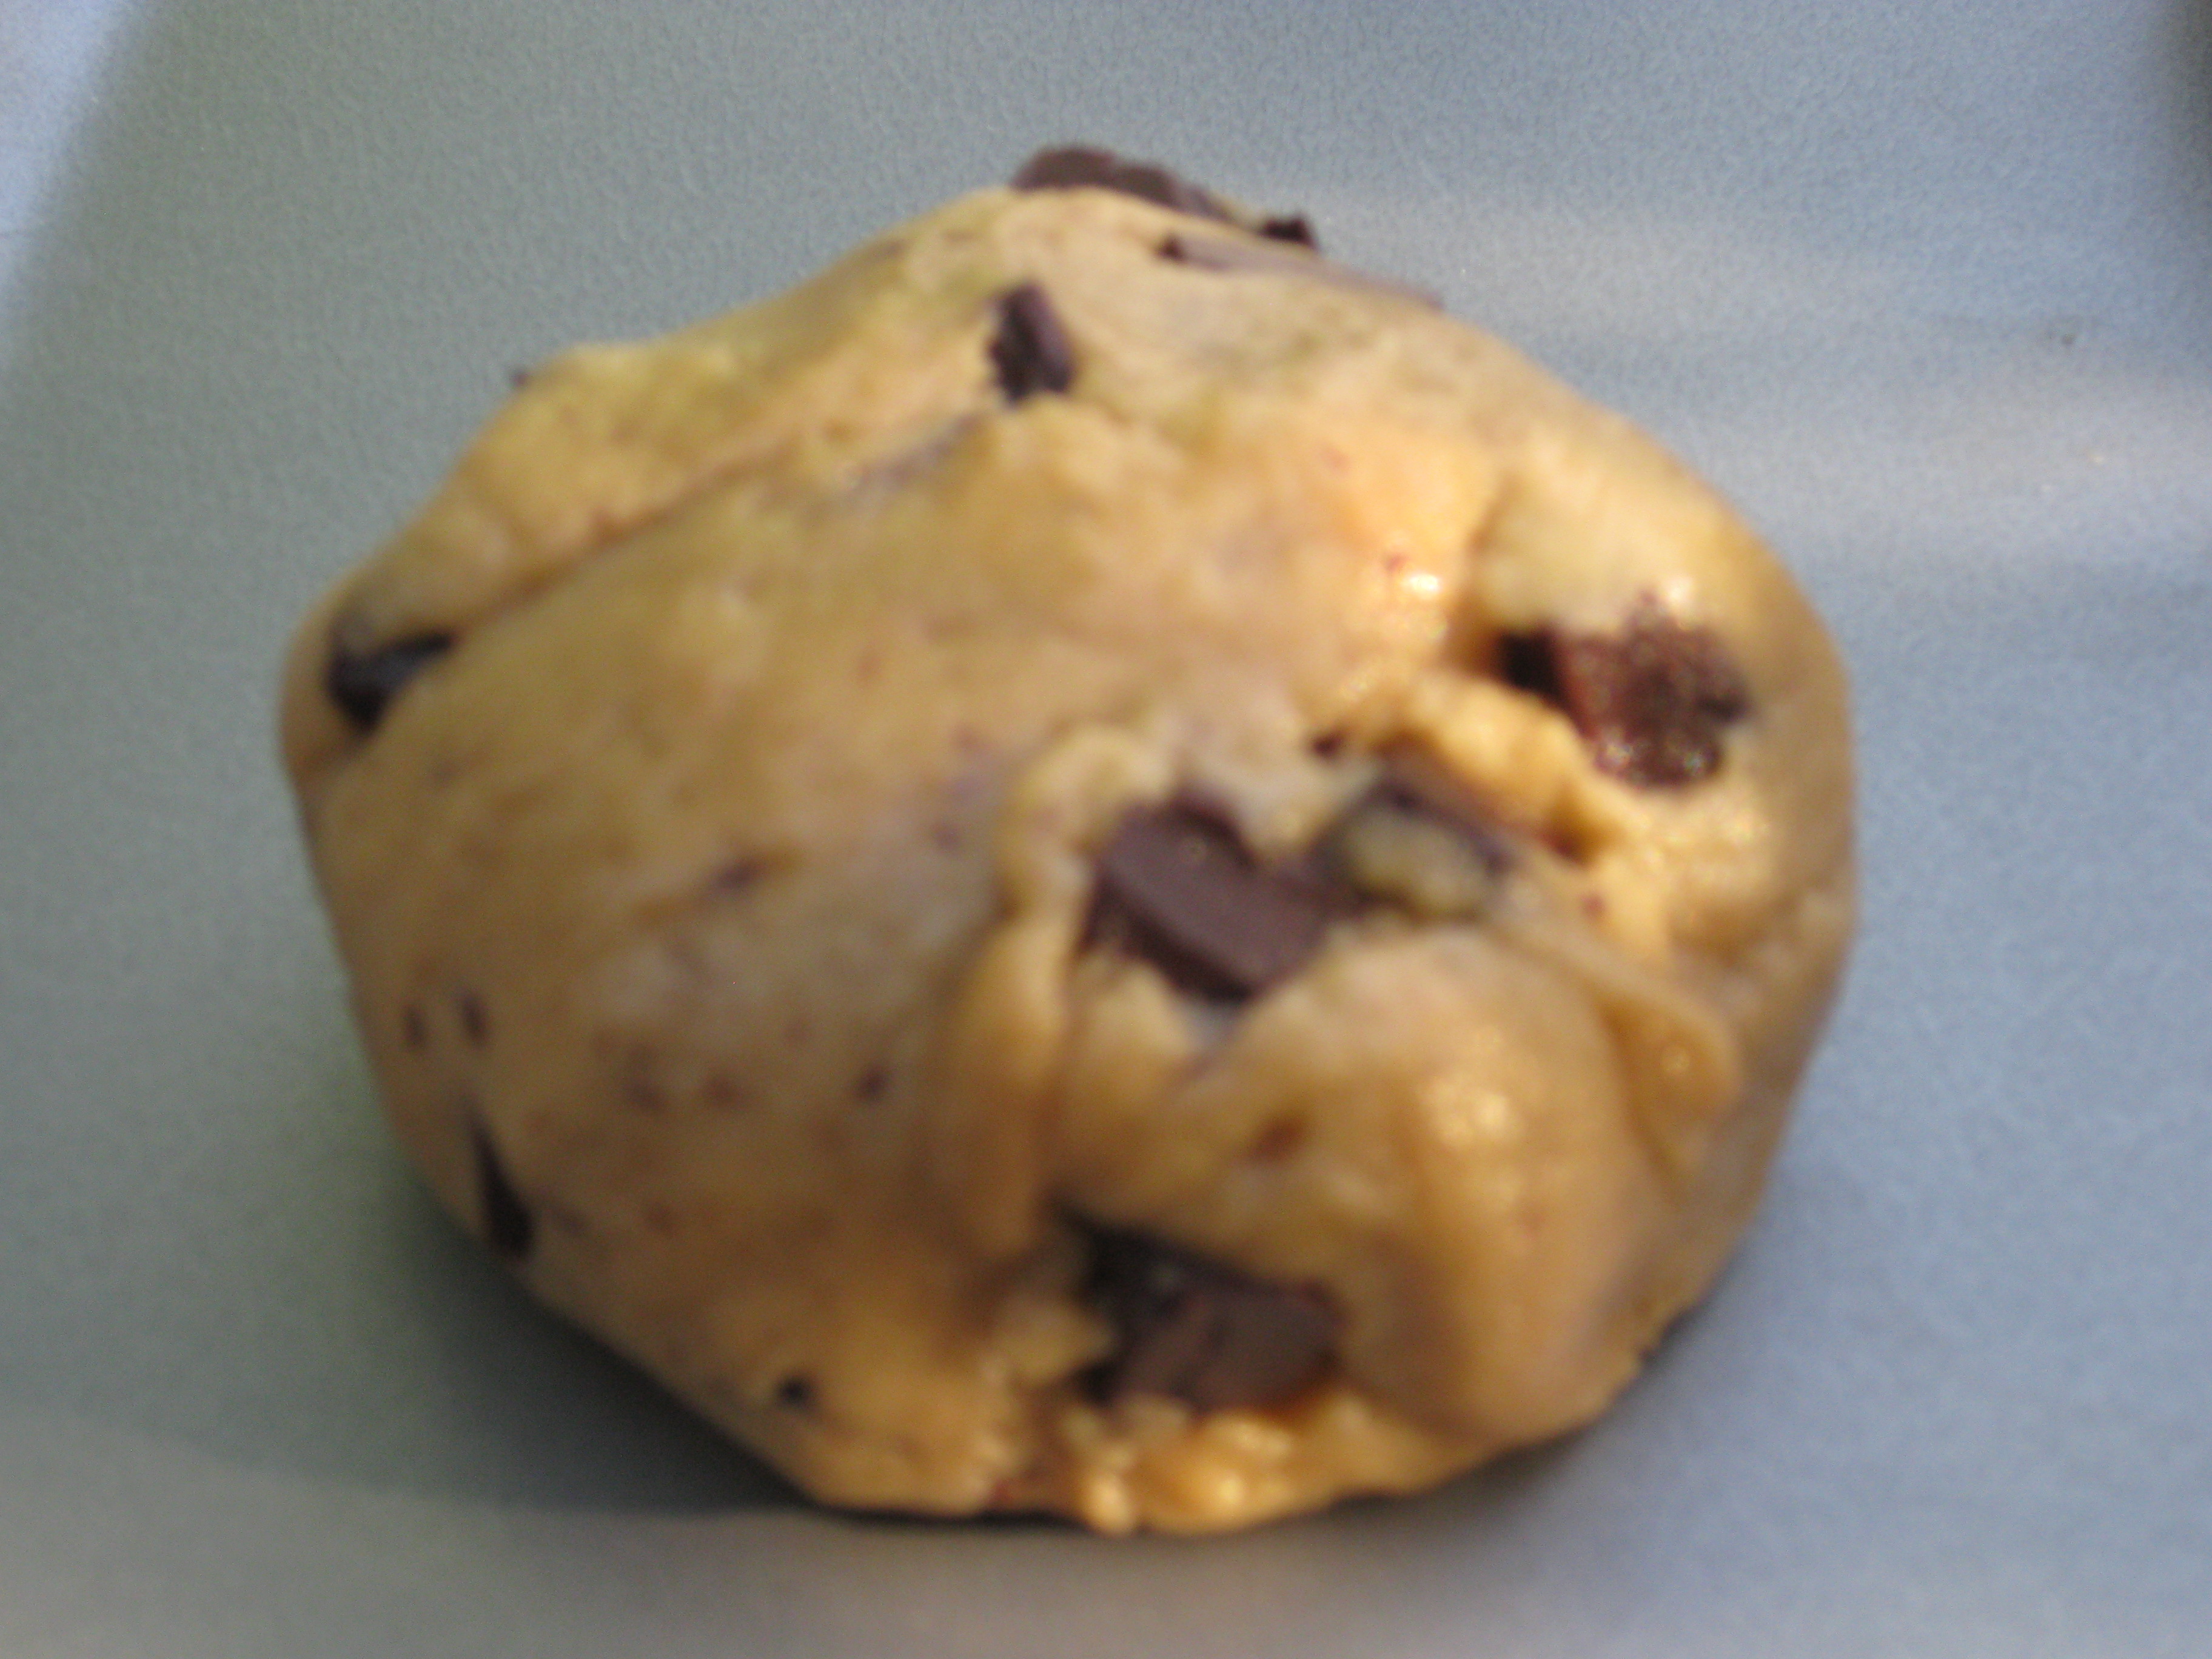
- Fold in the chocolate chips. The cookie dough should feel almost dry now, like a solid lump (Signe says she wishes she’d taken photo at this stage to illustrate, so I made sure I did!) – don’t let the chocolate chips cluster in just one part of the dough.
- Opinion varies on whether to chill the dough before baking or just cook straight away. I was hungry and impatient, but it was a pretty large batch of dough so I divided the mixture in two, chilling half and spooning the other half onto the tray with an ice cream scoop (To note, ice cream scoop sized dough balls result in HUGE cookies!)
- Bake for 15-18 minutes until the cookies are golden, the sides feel firm-ish to the touch but the centre is still quite soft. This is really important as you don’t want to overcook and lose that slight squidgy texture.
- Cooling the cookies on the baking sheets helps keep their chewy consistency so I’d definitely recommend this.
- Once cooled, remove from the tray and serve or store in an air tight container. Yum.
(I made the second batch of chilled dough into smaller cookies, about 2/3 of the size of the palm of my hand. The resulting cookie was chewier and crispier but I’m not sure if this was down to size difference or the fact that I’d chilled it. Not a very fair experiment but I’m not that fussed, both batches tasted incredible)
Crispy, chewy oatmeal raisin cookies
Oats are pretty amazing things. Packed with nutrients including vitamin E, zinc, selenium, copper, iron and more, they are a good source of protein (I can almost hear carniverous boyfriend shaking his head at this claim. Ok. A good source of protein that tastes good in cookies. Chewy chicken breast cookies just aren’t going to cut it with this little loaf). They can even help lower cholesterol and blood pressure. Basically, oats are a good thing.
I first tasted Bircher Muesli several years ago on holiday in the Caribbean, and have been searching for the perfect recipe ever since. Packed with oats, fruit, and mulchy, milky goodness, it is the perfect healthy oaty breakfast. I think I may have just about cracked the perfect blend – blog post to follow soon – but in the meantime, my various attempts mean I have a big old stash of rolled oats sitting in my cupboard.
Some of them have been turned into porridge. A few more met a delicious, sticky end in my adaptation of Dan Lepard’s fudgy tahini flapjacks. And this weekend, another handful made its way into a batch of crispy, chewy oatmeal raisin cookies.
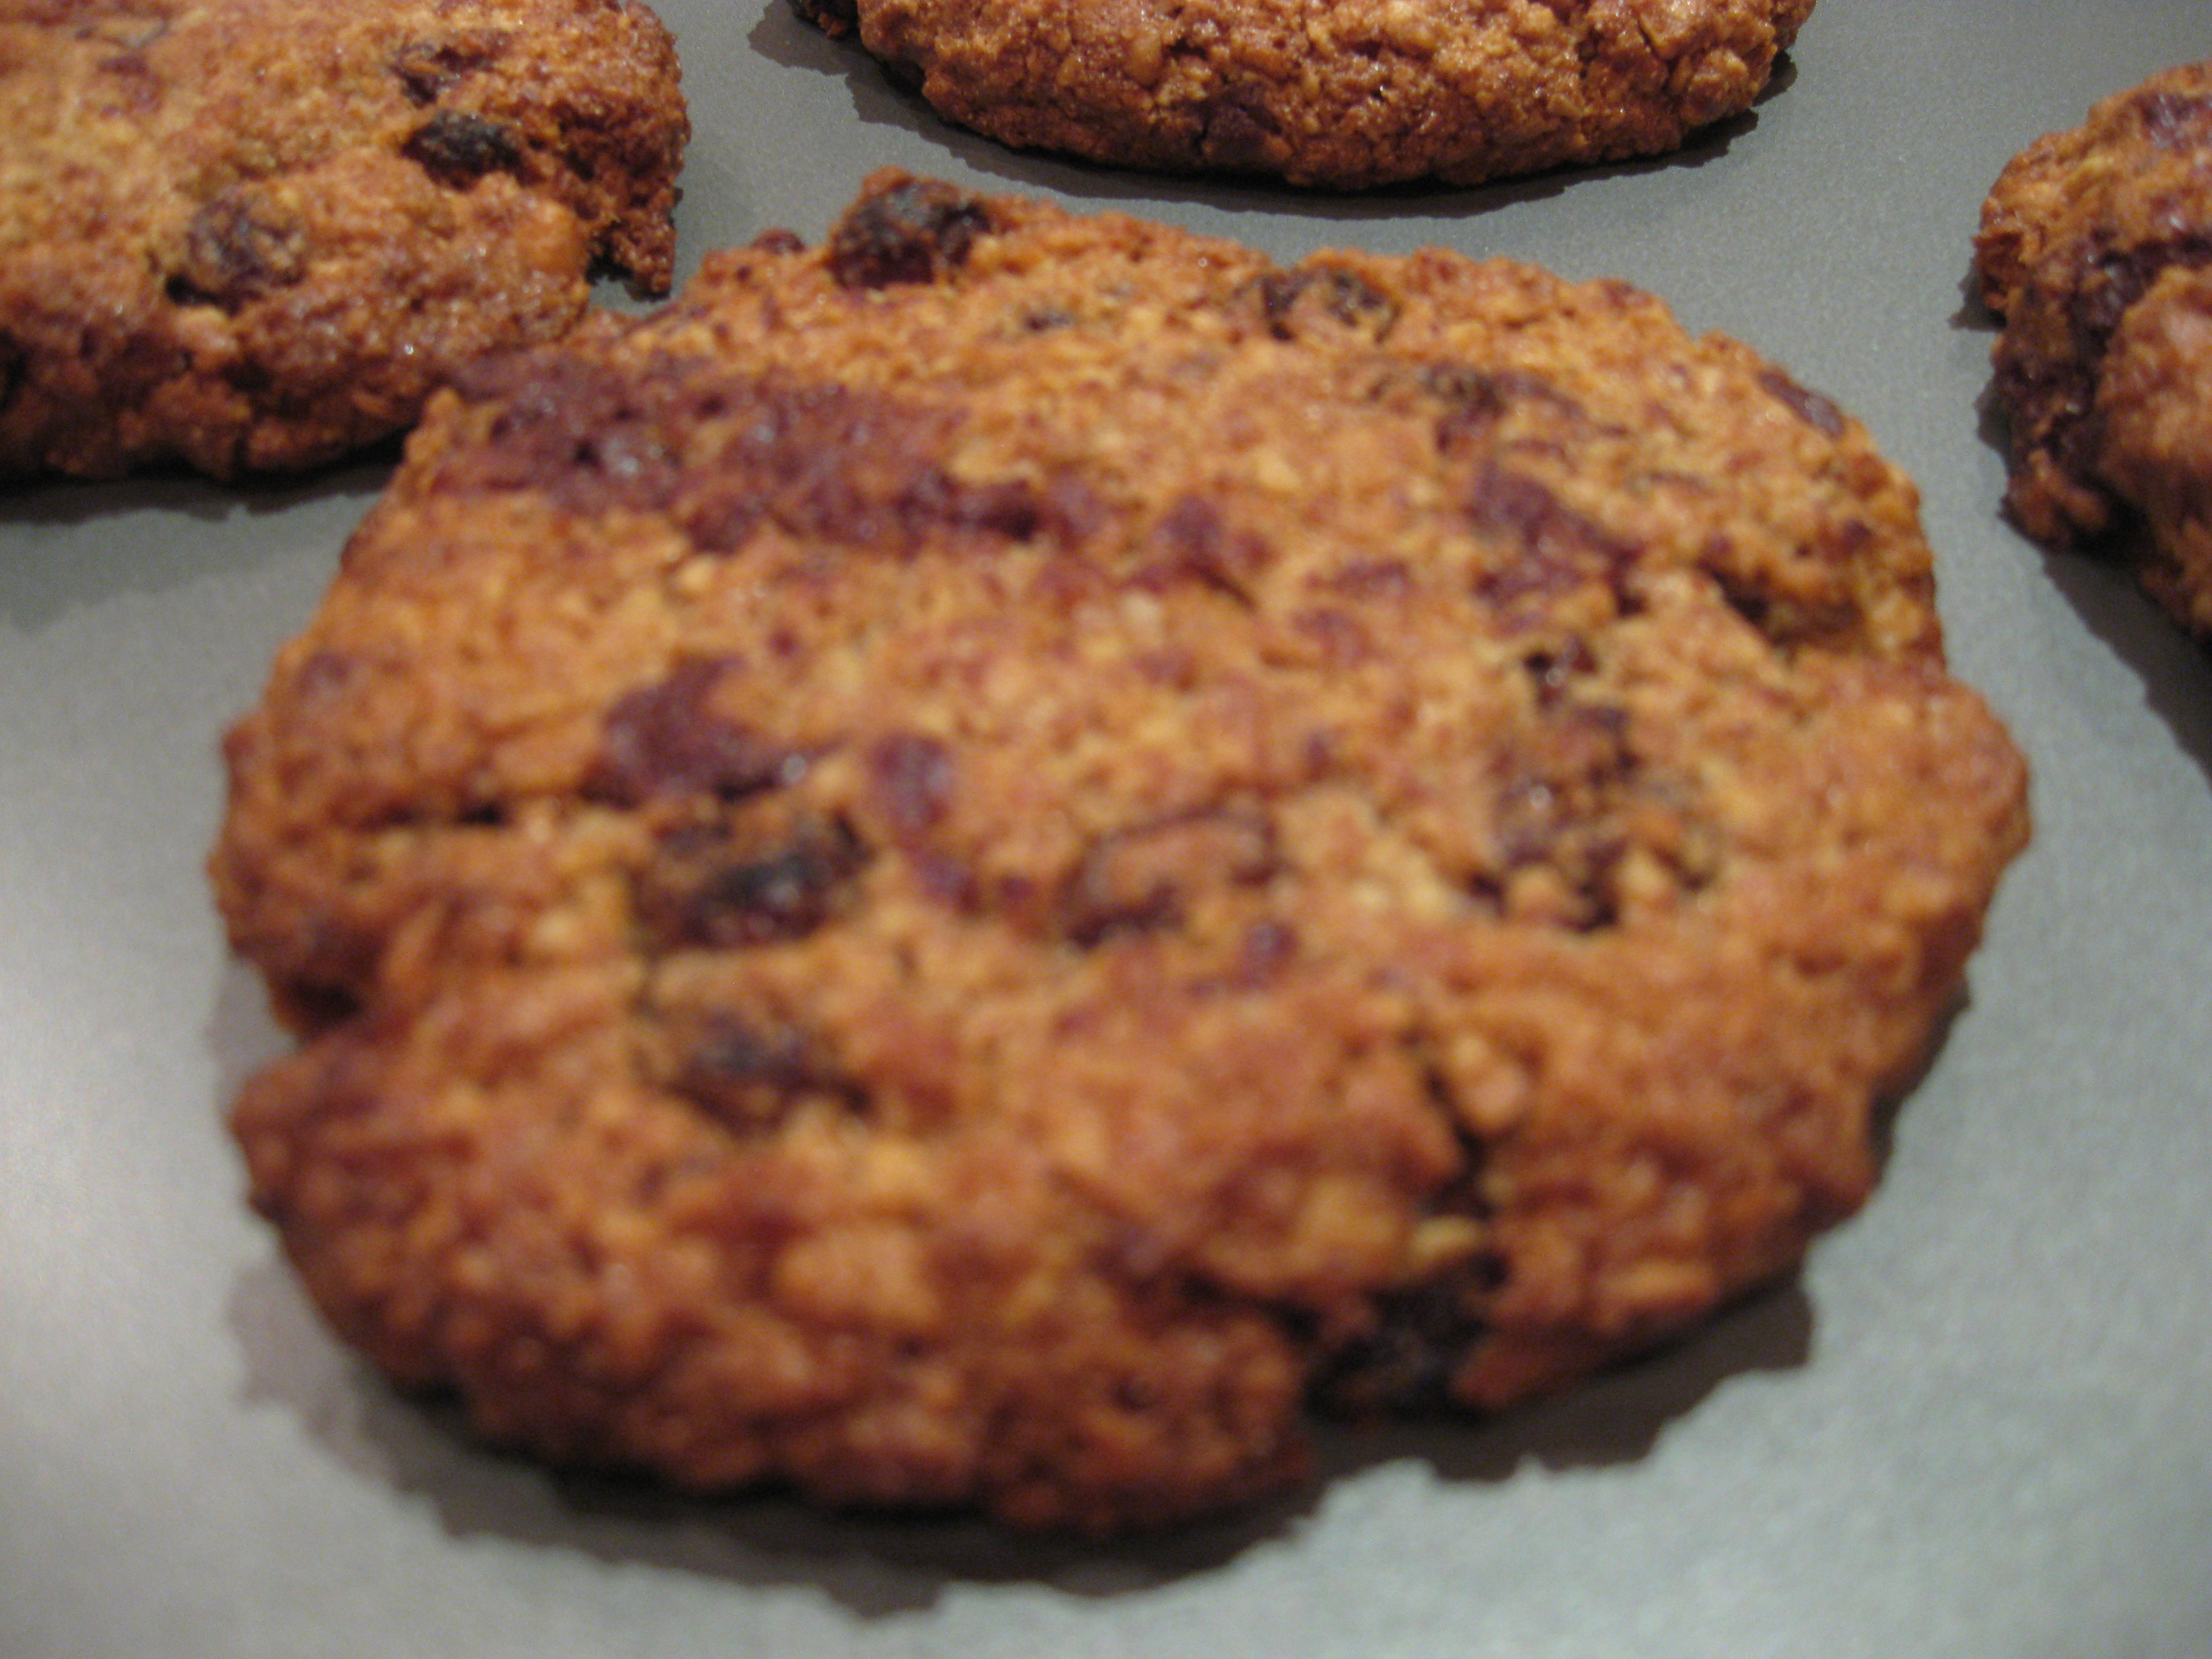
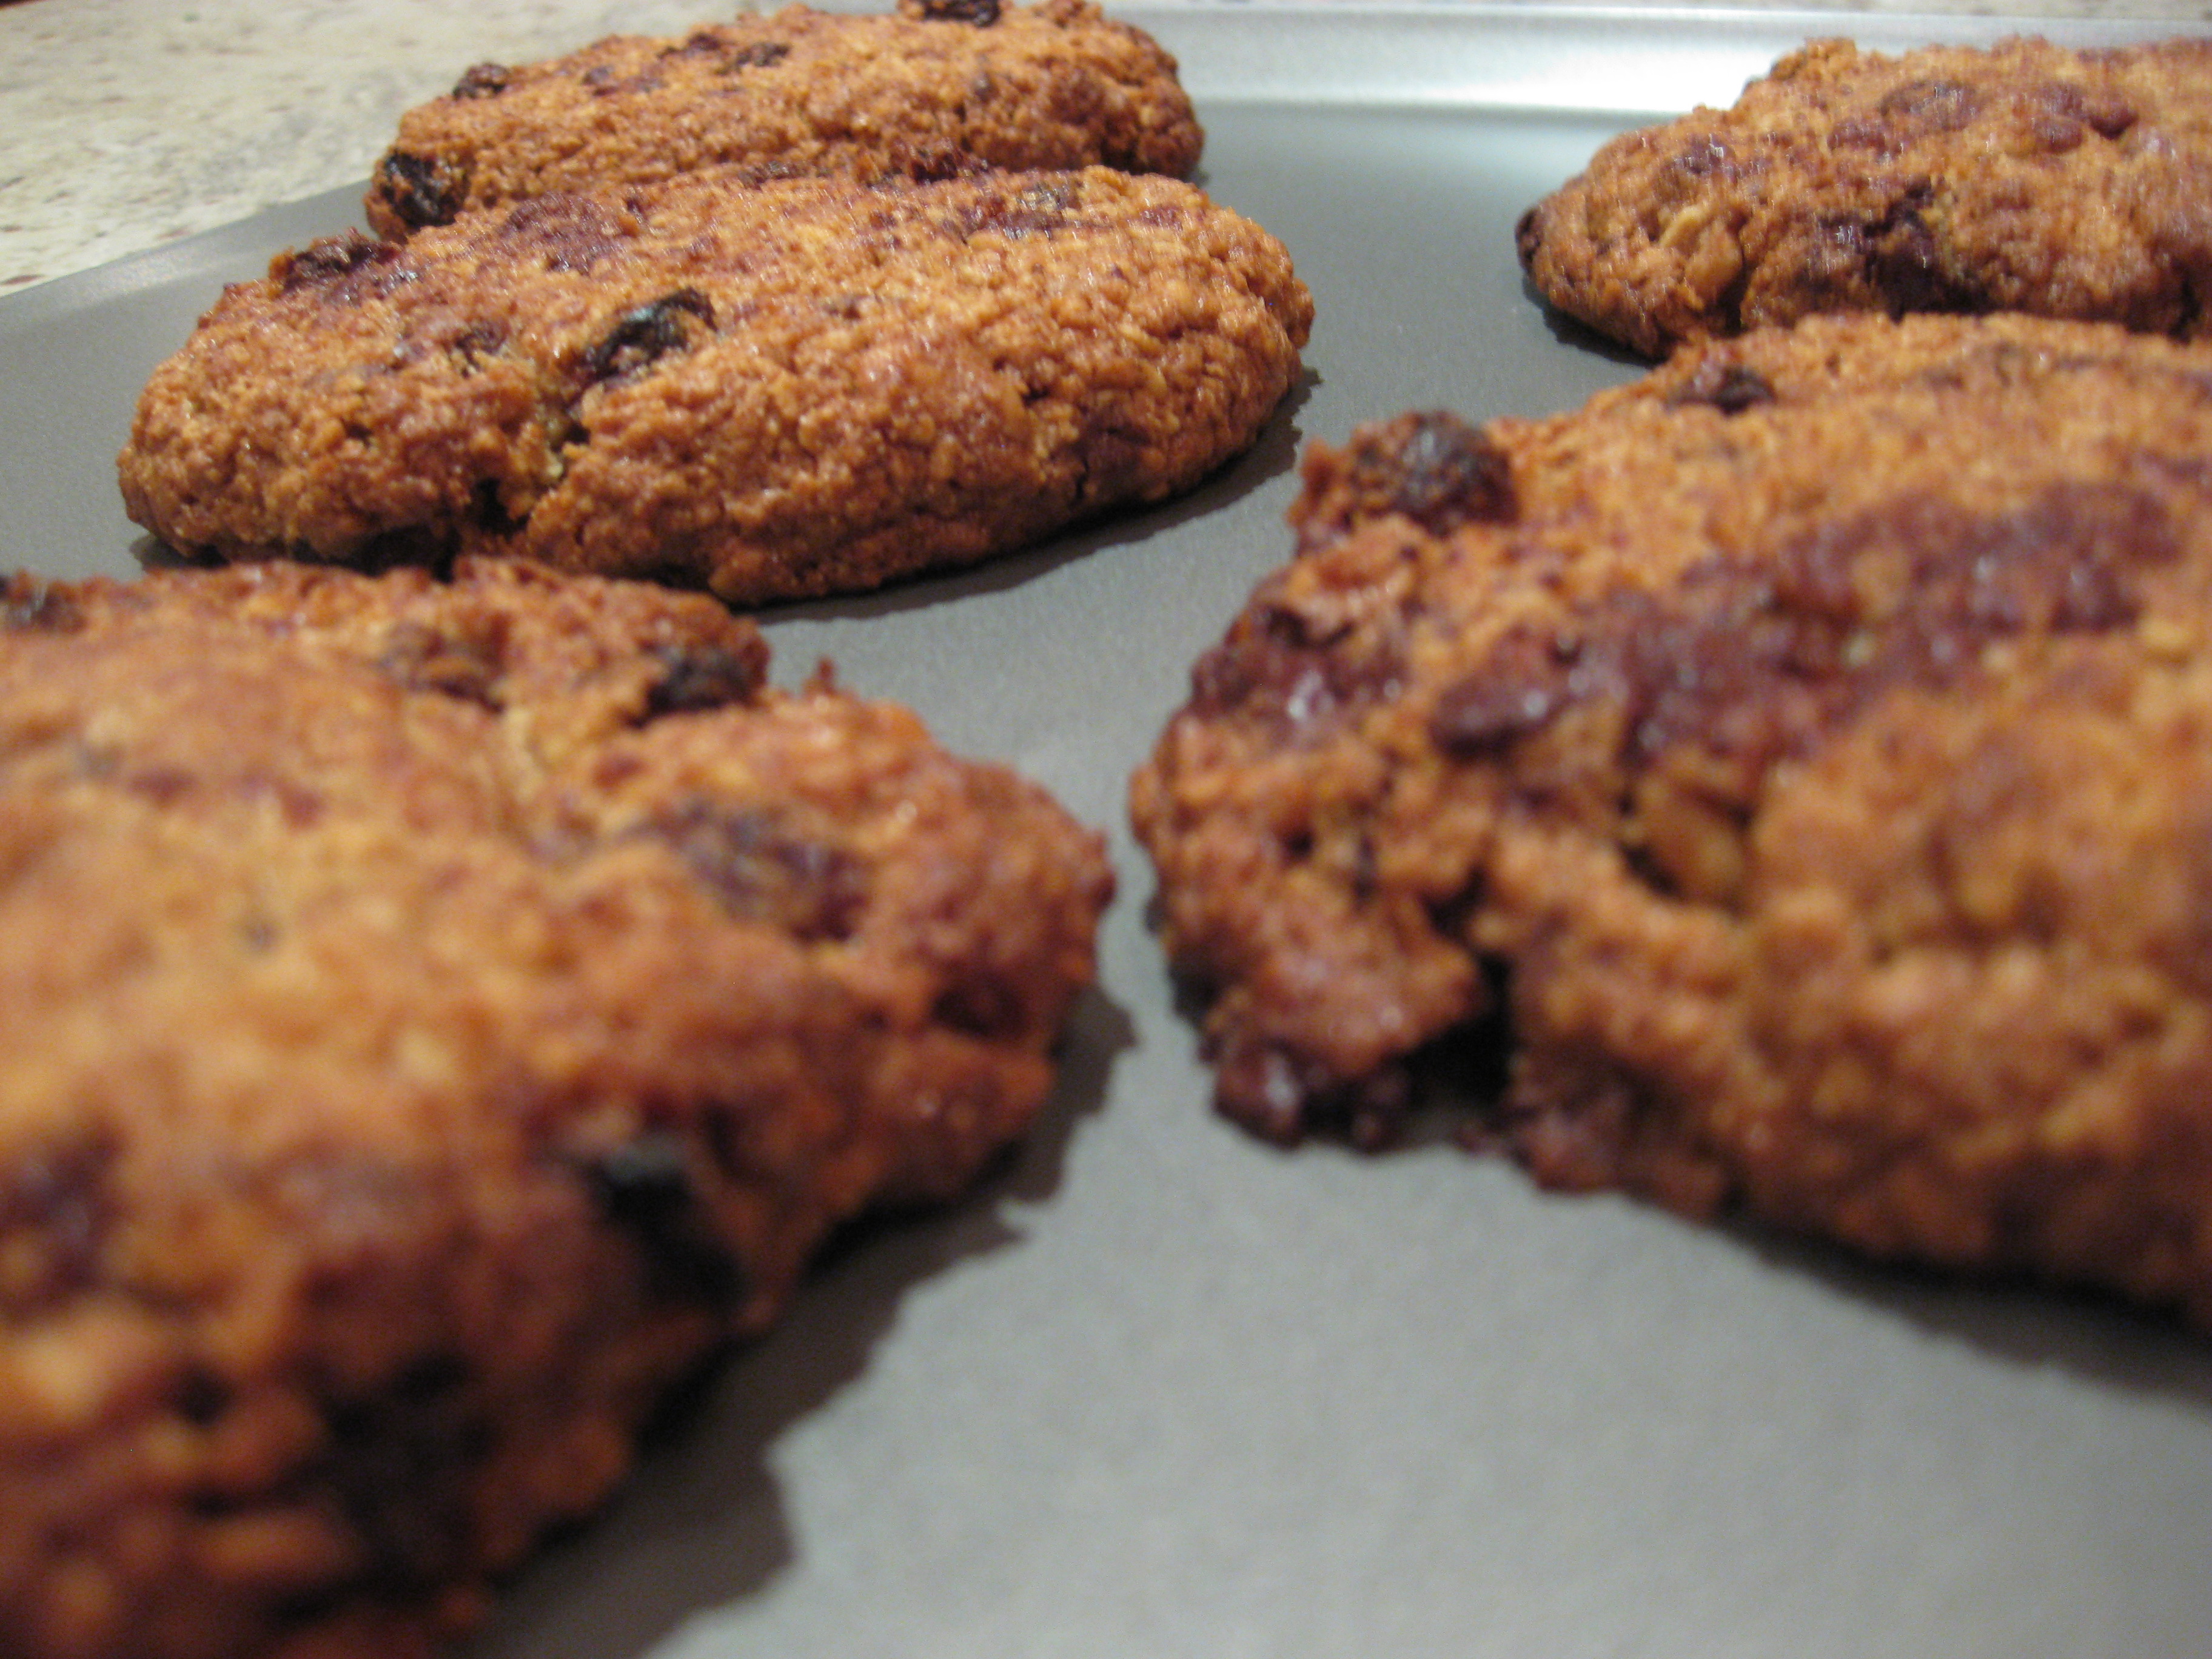
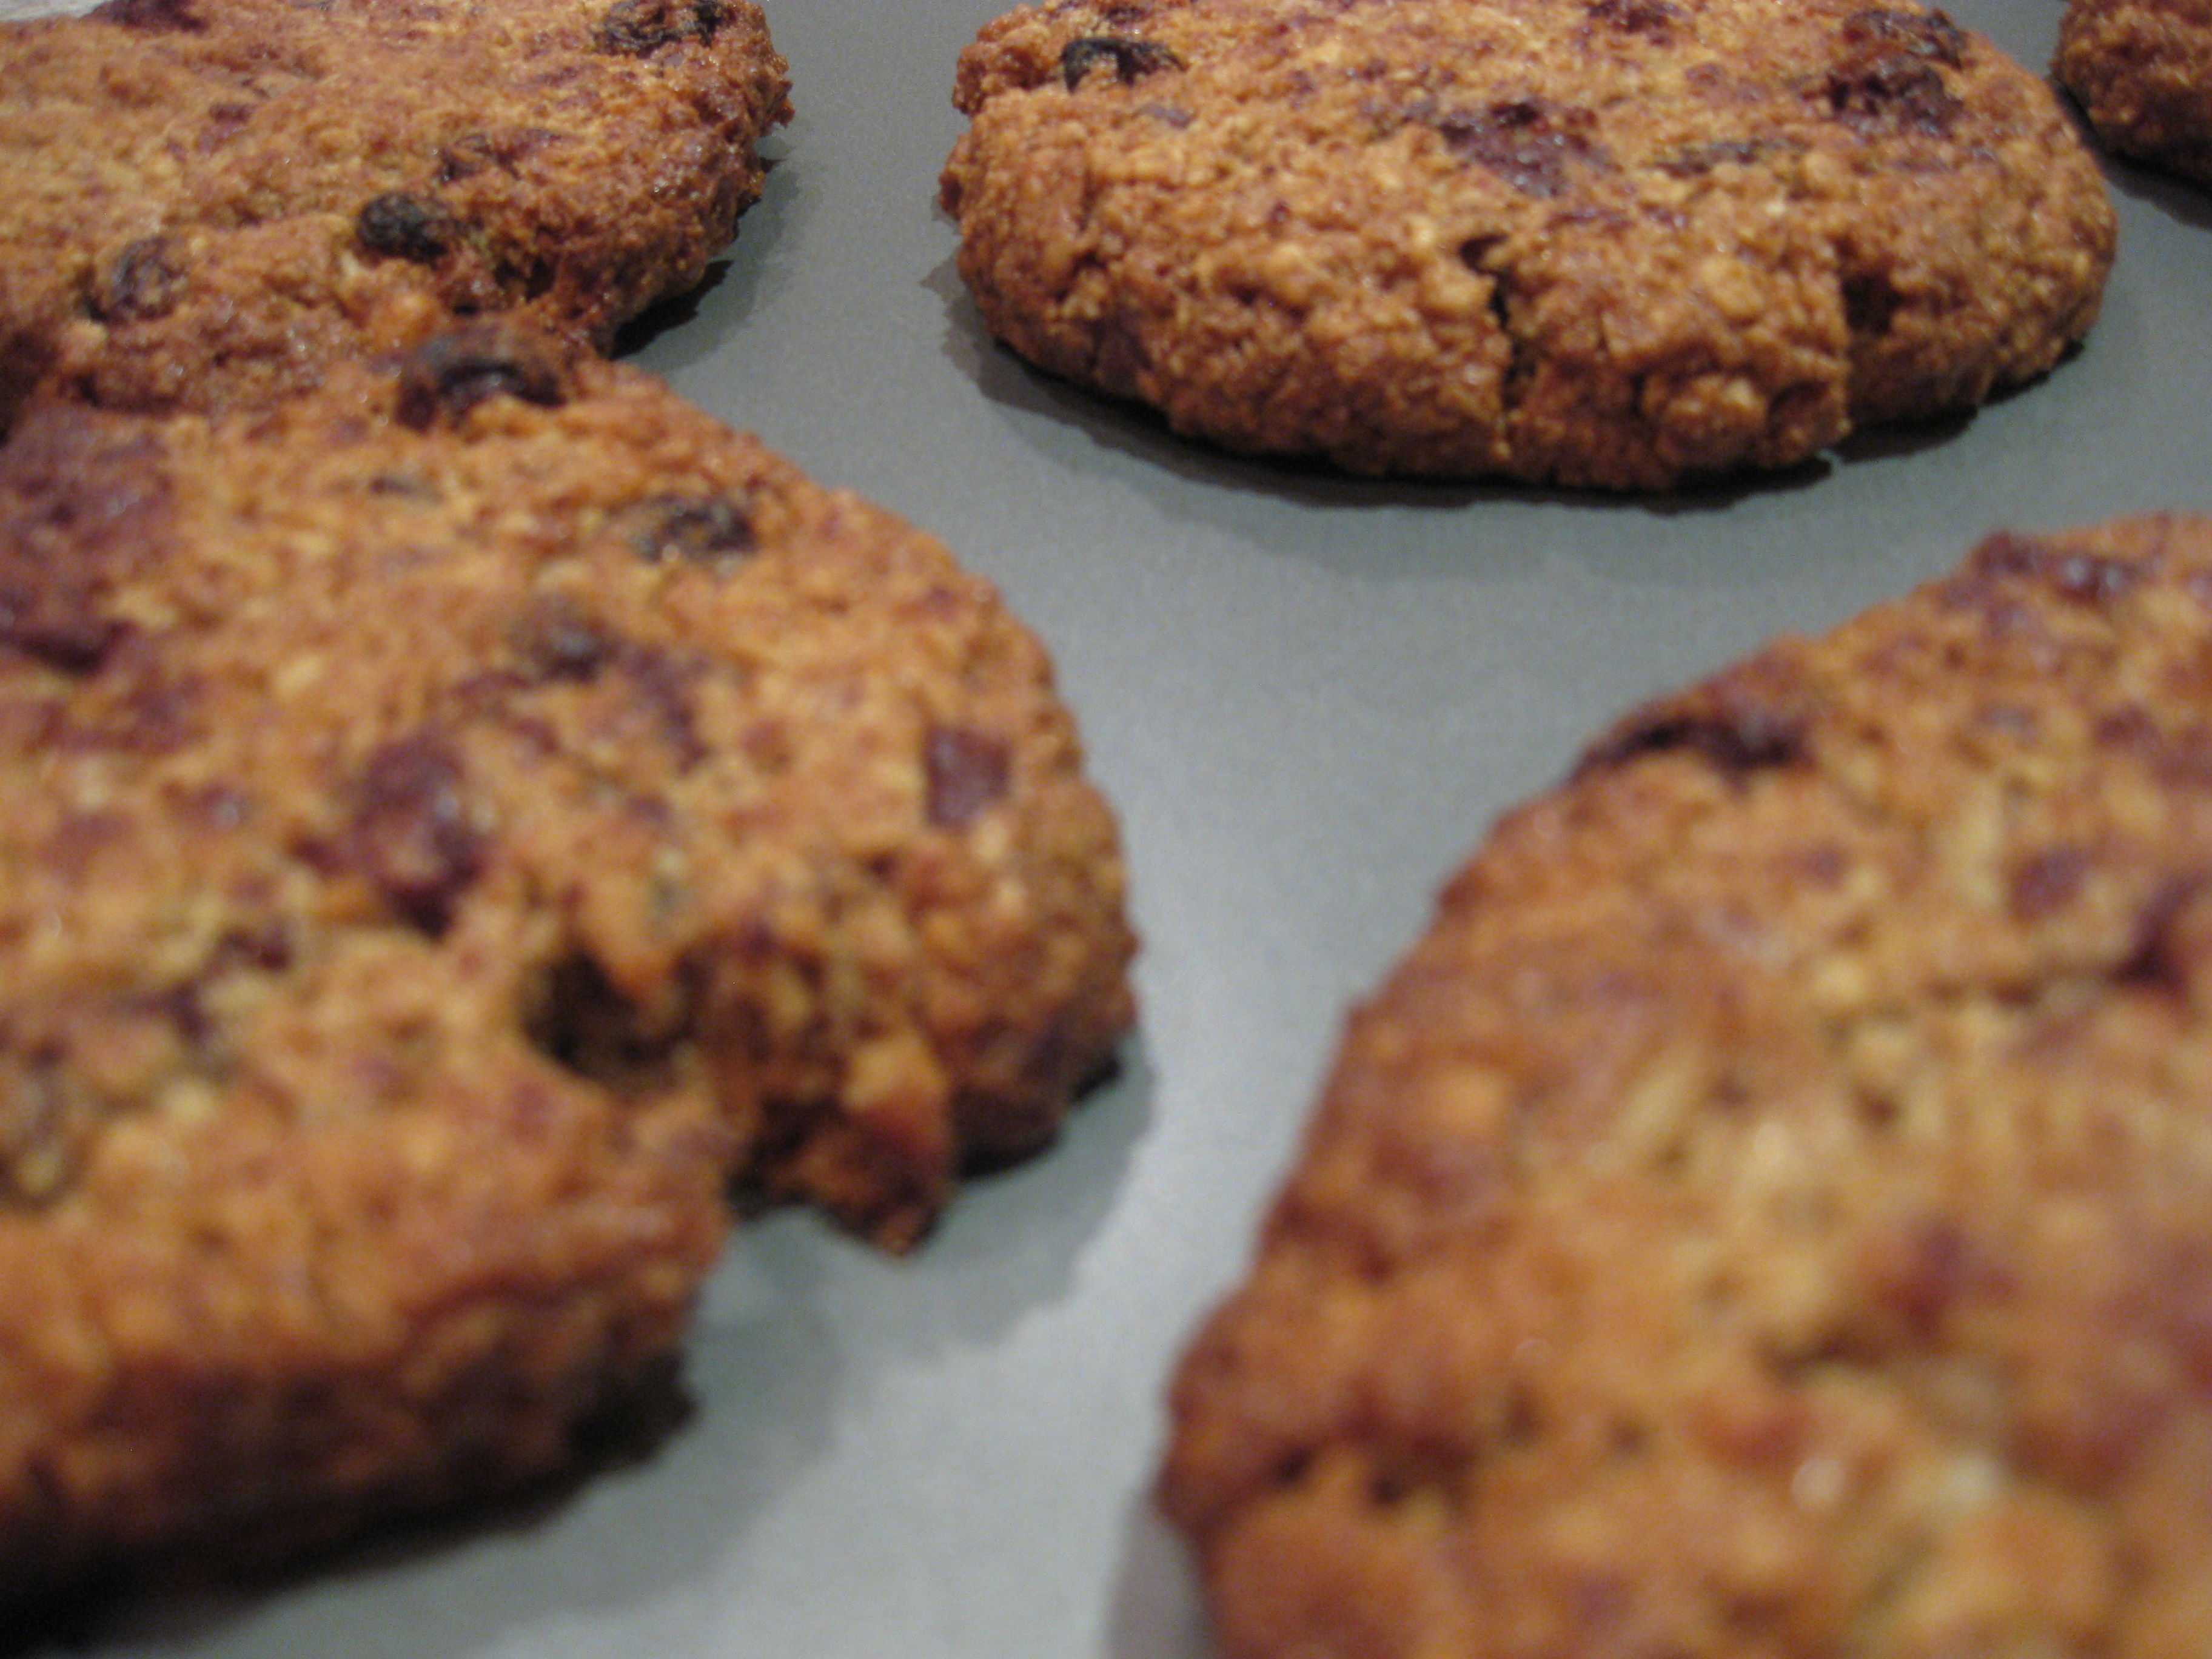
I’m quite particular when it comes to cookies. I like them big (at least the size of my palm), thick and chewy, with a slightly crispy edge. I’m not a tea drinker so I don’t care about dunkability – I want the real American doughy deal, perfect with a glass of milk and more of a delicious dessert than a flimsy biscuit. Buttery, chewy and packed with chunks of chocolate, fruit and nuts, this recipe is the answer. I slightly overcooked mine as you can see from the pictures, but follow the timings below, and they should be spot on.
Tip: To get a thick, chewy cookie that doesn’t collape in a buttery puddle across the baking sheet when heated, chill the dough for at least 2 hours before cooking. Alternatively you could freeze the slightly flattened cookie balls and cook on demand for that ‘fresh out the oven’ warmth – they just need a few minutes longer.
Crispy, chewy oatmeal raisin cookies with walnuts
75g softened butter
85g soft brown sugar
1 tsp vanilla essence
1 egg, beaten
50g wholemeal flour
1 tsp ground cinammon
1/2 tsp bicarbonate of soda
1/2 tsp salt
75g rolled oats
75g raisins
50g chopped walnuts
50g chocolate chips (optional)
Cream together the butter, sugar, vanilla essence and egg. If you don’t have an electric mixer you can do this by hand, but it really needs to be as smooth as possible, so a good 5-10 mins of beating is required. (healthy oats and an arm workout, this recipe is a winner!)
In a separate bowl whisk together the wholemeal flour, cinammon, bicarbonate of soda and salt. Add the rolled oats then stir into the butter and sugar mixture. Stir in the raisins, walnuts and chocolte chips if using.
Shape the dough into small rounds, flatten slightly and chill in the fridge for two hours. This is optional, but I’d recommend you be patient if you can, the results definitely are better. The dough could make anything between five and twenty cookies depending how giant you like them.
Preheat the oven to 180 degrees C/350 degrees F. Place cookies two inches apart on a non stick baking tray. Bake for 10-15 mins until just coloured – this will give a crispy edge but a soft, doughy middle.
Leave to cool and enjoy.
Golden, salty, oily focaccia
Having recently eaten some good, but slightly unremarkable, focaccia at Gemma Tuley’s Fulham restaurant, Manson, I wanted to have a go at making my own. I’m loving The River Cottage Bread handbook at the moment so I decided to trust Daniel Stevens’ detailed directions and advice and give his recipe a go.
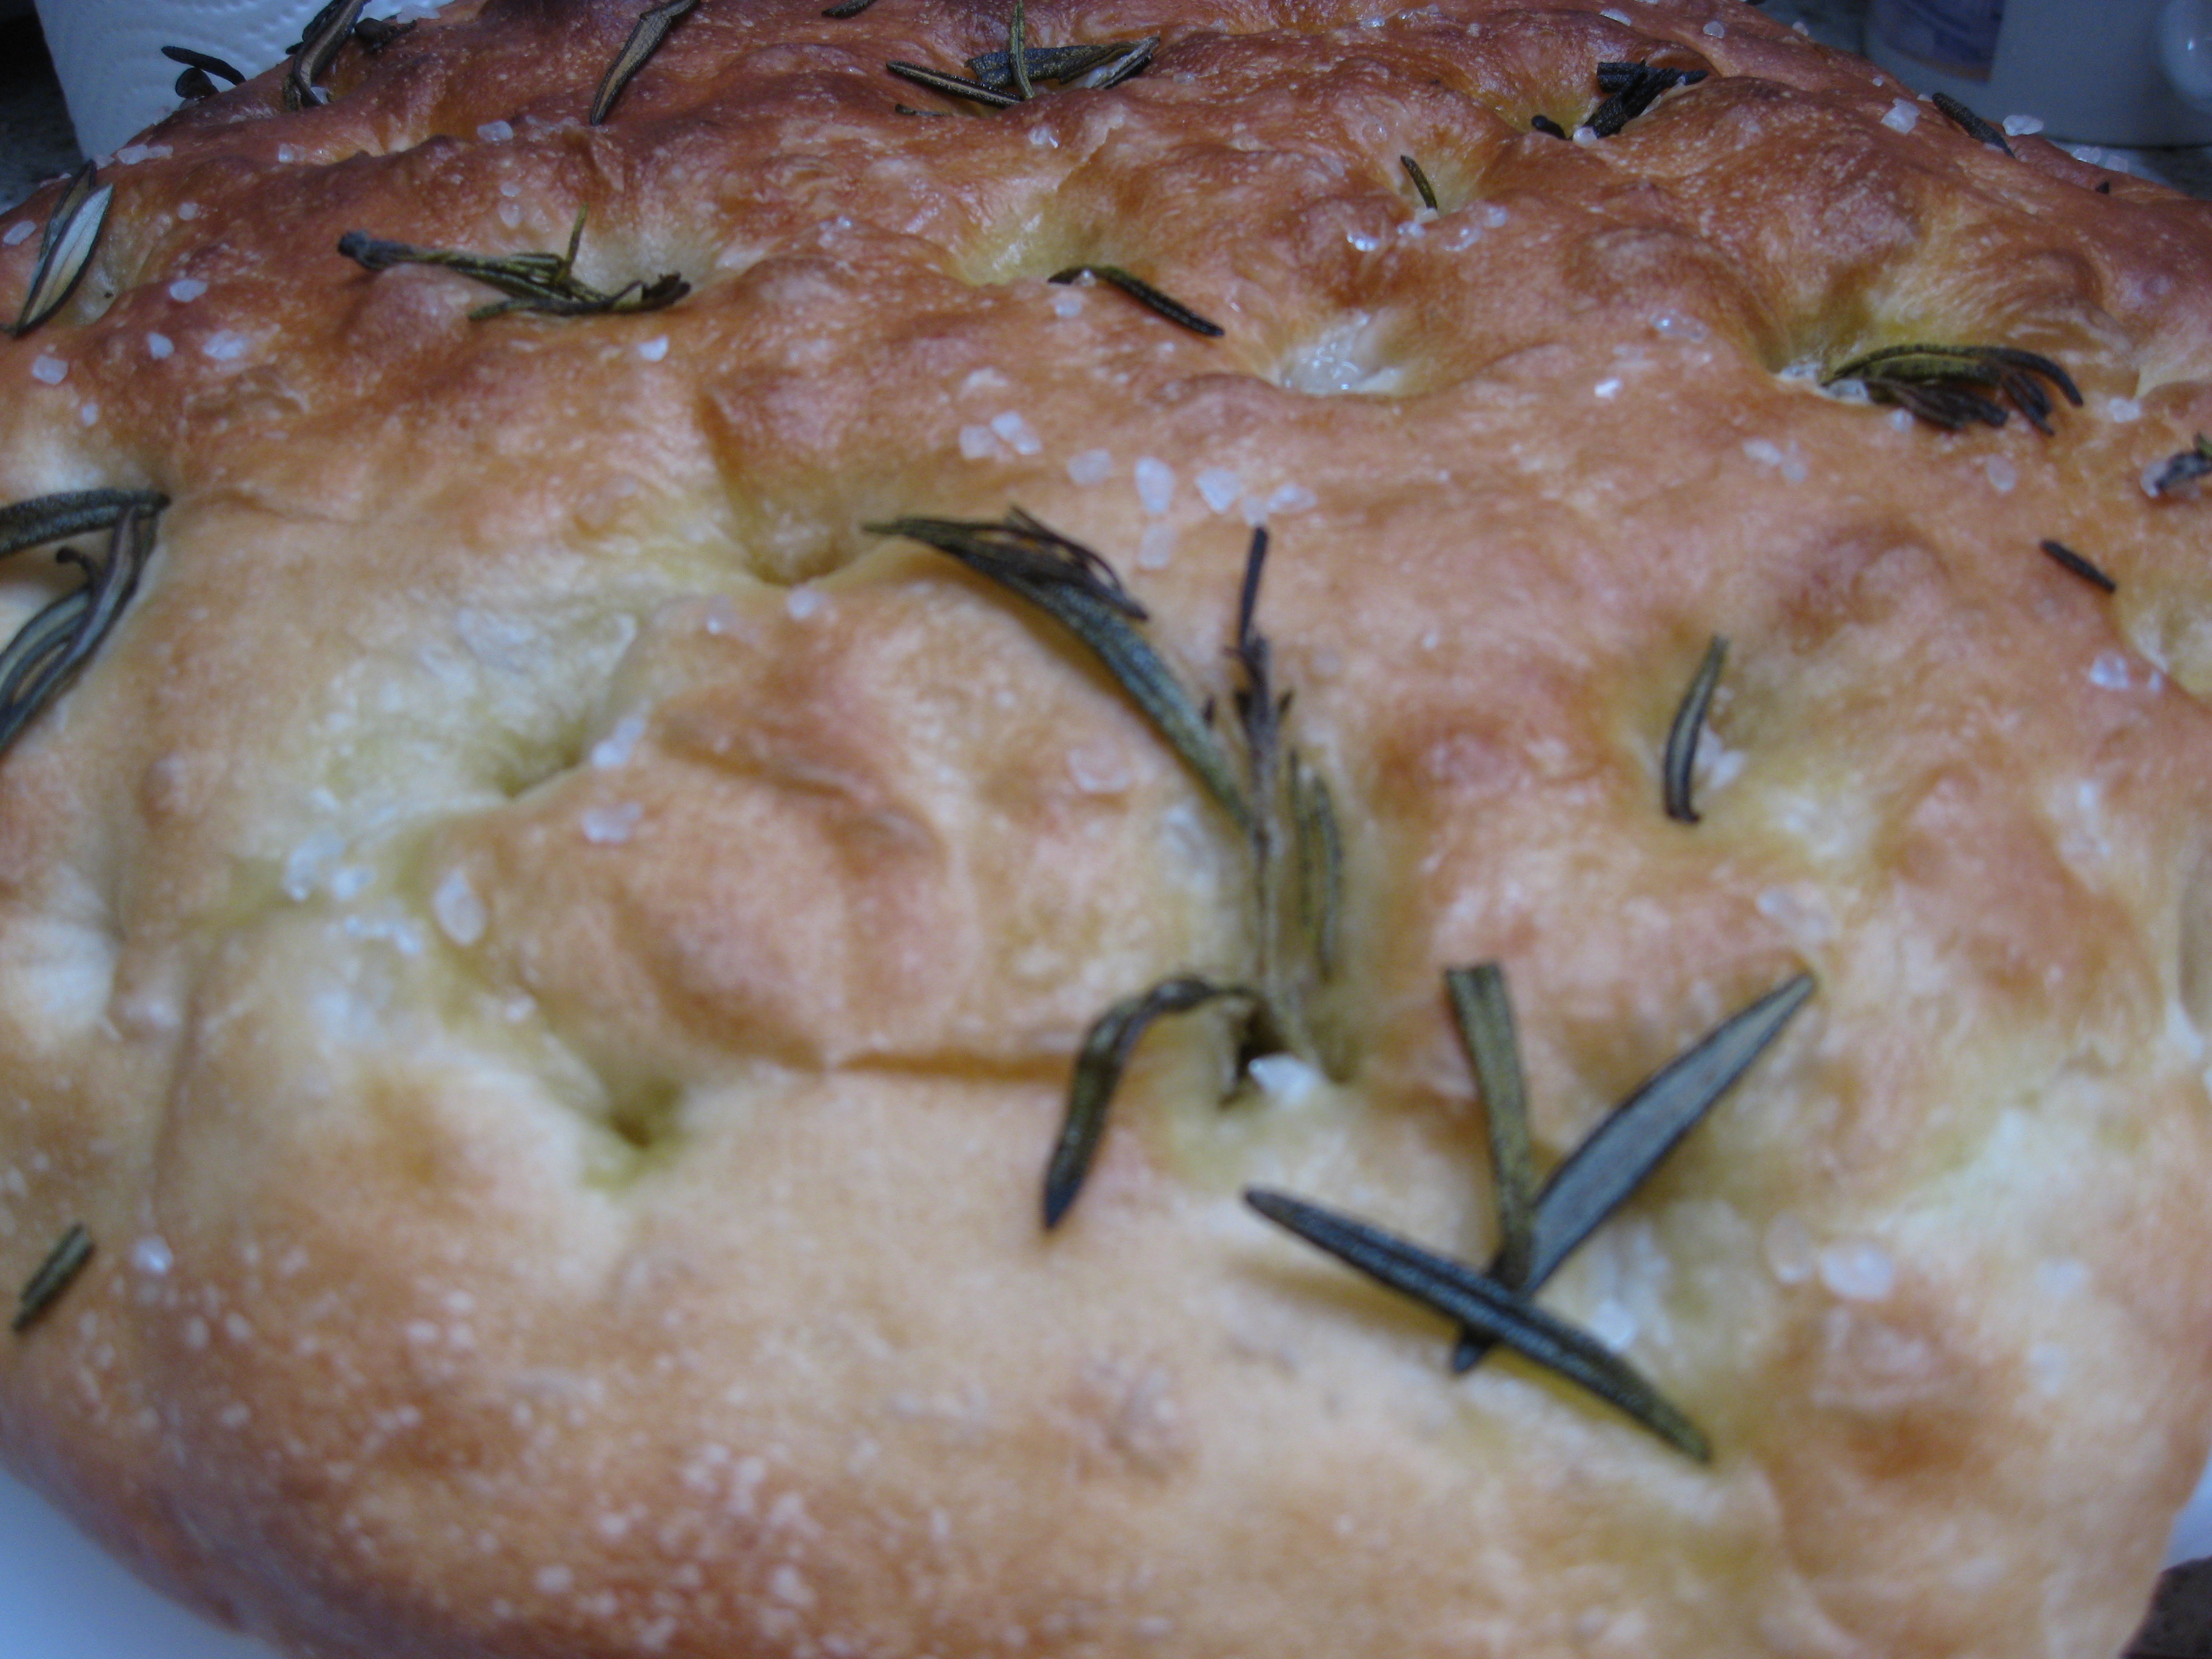
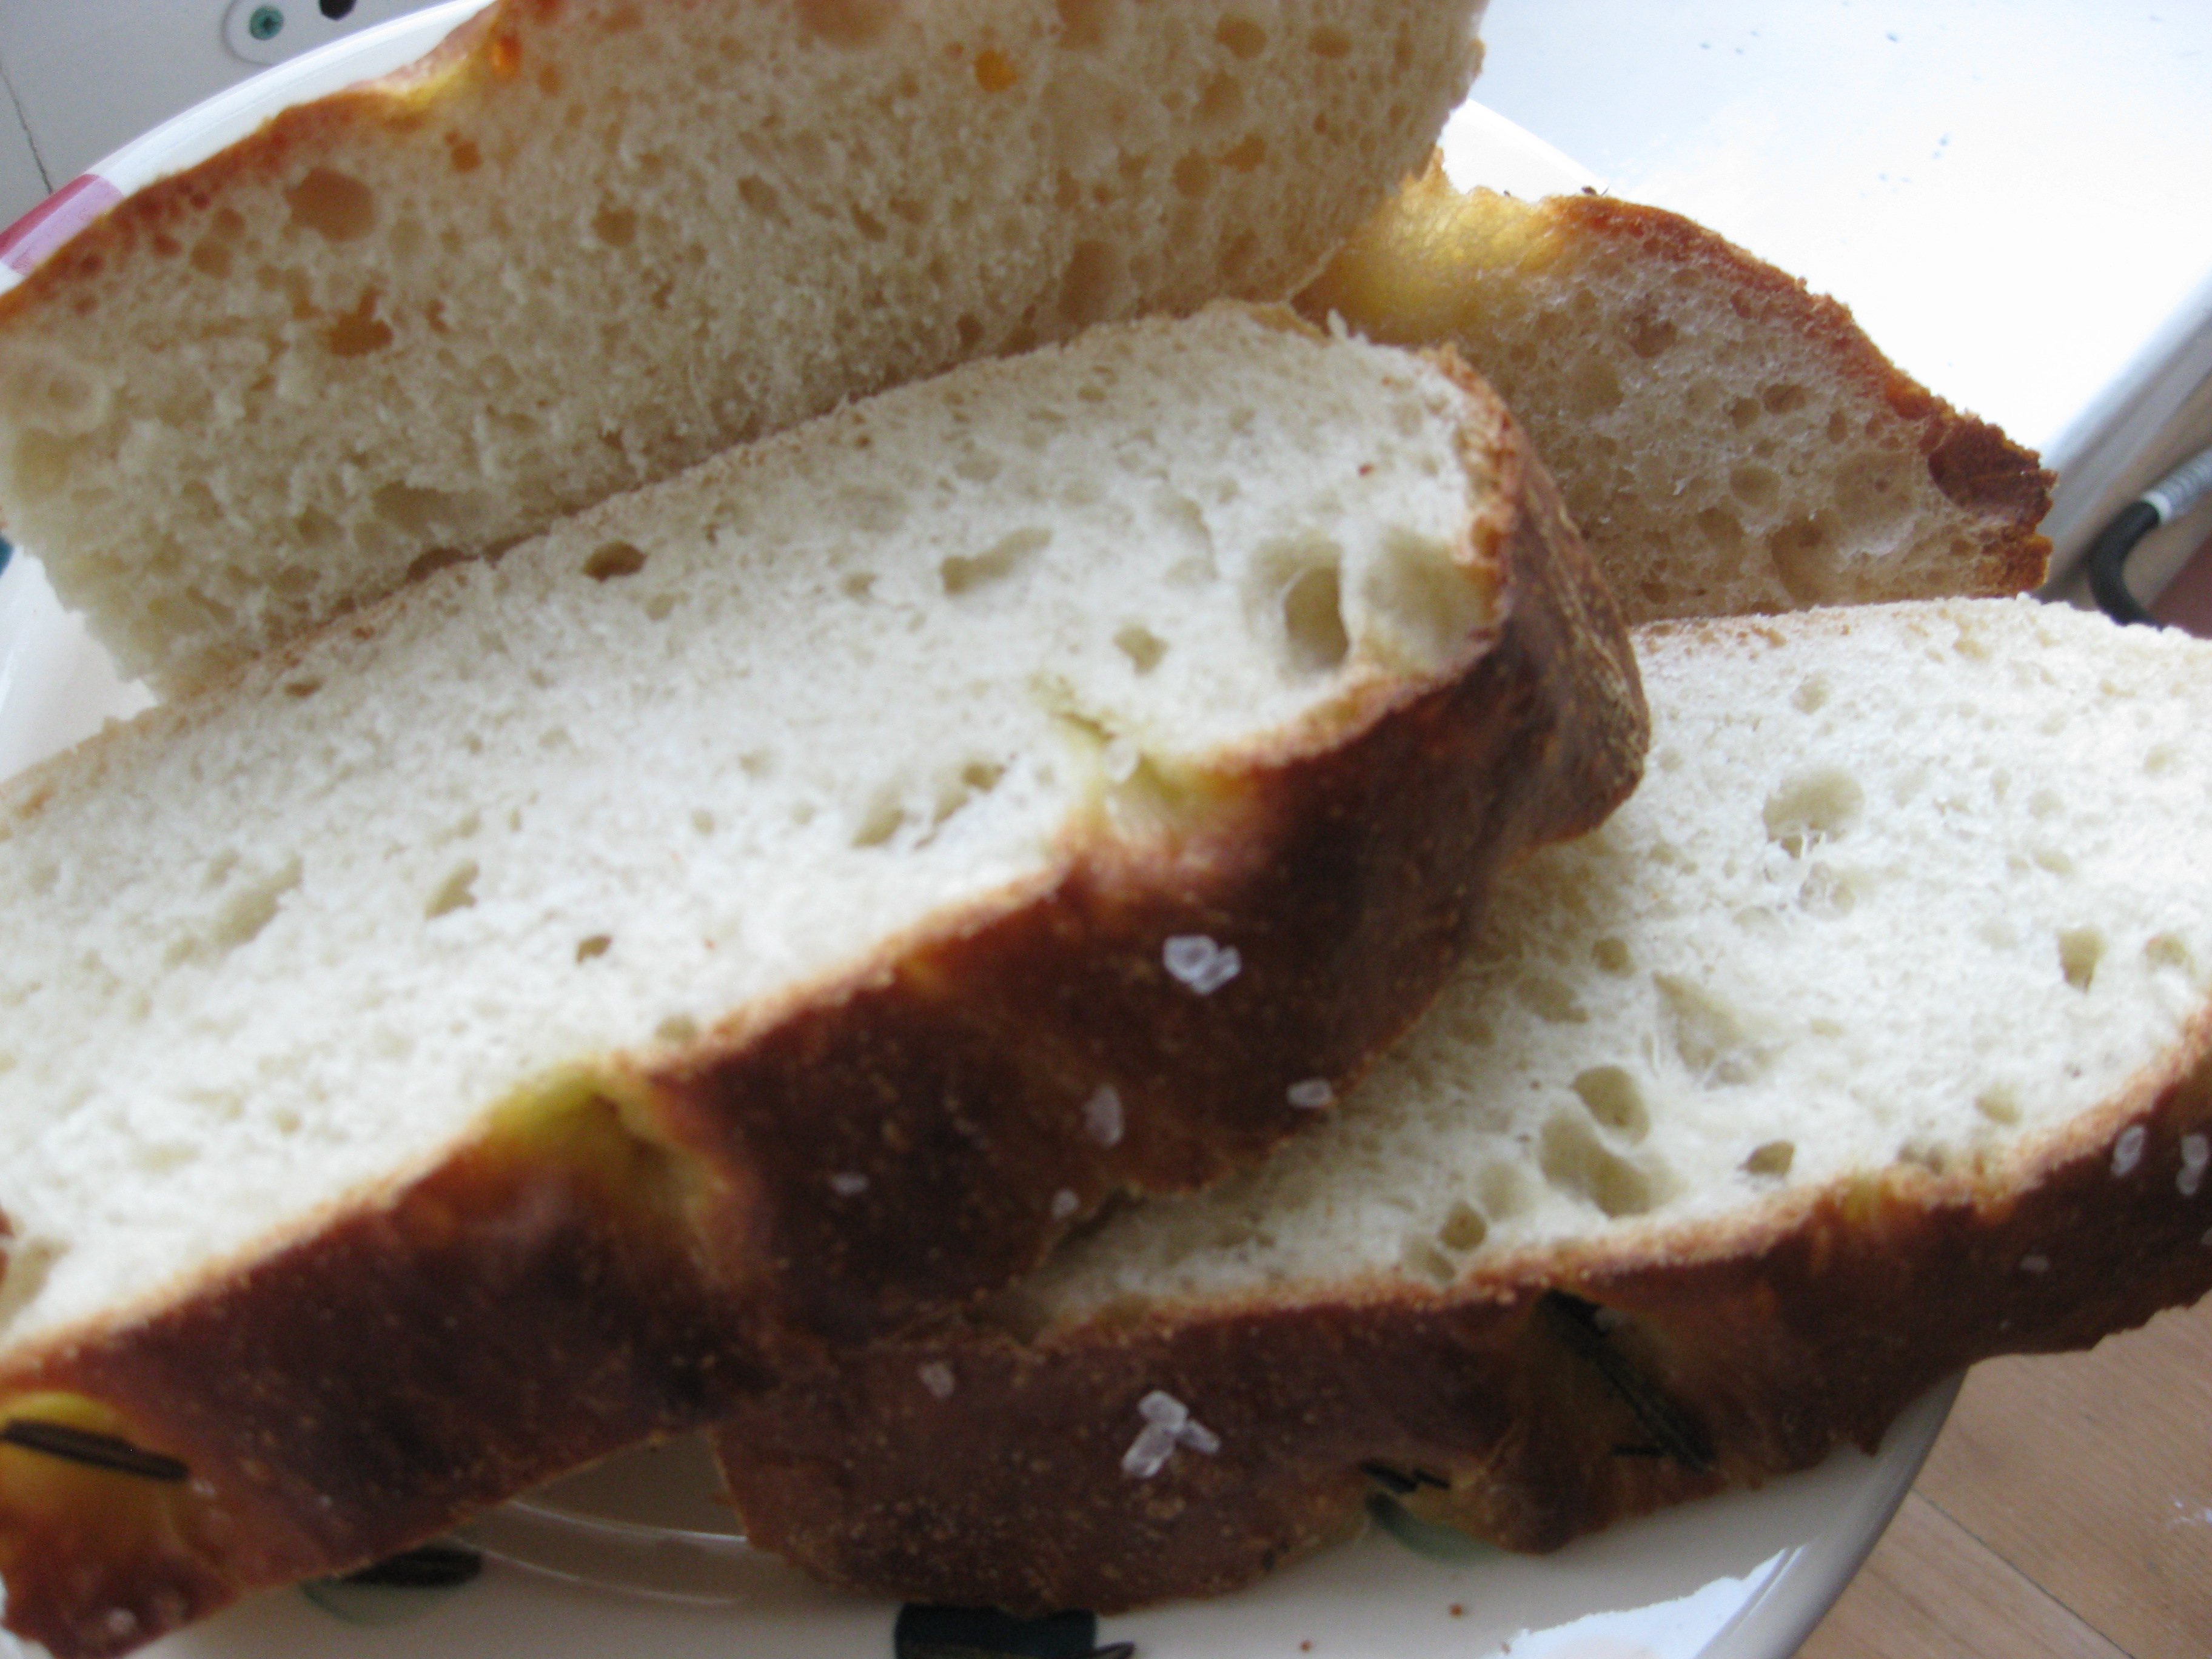
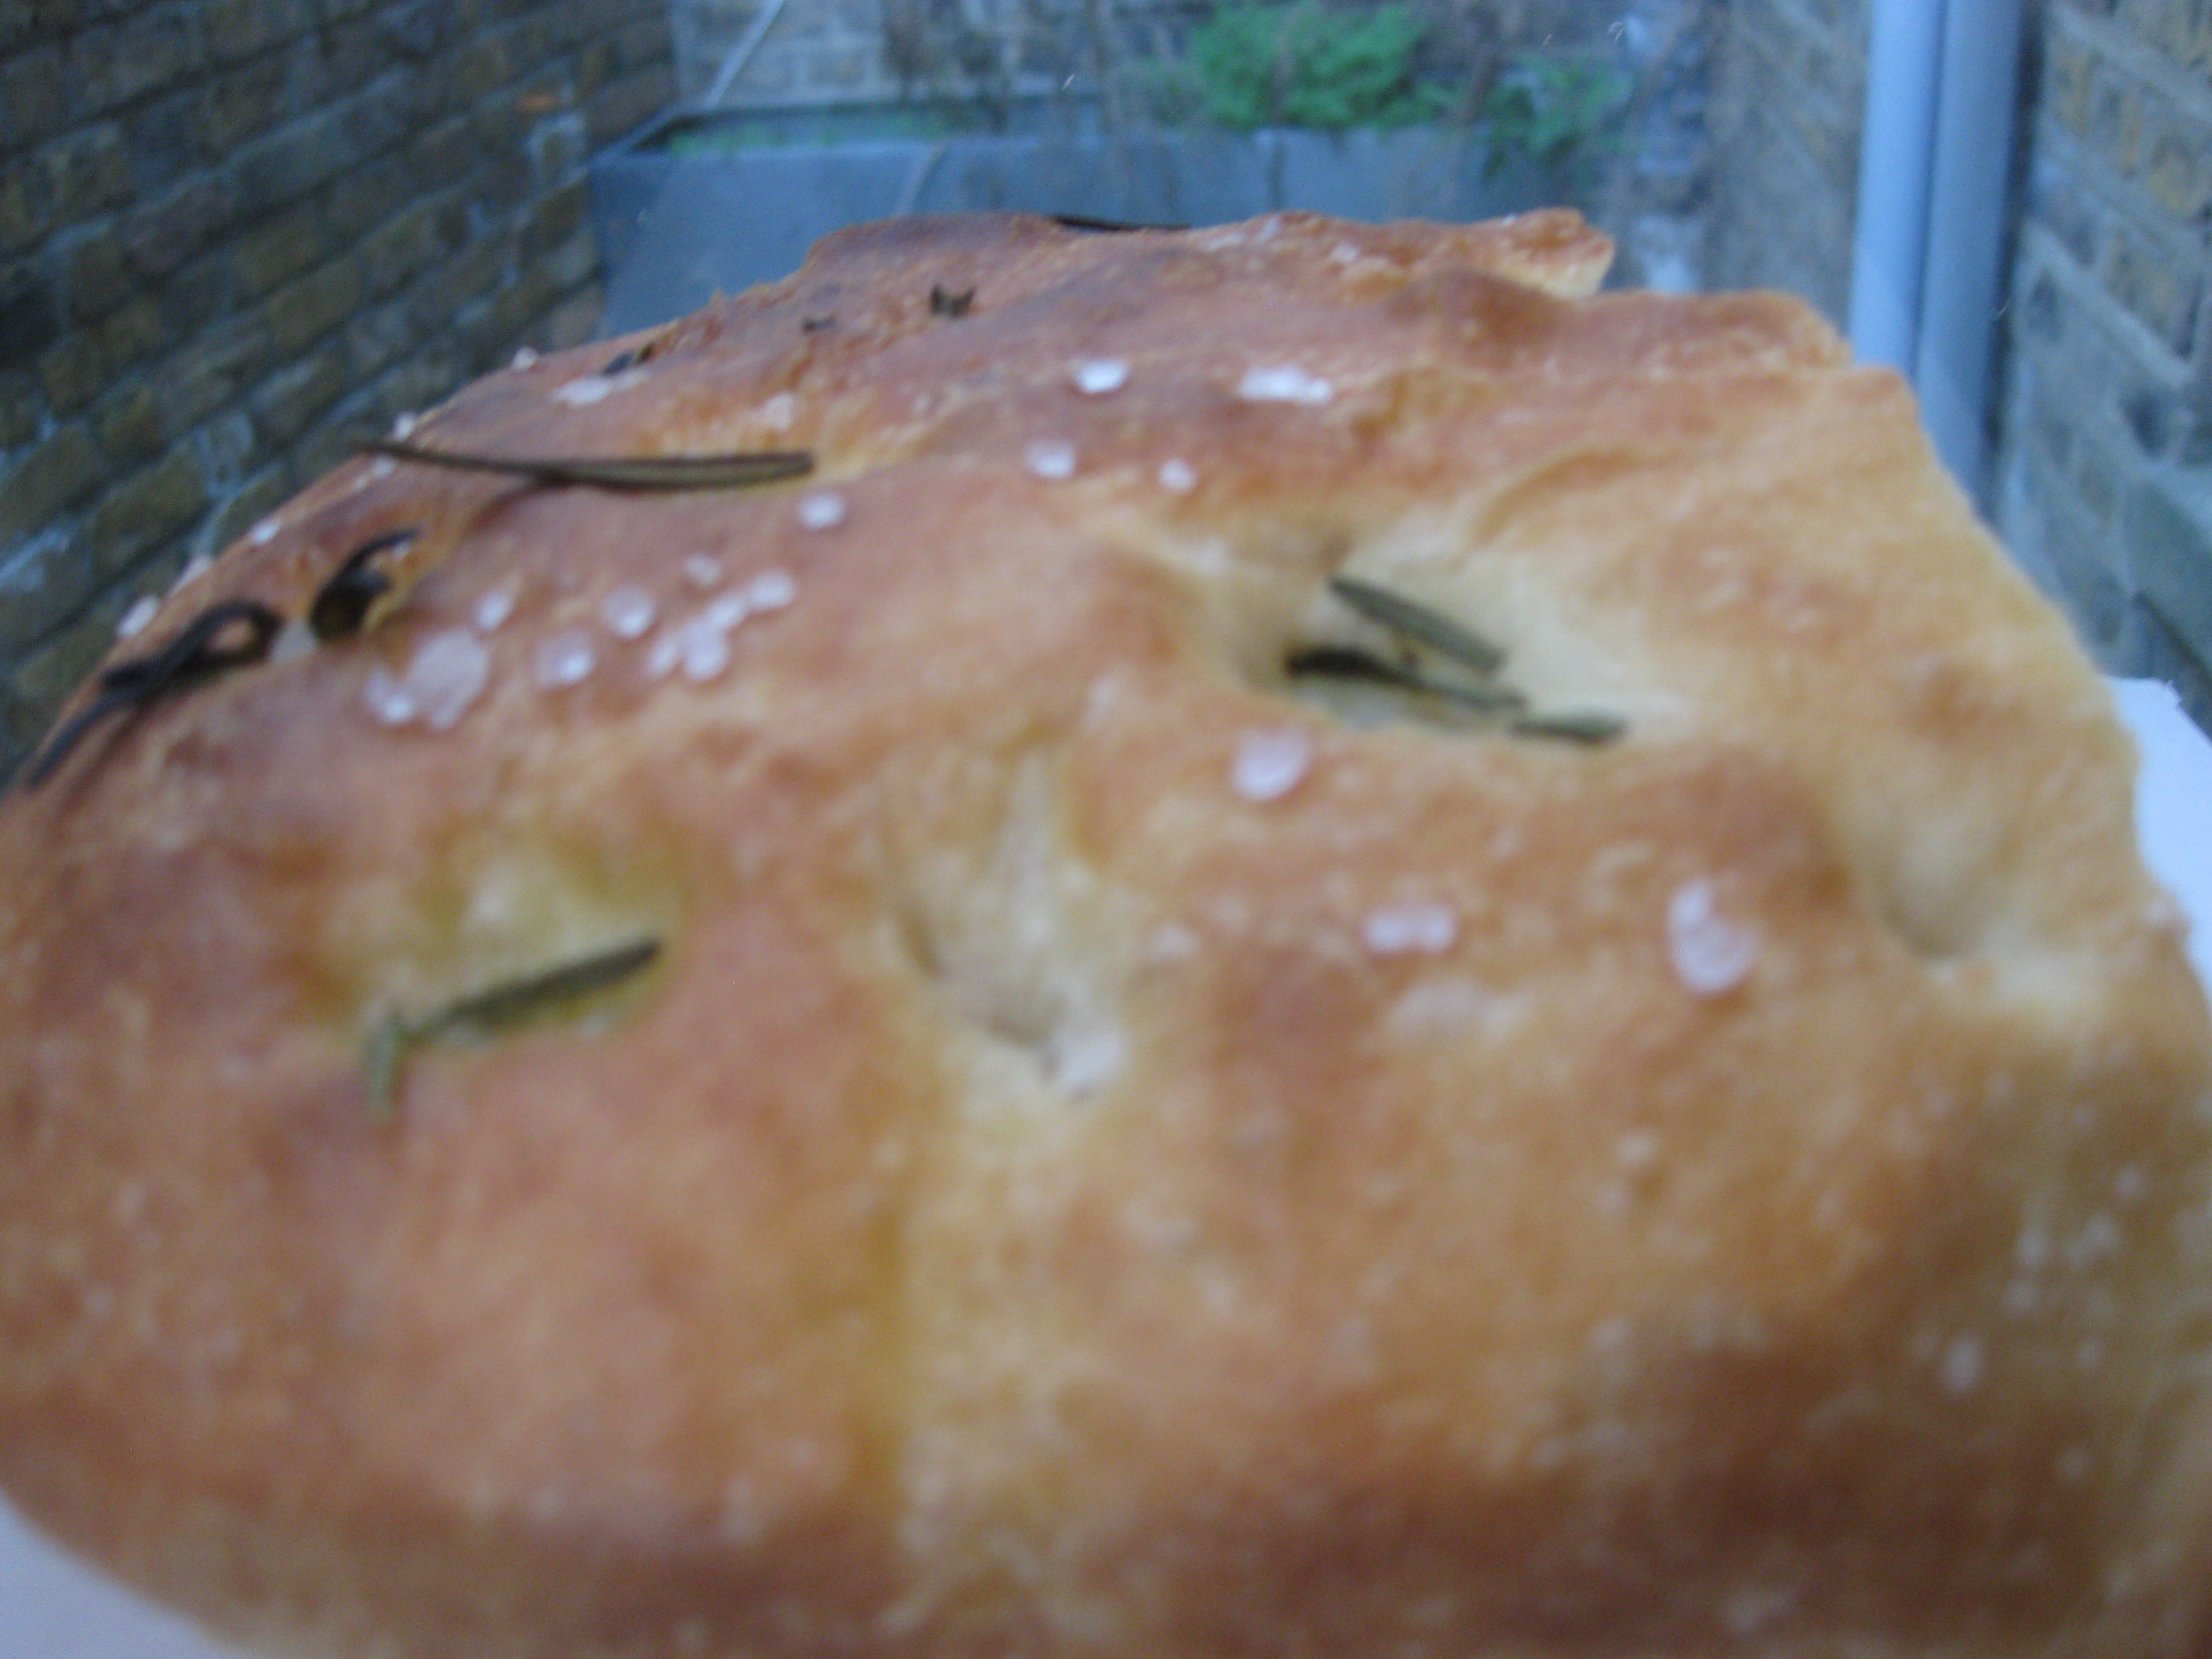
My reward was an incredible pillow of beautiful golden bread, studded with salt crystals and speckled with crispy baked rosemary. The shallow finger wells collected little pools of fruity olive oil, and a good ten minutes of dedicated kneading resulted in a slightly aerated dough with little air pockets that made this really look and taste like the real thing. Focaccia seems to be a pretty forgiving dough, so if you’re fairly new to bread baking, I definitely recommend giving this a go.
Homemade Italian Focaccia (quantities adapted slightly from The River Cottage Bread Handbook to match my 7g sachet of yeast)
700g strong white bread flour, Italian ’00 if possible
7g powdered yeast
14g fine salt
480ml warm water
1 tbsp olive oil plus extra to finish
3 sprigs rosemary, leaves stripped and torn
A good sprinkle of flaky sea salt
Combine the flour, salt, yeast and water in a bowl to form a sticky dough. Add the oil, then turn the dough onto a clean worksurface and knead until smooth and silky, around 10 mins.
Shape the dough into a round and return to the cleaned bowl. Wrap the bowl in a black bin liner and leave to rise in a warm place for around an hour (this weekend it was so gorgeous I left mine to rise in the sunshine in the back garden). When it has doubled in size, tip it onto the work surface and press into a rough rectangle.
Place dough on a lightly oiled baking tray and leave to rise, wrapped back up in the bin liner, for around 30 mins.
Preheat the oven to 250 degrees C/Gas Mark 10 (basically the highest your oven will go). Press your focaccia dough all over with your fingers to form deep pockets (these will later collect all that delicious oil, salt and rosemary), drizzle with olive oil and scatter with salt and rosemary.
Bake for 15 mins, then turn down the heat if browning too quickly, and bake another 5-10 mins.
Remove from the oven and leave to cool slightly. Focaccia is delicious served warm, so if you don’t want to eat it straight away, you can reheat in a low oven just before serving.
Once you’ve made this recipe you’ll come back to it time and again. You can also try different toppings and flavour combinations – I love it with black olives and a sprinkling of red onion which caramelizes beautifully on the golden crust. Or sundried tomatoes distributed through the dough, different pestos and cheeses, nuts, thyme instead of rosemary . . . the list in endless.

