Simple chocolate birthday cake with white chocolate frosting

simple_chocolate_cake

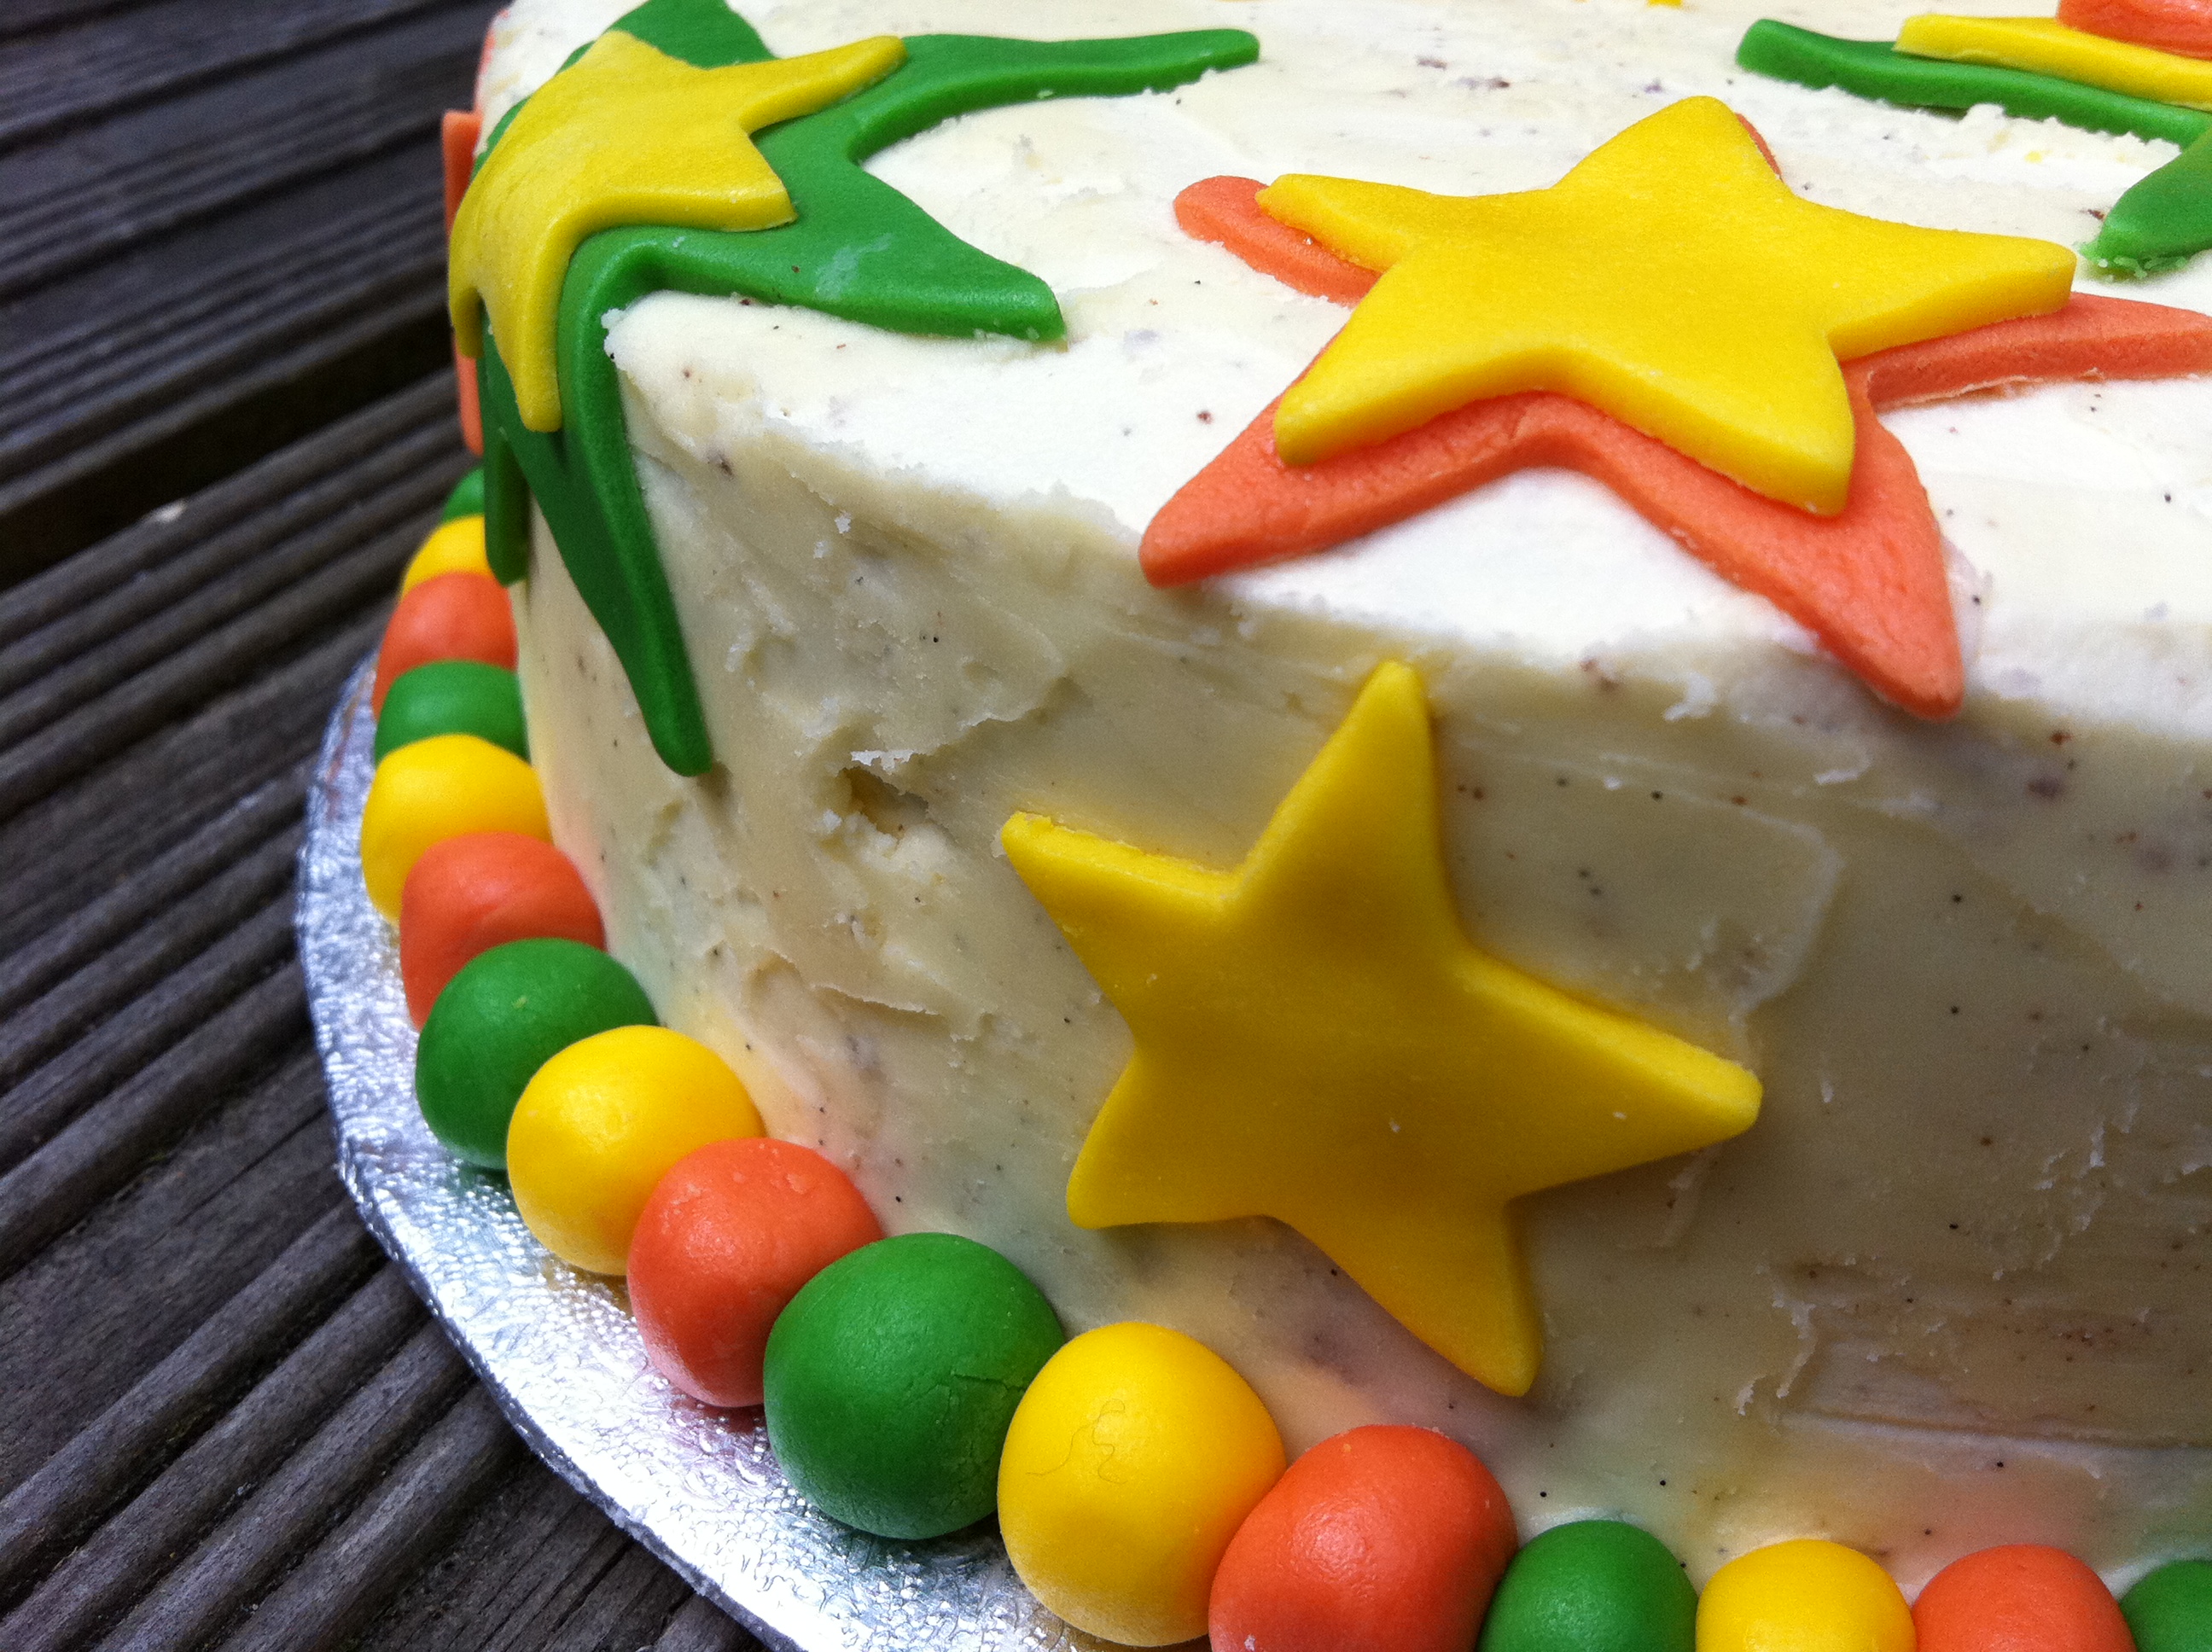
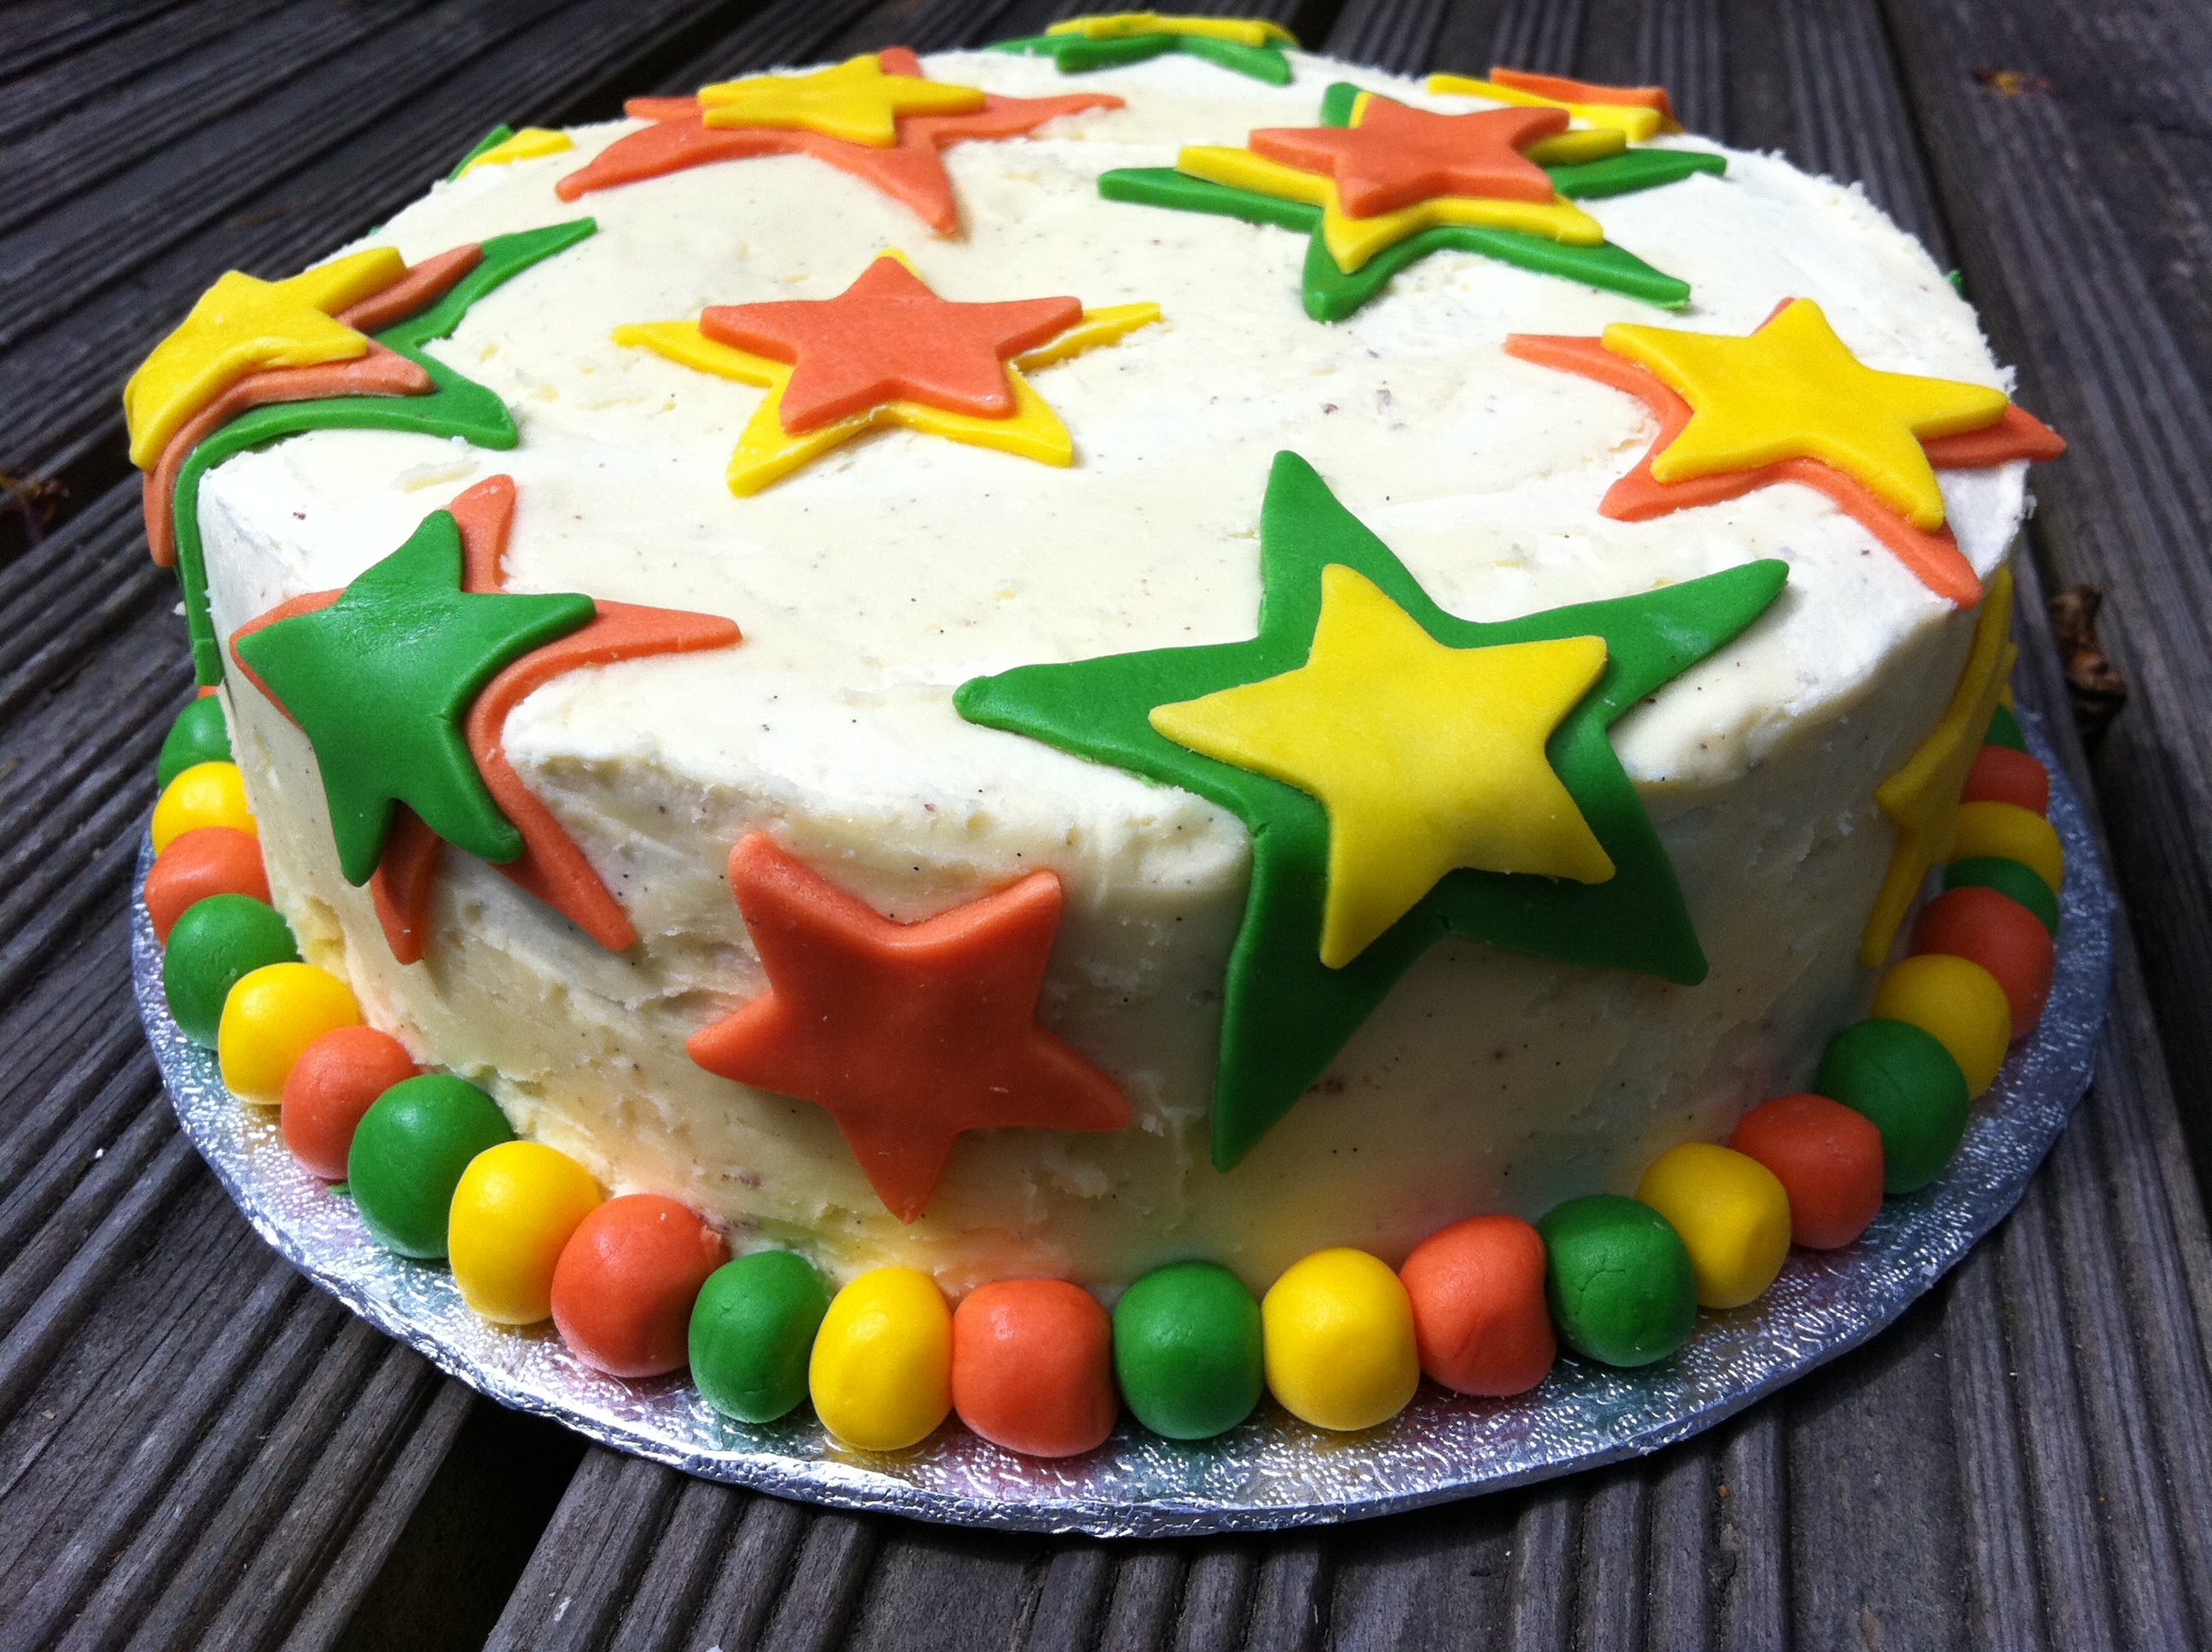
Simple chocolate cake with white chocolate frosting and stars

mich_turner_chocolate_cake

And I will. For my 21st birthday, due to the sheer number of guests, we decided against attempting an industrial-sized bake-off and instead commissioned a confection of epic proportions from Konditor and Cook. Based on their classic Curly Whirly cake recipe, this was a chocolate lover’s dream with a touch of kitsch; a huge, rich base layered and smothered with a blanket of sugar-sweet vanilla bean cream cheese frosting, piped with balloons and sprinkled with edible glitter. Amazing. Since then, the recipe has featured on the Guardian website, and a well-thumbed print-out now lives tucked inside one of the books on my kitchen shelf.

Fast forward a couple of years and last weekend we headed up north to celebrate Carniverous Boyfriend’s little twin brother and sister’s birthday. I’d offered to bake the cake, but with a minimum of three hours’ Friday afternoon fun on the M1 ahead of us, and a stuffy boot for storage, I didn’t fancy the chances of survival for a cream cheese frosting. Buttercream is a hardier option, remaining stable as it does at ambient temperatures, so I opted for this as my icing, adding a little white chocolate for flavour.

chocolate_cake

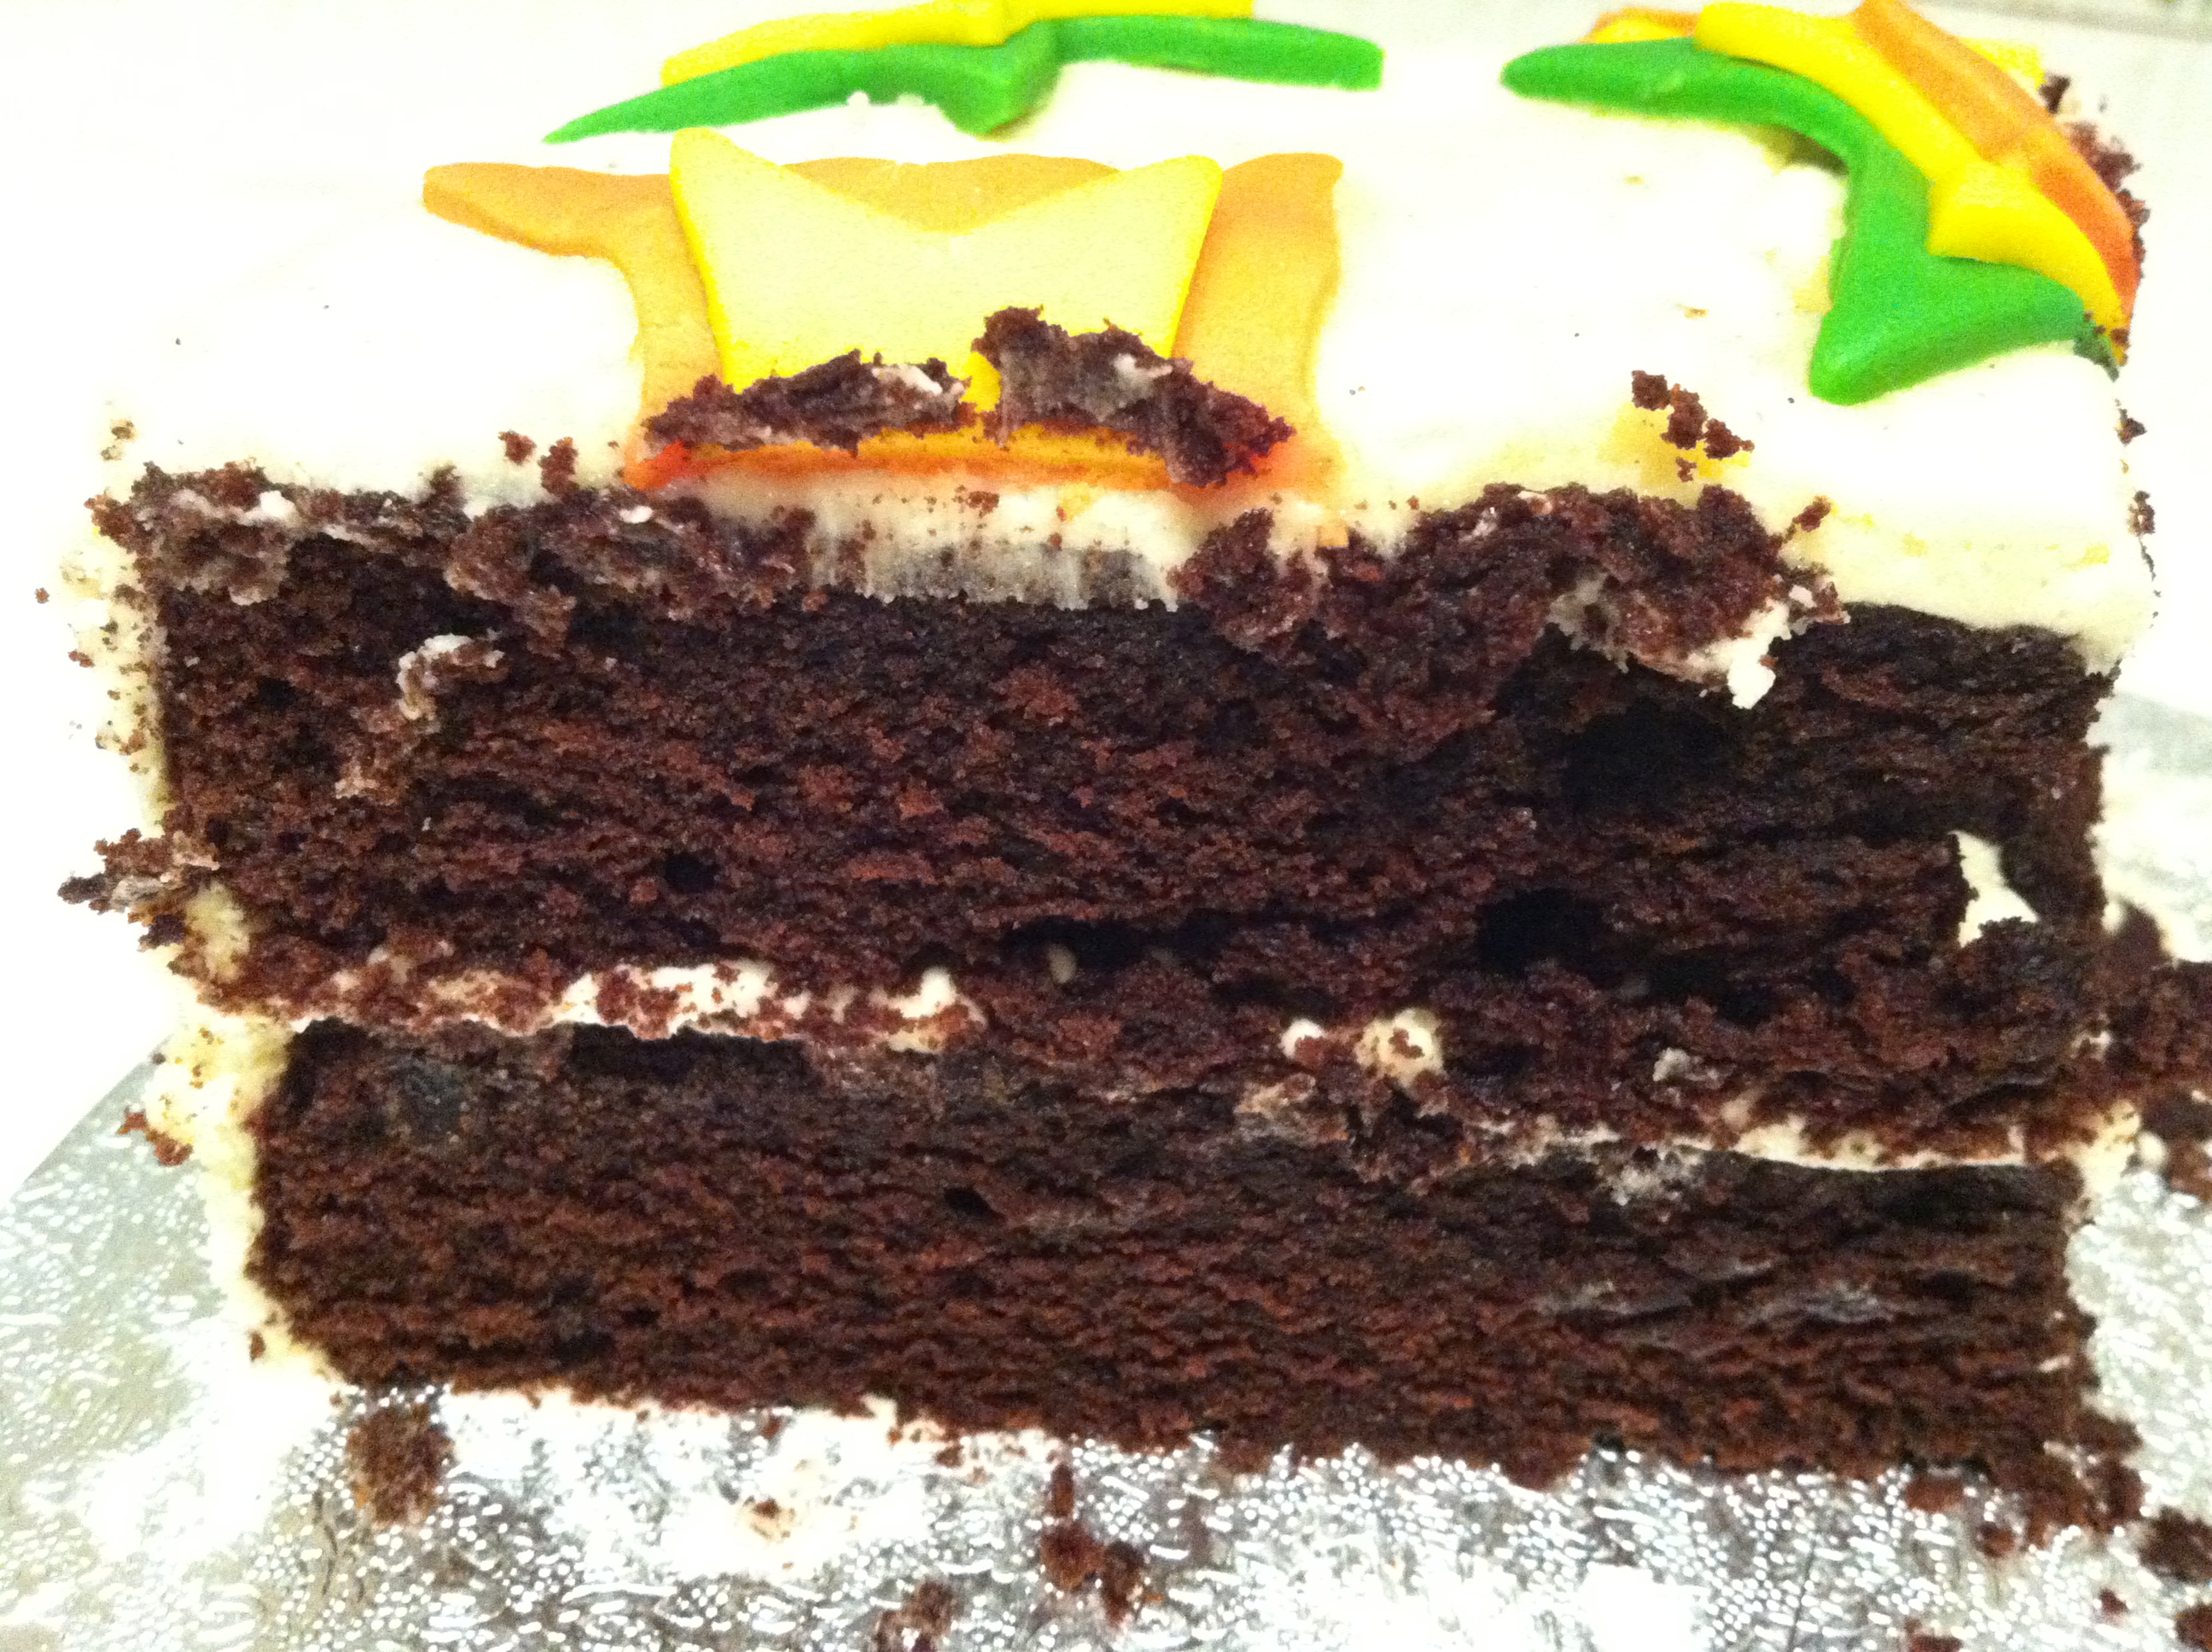
A moist, chocolatey crumb

The cake itself is a more classic take on a birthday sponge than the Curly Whirly recipe, with a beautifully light, moist crumb. The chocolatey flavour comes entirely from cocoa powder, not chocolate, which adds a rich, earthy roundness and the sugar is golden, which increases the depth of flavour. It’s also a one-bowl-wonder which means next to no washing up, and you can have the whole thing mixed, cooked and cooled in less time than it takes to say ‘Marks & Spencer caterpillar cake’. I decorated this version with little star shapes cut out of rolled royal icing and stuck together with edible glue, but if you’re in a hurry a few chocolate curls or a dusting of cocoa powder would be more than enough.

Best served straight-up in thick wedges, this cake should feed twelve hungry guests with ease.

Do you have a go-to birthday cake recipe or do you like to experiment? Can’t live without chocolate, addicted to Victoria sponge or crazy for carrot cake? I’d love to know your favourite recipes.

Simple chocolate cake with white chocolate frosting (adapted from Mich Turner‘s Cake Masterclass):

For the cake:
(all ingredients should be room temperature)

200g unsalted butter, plus extra for greasing
85g cocoa powder
140g self-raising flour
200g golden caster sugar
4 medium free range eggs, lightly beaten
2 tbsp milk

Method:

Preheat the oven to 180 degrees C (or 160 if fan assisted). Grease and line 2 x 20cm loose bottomed cake tins.

Put all the ingredients in a large, clean bowl and whisk with a hand-held electric whisk for 8-10 mins until light and airy.

Divide the mixture between the two cake tins and bake 20-25 mins, until the cake has shrunk away from the sides of the tin and is springy to touch, and a skewer inserted in the middle of the cake comes out clean. When cooked, remove from the oven and cool in tins before turning onto a wire rack to cool completely.

For the frosting:

175g unsalted butter, softened
300g icing sugar
seeds from 1 vanilla pod
100g white chocolate, melted and cooled

Royal icing cut into star shapes to decorate (optional)

Beat the butter in a mixing bowl with an electric whisk for 1 minute. Add the icing sugar and beat slowly until blended, then on full speed until light and fluffy. Beat in the vanilla seeds and white chocolate until smooth and glossy.

Spread approx. 1/3 of the frosting over one cooled cake, top with the second cake and cover in frosting. You can pop it in the fridge to set further, then serve as is, or decorate with royal icing stars or flowers.

How to make chocolate roses

cake_decorationWhen I was little, our go-to recipe for birthdays and parties was a rich chocolate fudge cake from Josceline Dimbleby’s The Cook’s Companion. Delicious and fail-safe (even prepared by clumsy little hands), it was wonderfully adaptable; we’d often multiply or divide the ingredients to suit the number of guests, and the rich, fudgey sponge worked beautifully whether slathered in icing, dusted in sugar or simply on its own.

As I got older, this wonderful tome also became introduction to a world of decorating beyond my existing repertoire of hundreds and thousands, candied lemon, silver balls and squiggles of lurid writing icing. The most exciting ‘recipe’ was one for chocolate leaves. You simply took a few veiny (non-poisonous) leaves from the garden or unsuspecting neighbour, painted the underside in melted chocolate then froze them, before peeling away the leaf to reveal a perfect replica. Magical aged seven, and still pretty fun now . . .

modelling_cocoform_chocolate_rosesFast-forward almost twenty years and I promised to make a birthday cake for my cousin’s 21st birthday. Chocolate biscuit for 50 people to be precise (eat your heart out Prince William). A biscuit cake isn’t the most beautiful of things to look at, so I had it in mind to tiers, iced to hide all the funny bumpy bits of biscuit, and thought I’d decorate it with some kind of edible thing. Chocolate leaves felt a bit old hat, and I wondered if I could try my hand at flowers.

I first heard about cocoform watching an episode of Cake Boss. If you haven’t seen it, Cake Boss is a hilarious documentary about the larger than life (quite literally) Buddy Valastro and his New Jersey family bakery. Think The Sopranos with bigger bellies, fewer guns, more rolling pins and even more drama. They produce these incredible multi-tiered, mega-complex cakes – life size animals, volcanoes with lava flowing out, treasure chests, tables of pretend food and, the best episode I’ve seen yet, the whole set of Sesame Street complete with the complete cast of characters made from cocoform. Otherwise known as modelling chocolate, which is 100% more fun to say in a Noo Joysey accent.

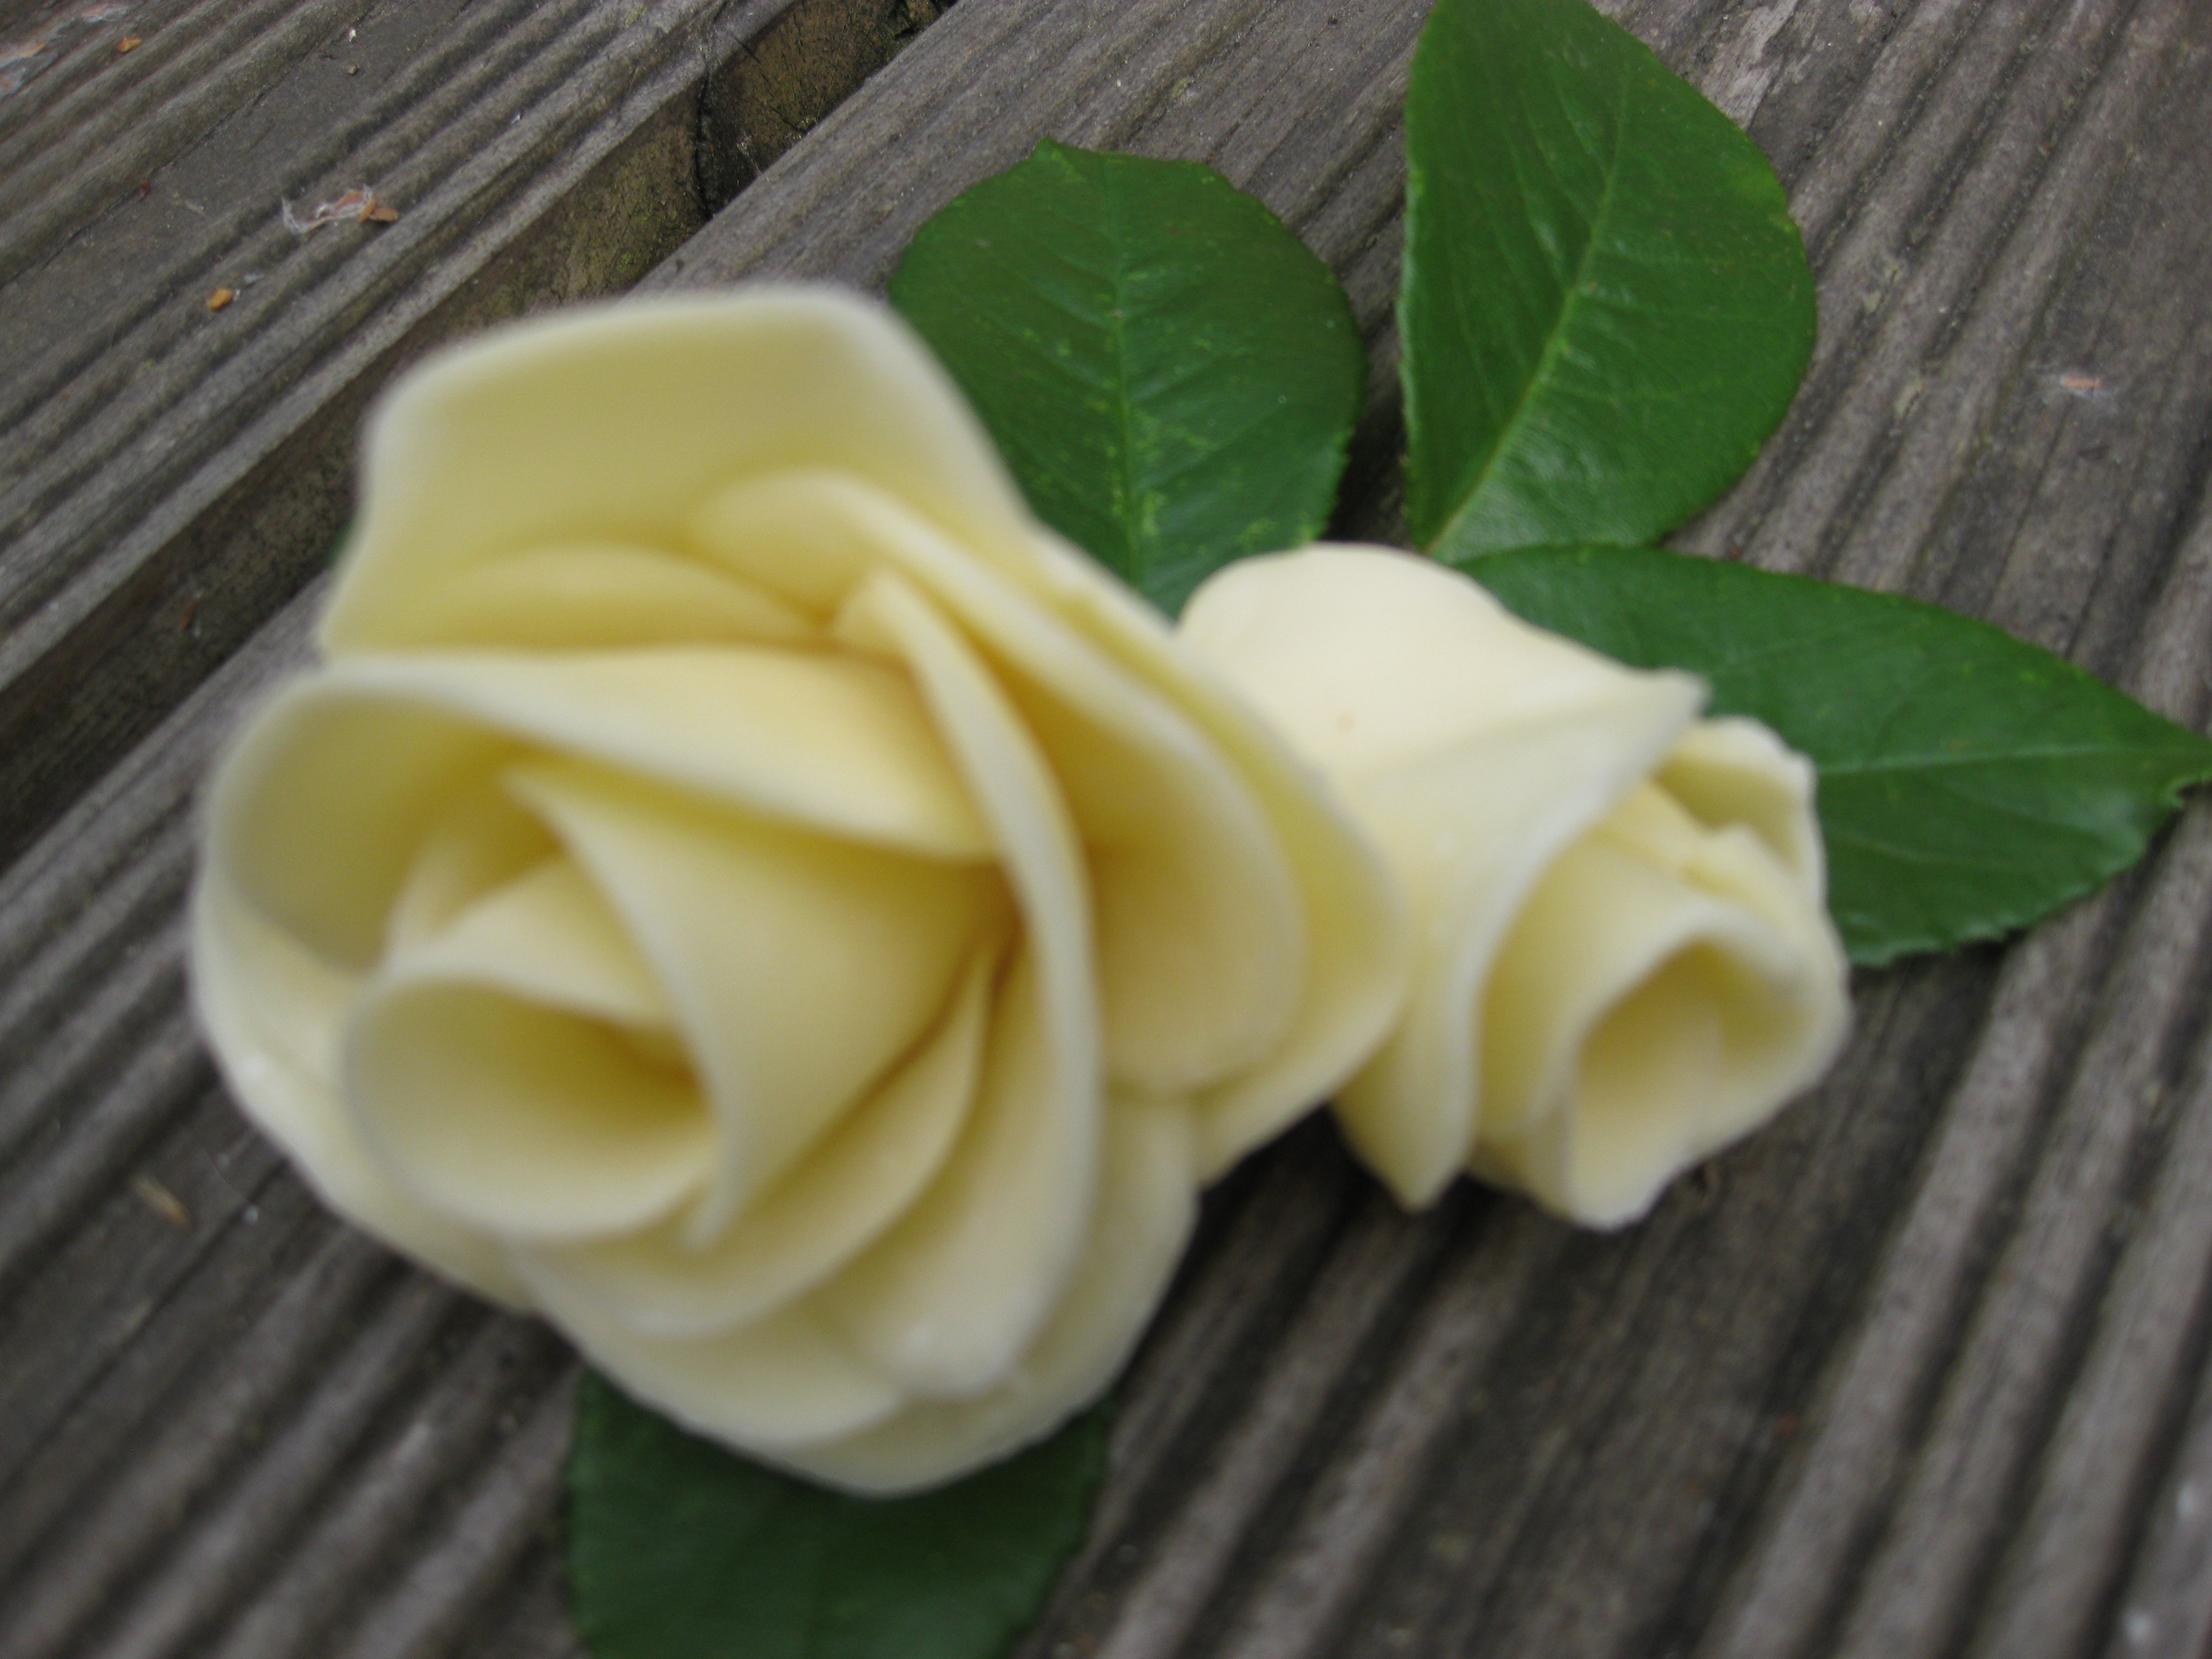
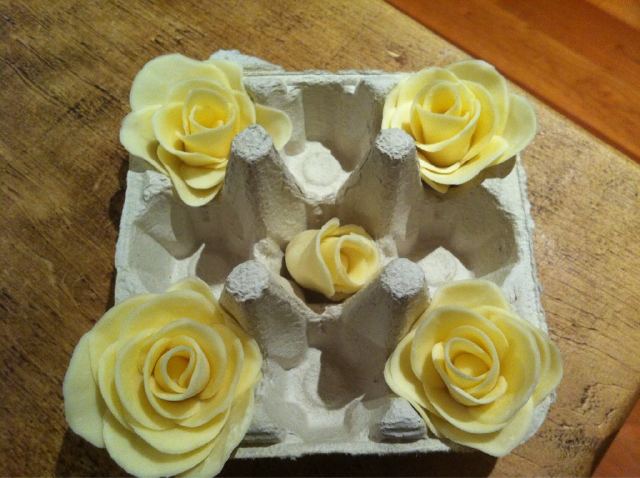
cake_decorationAbout the same time as I’d decided that cocoform, or modelling chocolate, was the way to go with my flowers, I read a post by The Pink Whisk (otherwise known as baking blogger extraordinaire Ruth Clemens) about how to make sugar roses. I sent her a note to see if I could use the same method with my chocolate versions. It wasn’t quite the same technique, but pretty similar, so last night I set about making my roses.

These flowers are based on some sound advice from The Pink Whisk here, and also a great tutorial I found on Cake on the Brain, here. I won’t bother to repeat the process as they do a much better job, and Cakebrain even illustrates the process with beautiful photos. I’m pretty pleased with my first attempt at roses, and her post has received over 60 comments to date, so she must be doing something right. These roses took about 20 minutes to make from opening the packet of cocoform, so really not a major effort in the grand scheme of things. I hope Josceline would be proud.

Final note: I bought my modelling chocolate from Squires Kitchen. The packs cost a whopping £4.99 for 150g but I understand you can achieve the same plasticky effect by melting plain chocolate with corn syrup. Definitely one to try next time.