This weekend I realized I’ve only actually posted two bread recipes (malty wholemeal and focaccia) since I first started this blog. I generally bake a batch of bread every Sunday to last throughout the week, and have been doing so since my last bread post, but as I tend to stick to very minor variations on a basic wholemeal loaf, I didn’t really think any further recipes worth posting. Poor excuse. And no two ways about it; I’ve been neglecting my duties as resident littleloaf.
With this in mind, I decided to try my hand at something a little different; baking with spelt. Spelt is a grain with a mild, nutty flavour dating back to before Roman times. In addition to this ancient heritage, it’s gained a reputation as something of a health food due to higher levels of protein and fewer calories than ordinary wheat flour. The gluten in spelt flour is also a little unusual. Unlike normal flour, which often needs lots of kneading to strengthen its gluten and give the bread structure, the gluten in spelt flour breaks down fairly easily. So good flavour, less time spent kneading and good for your health – what more could you want?
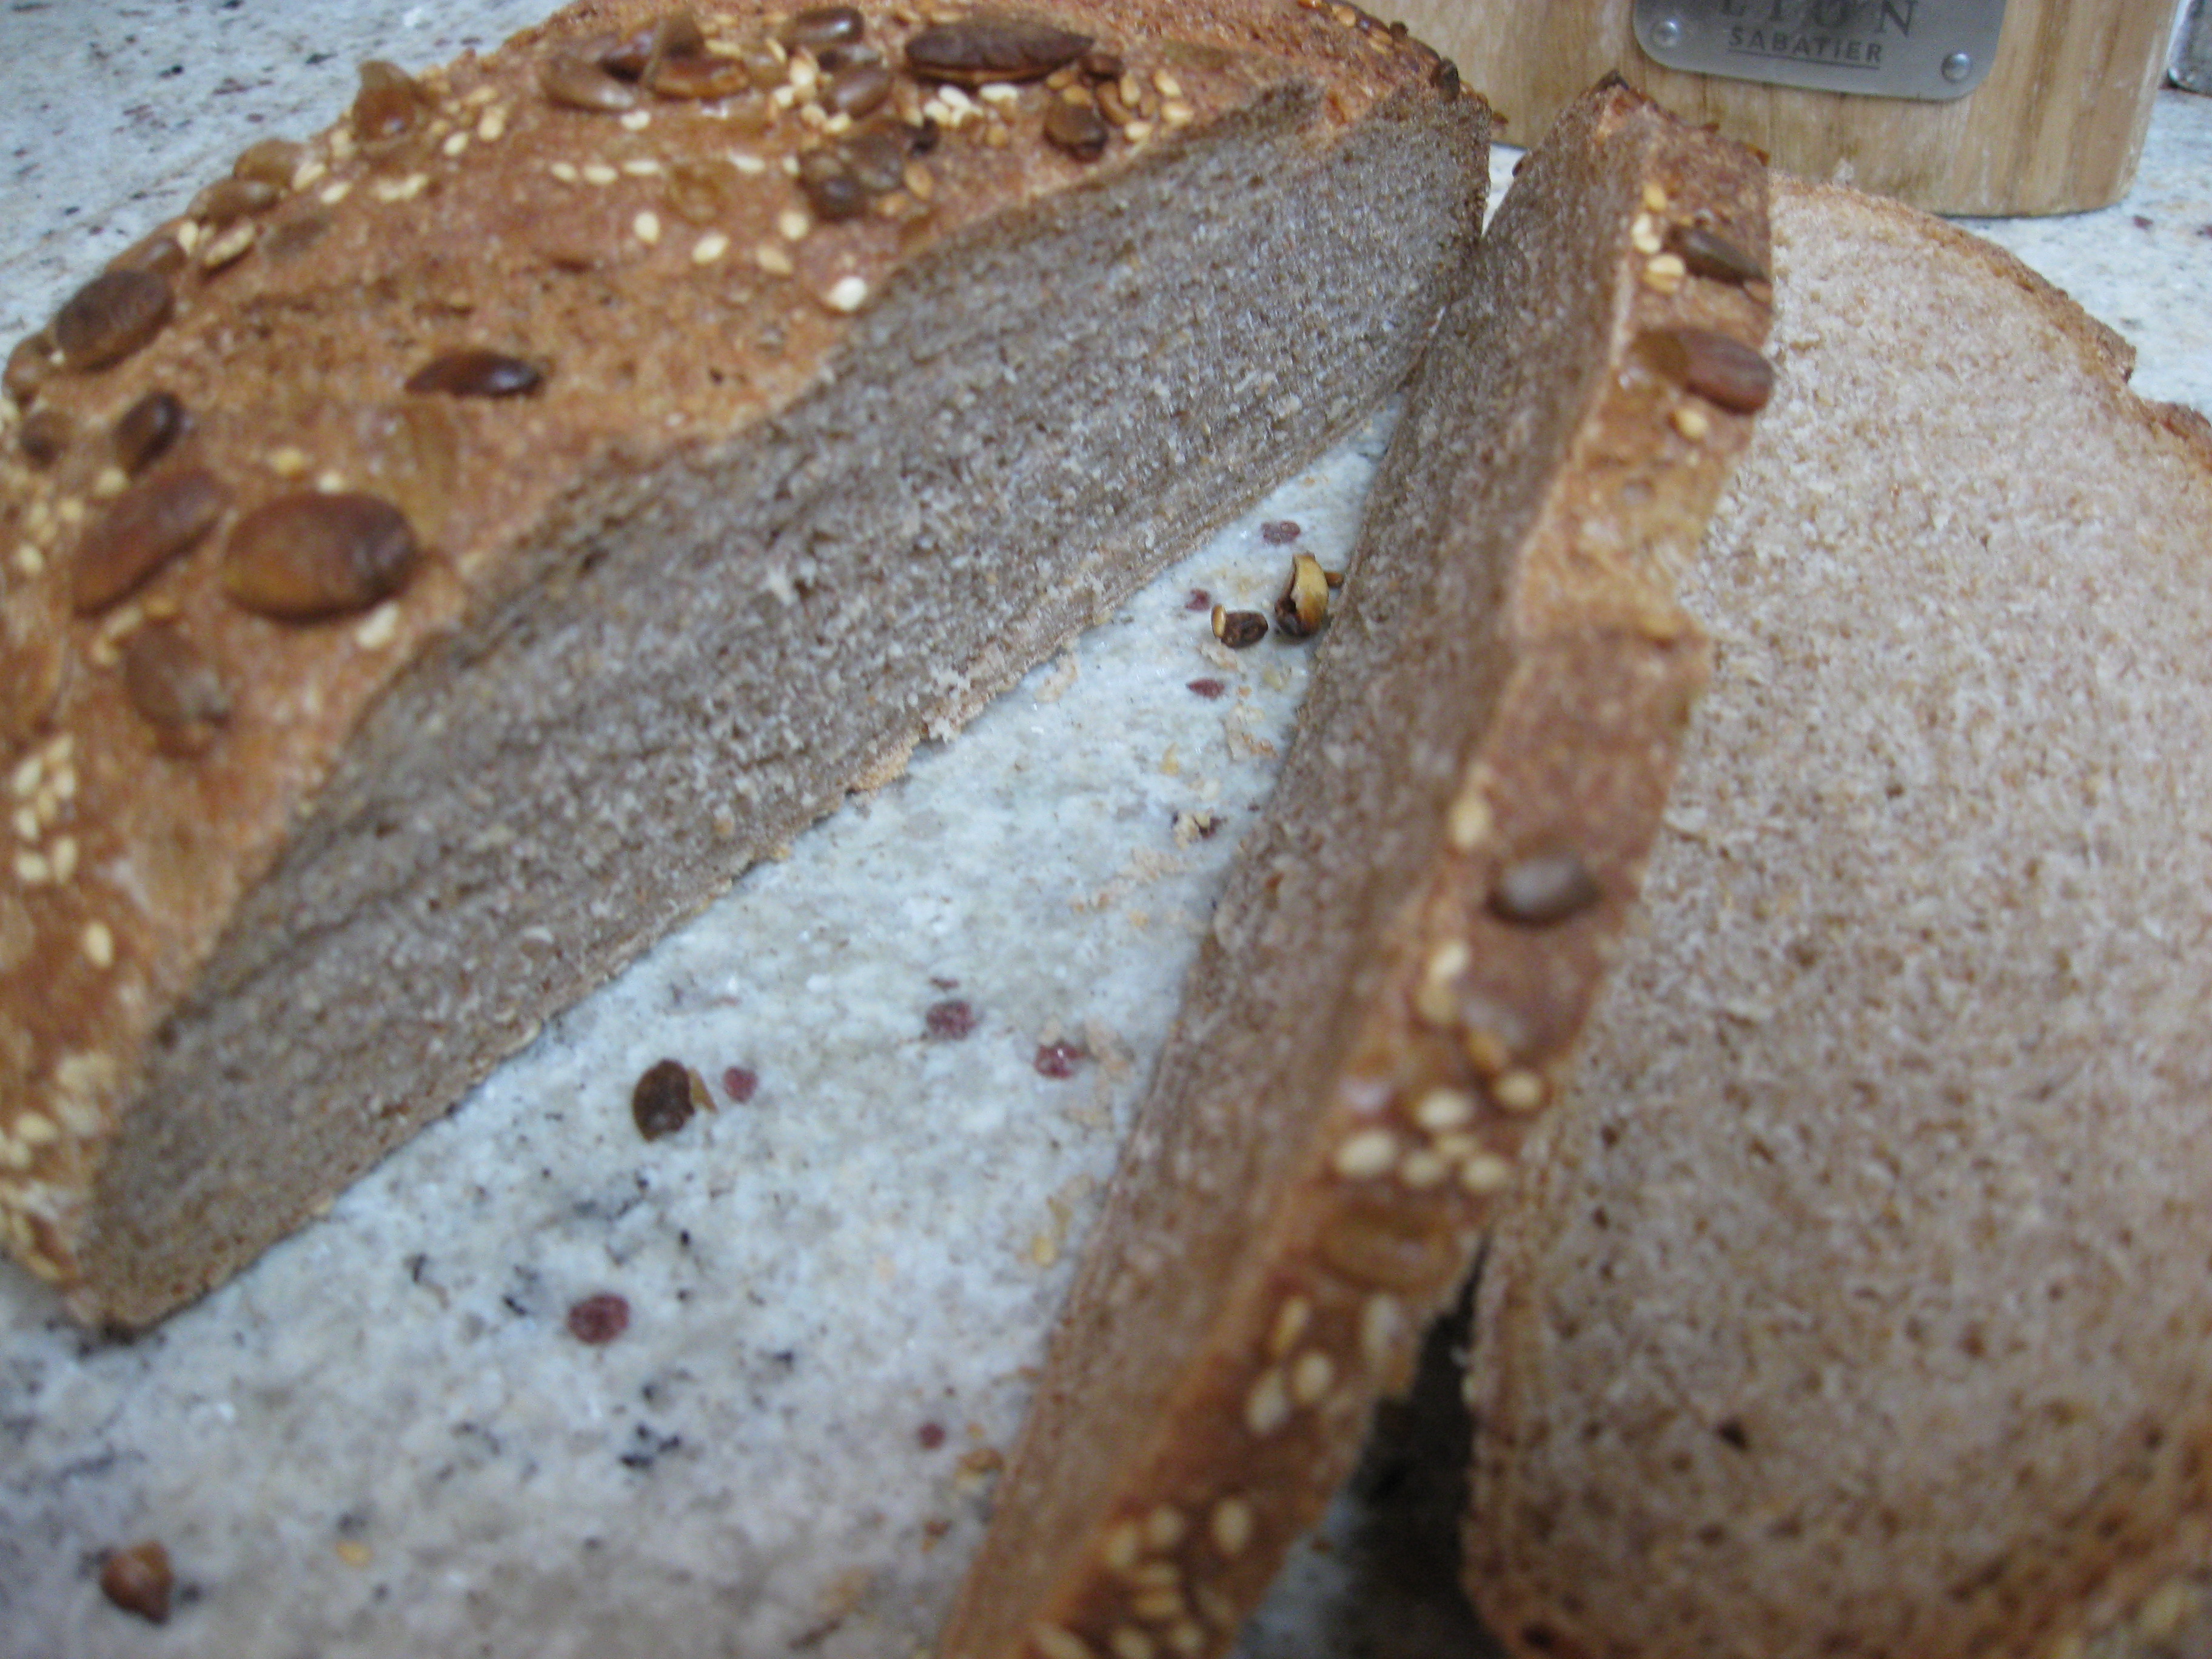
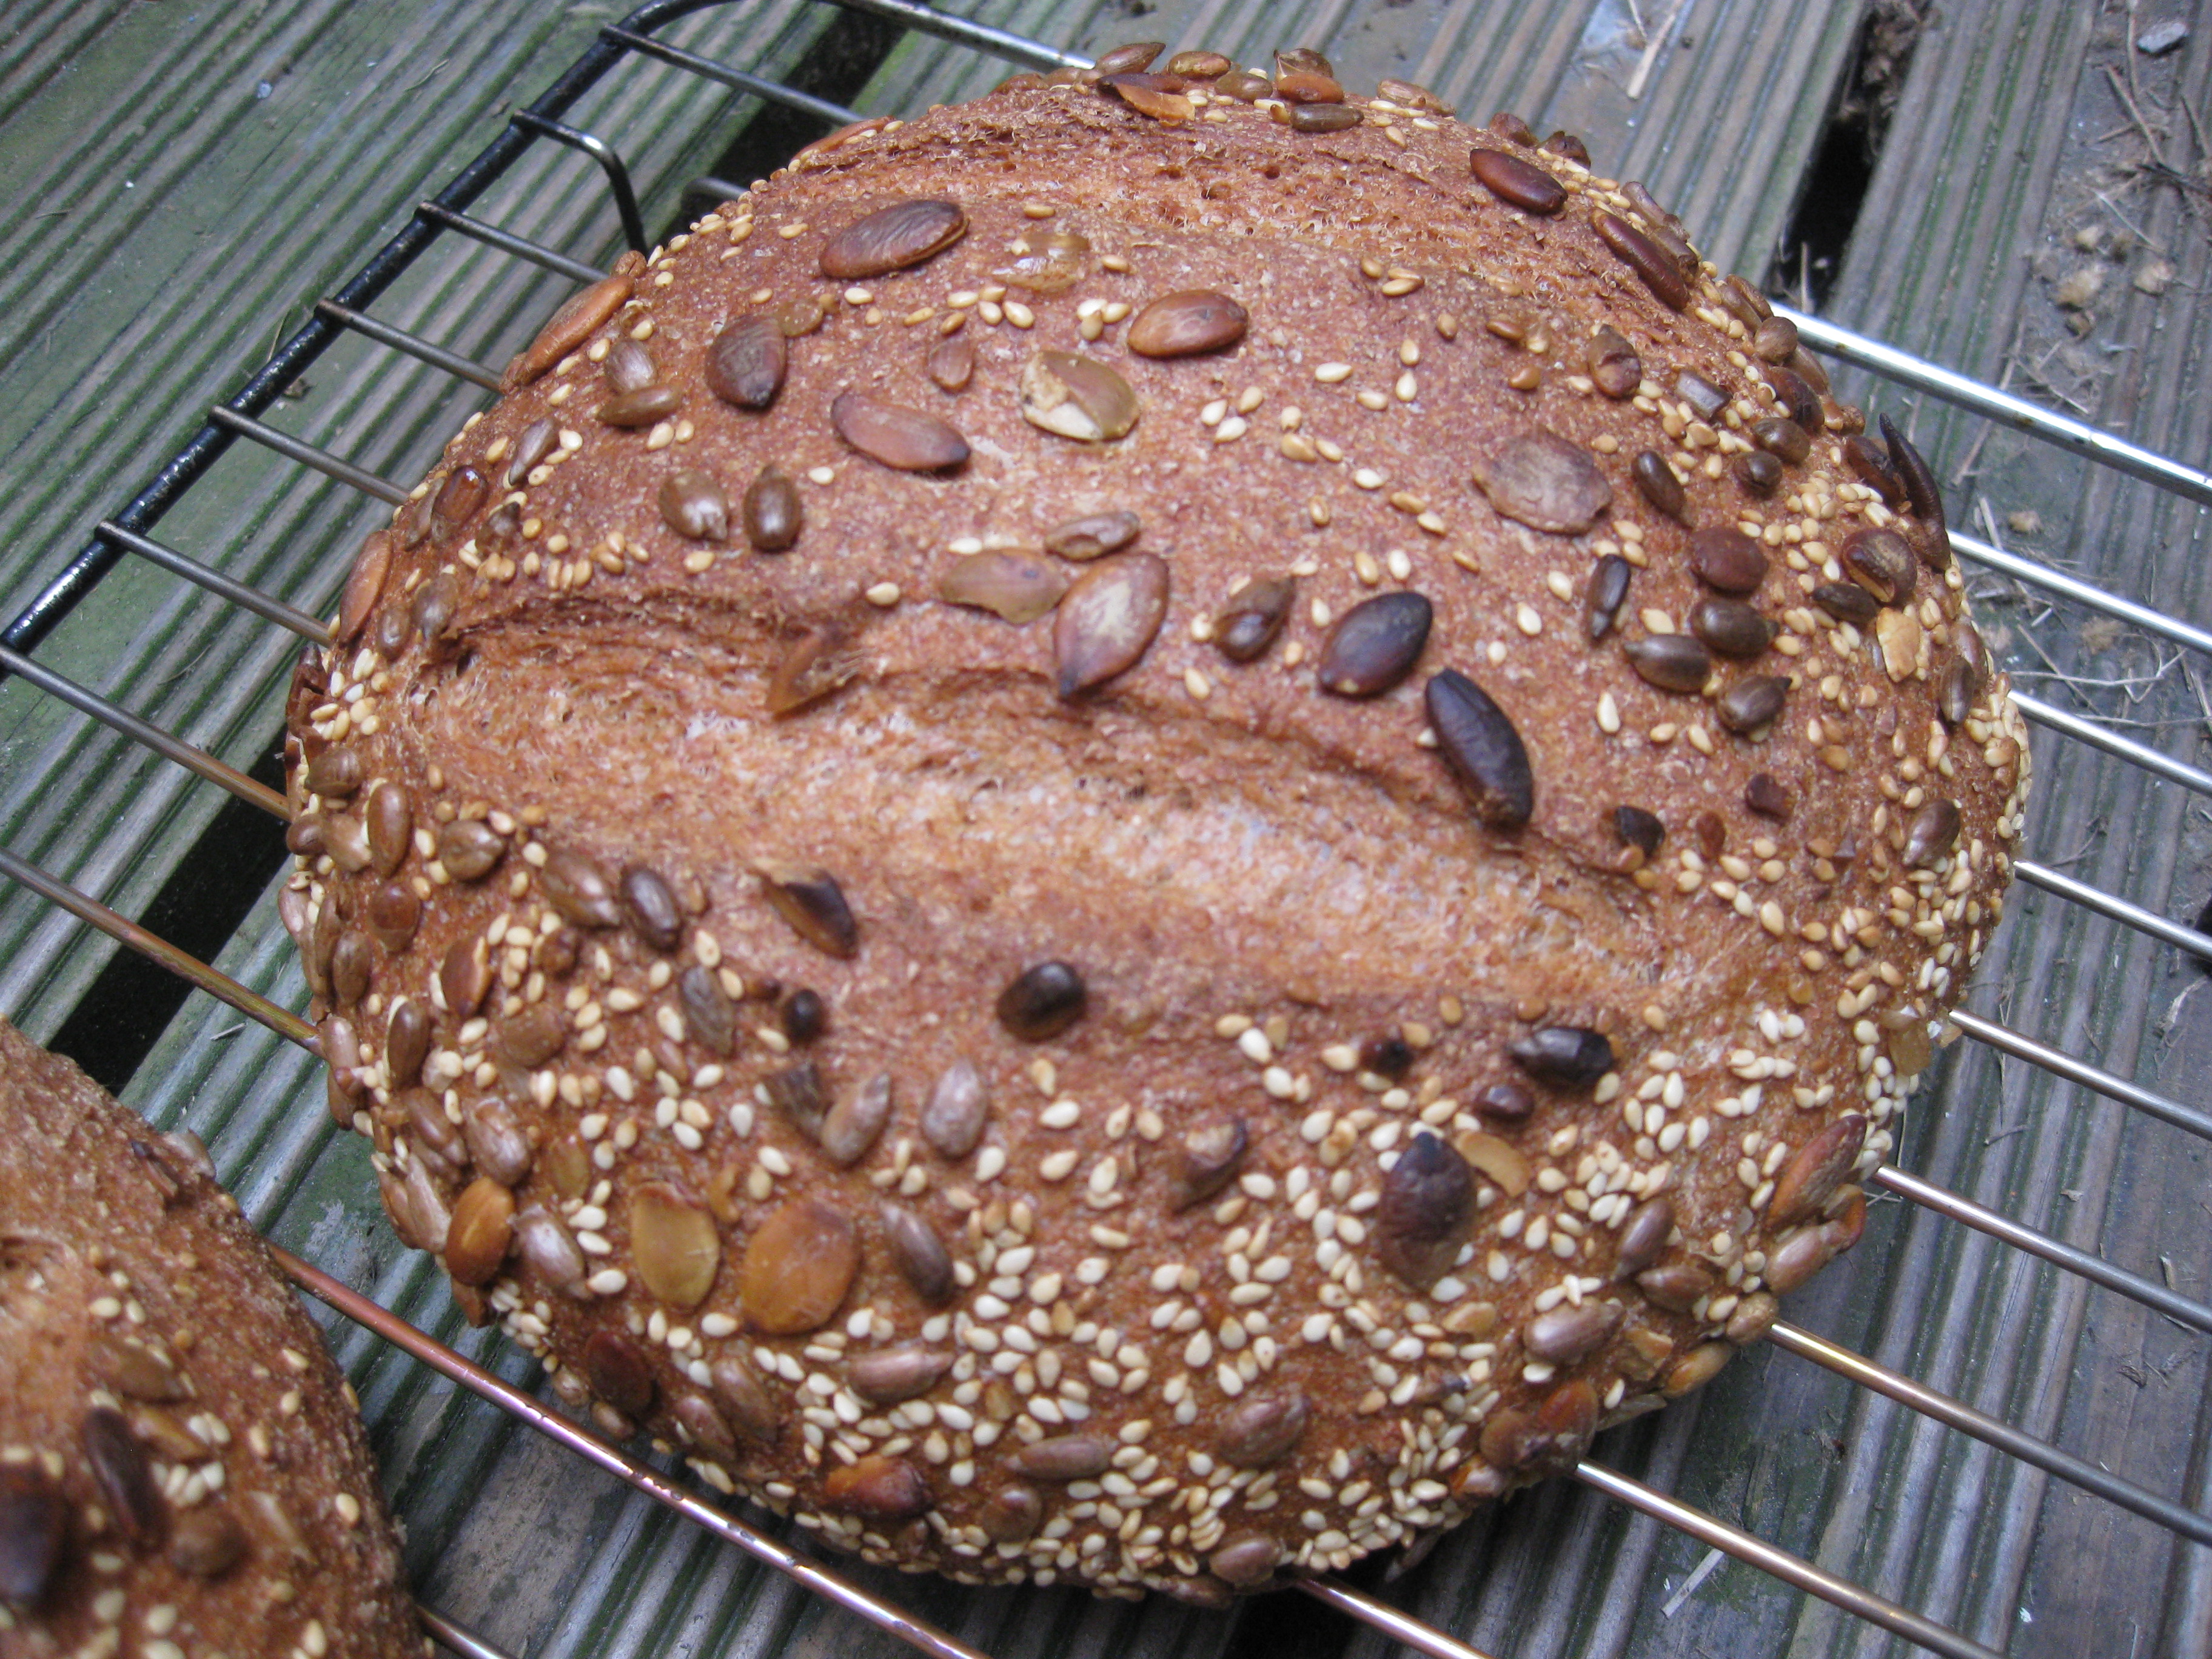
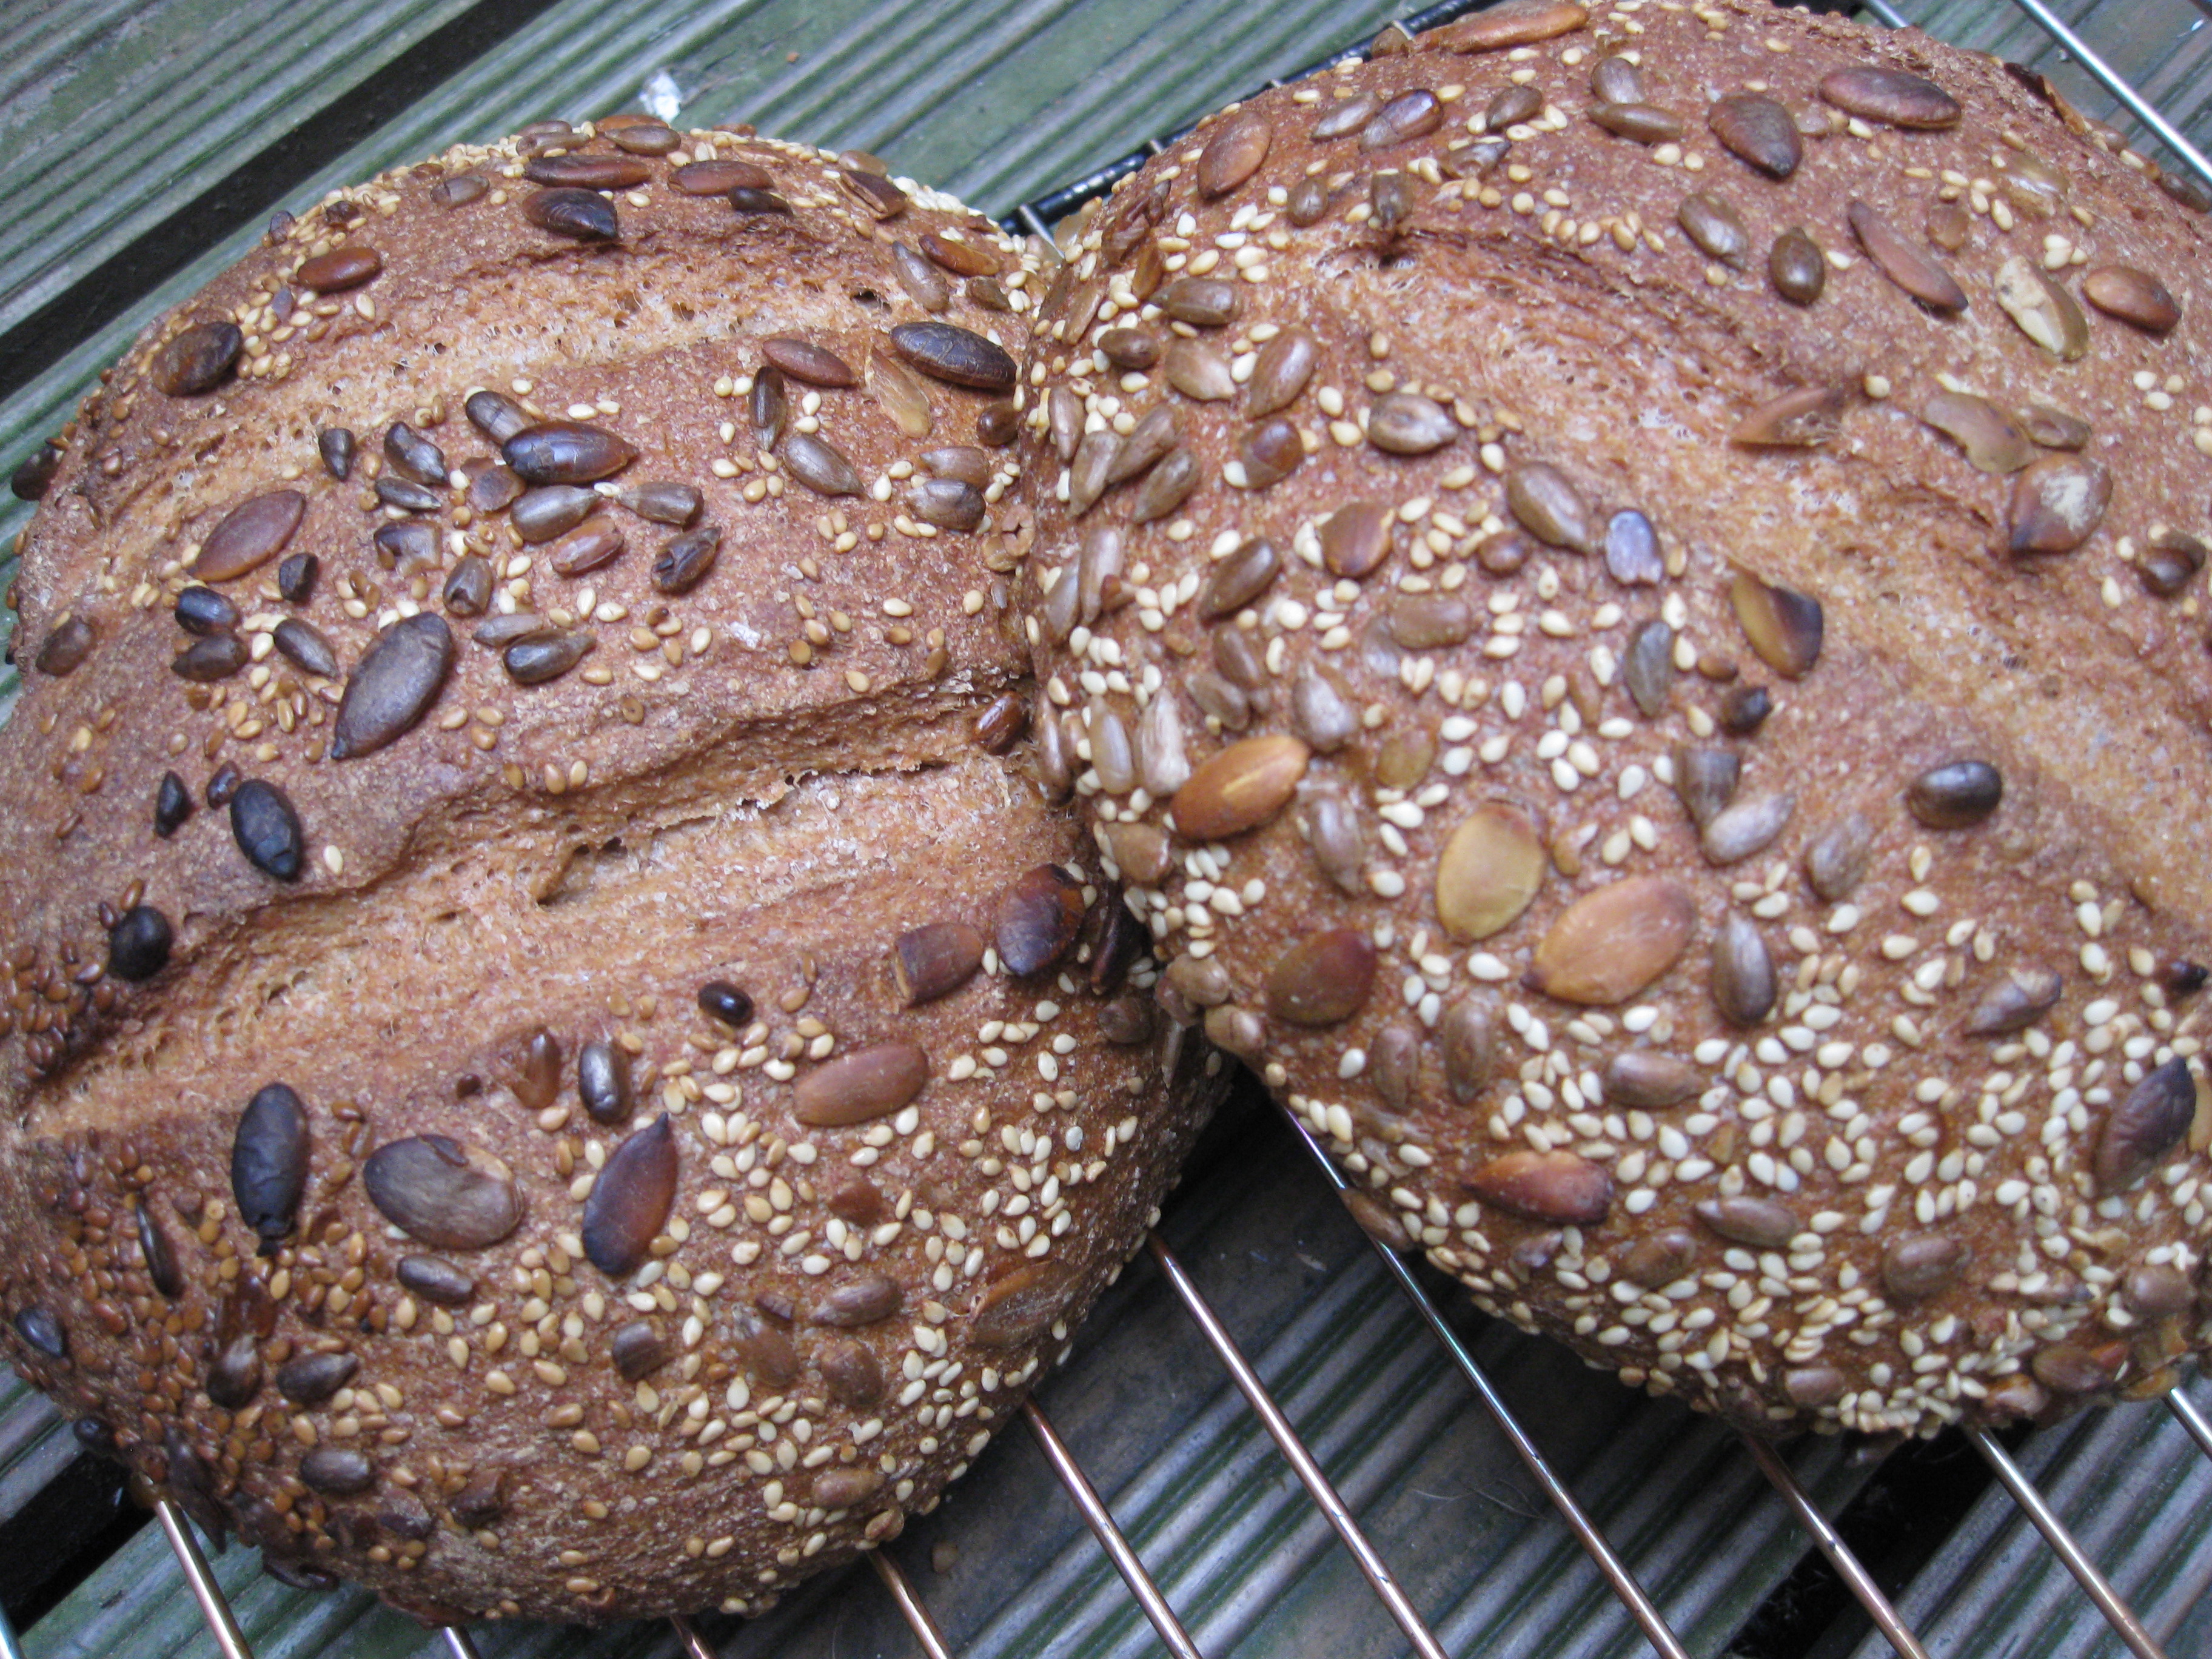
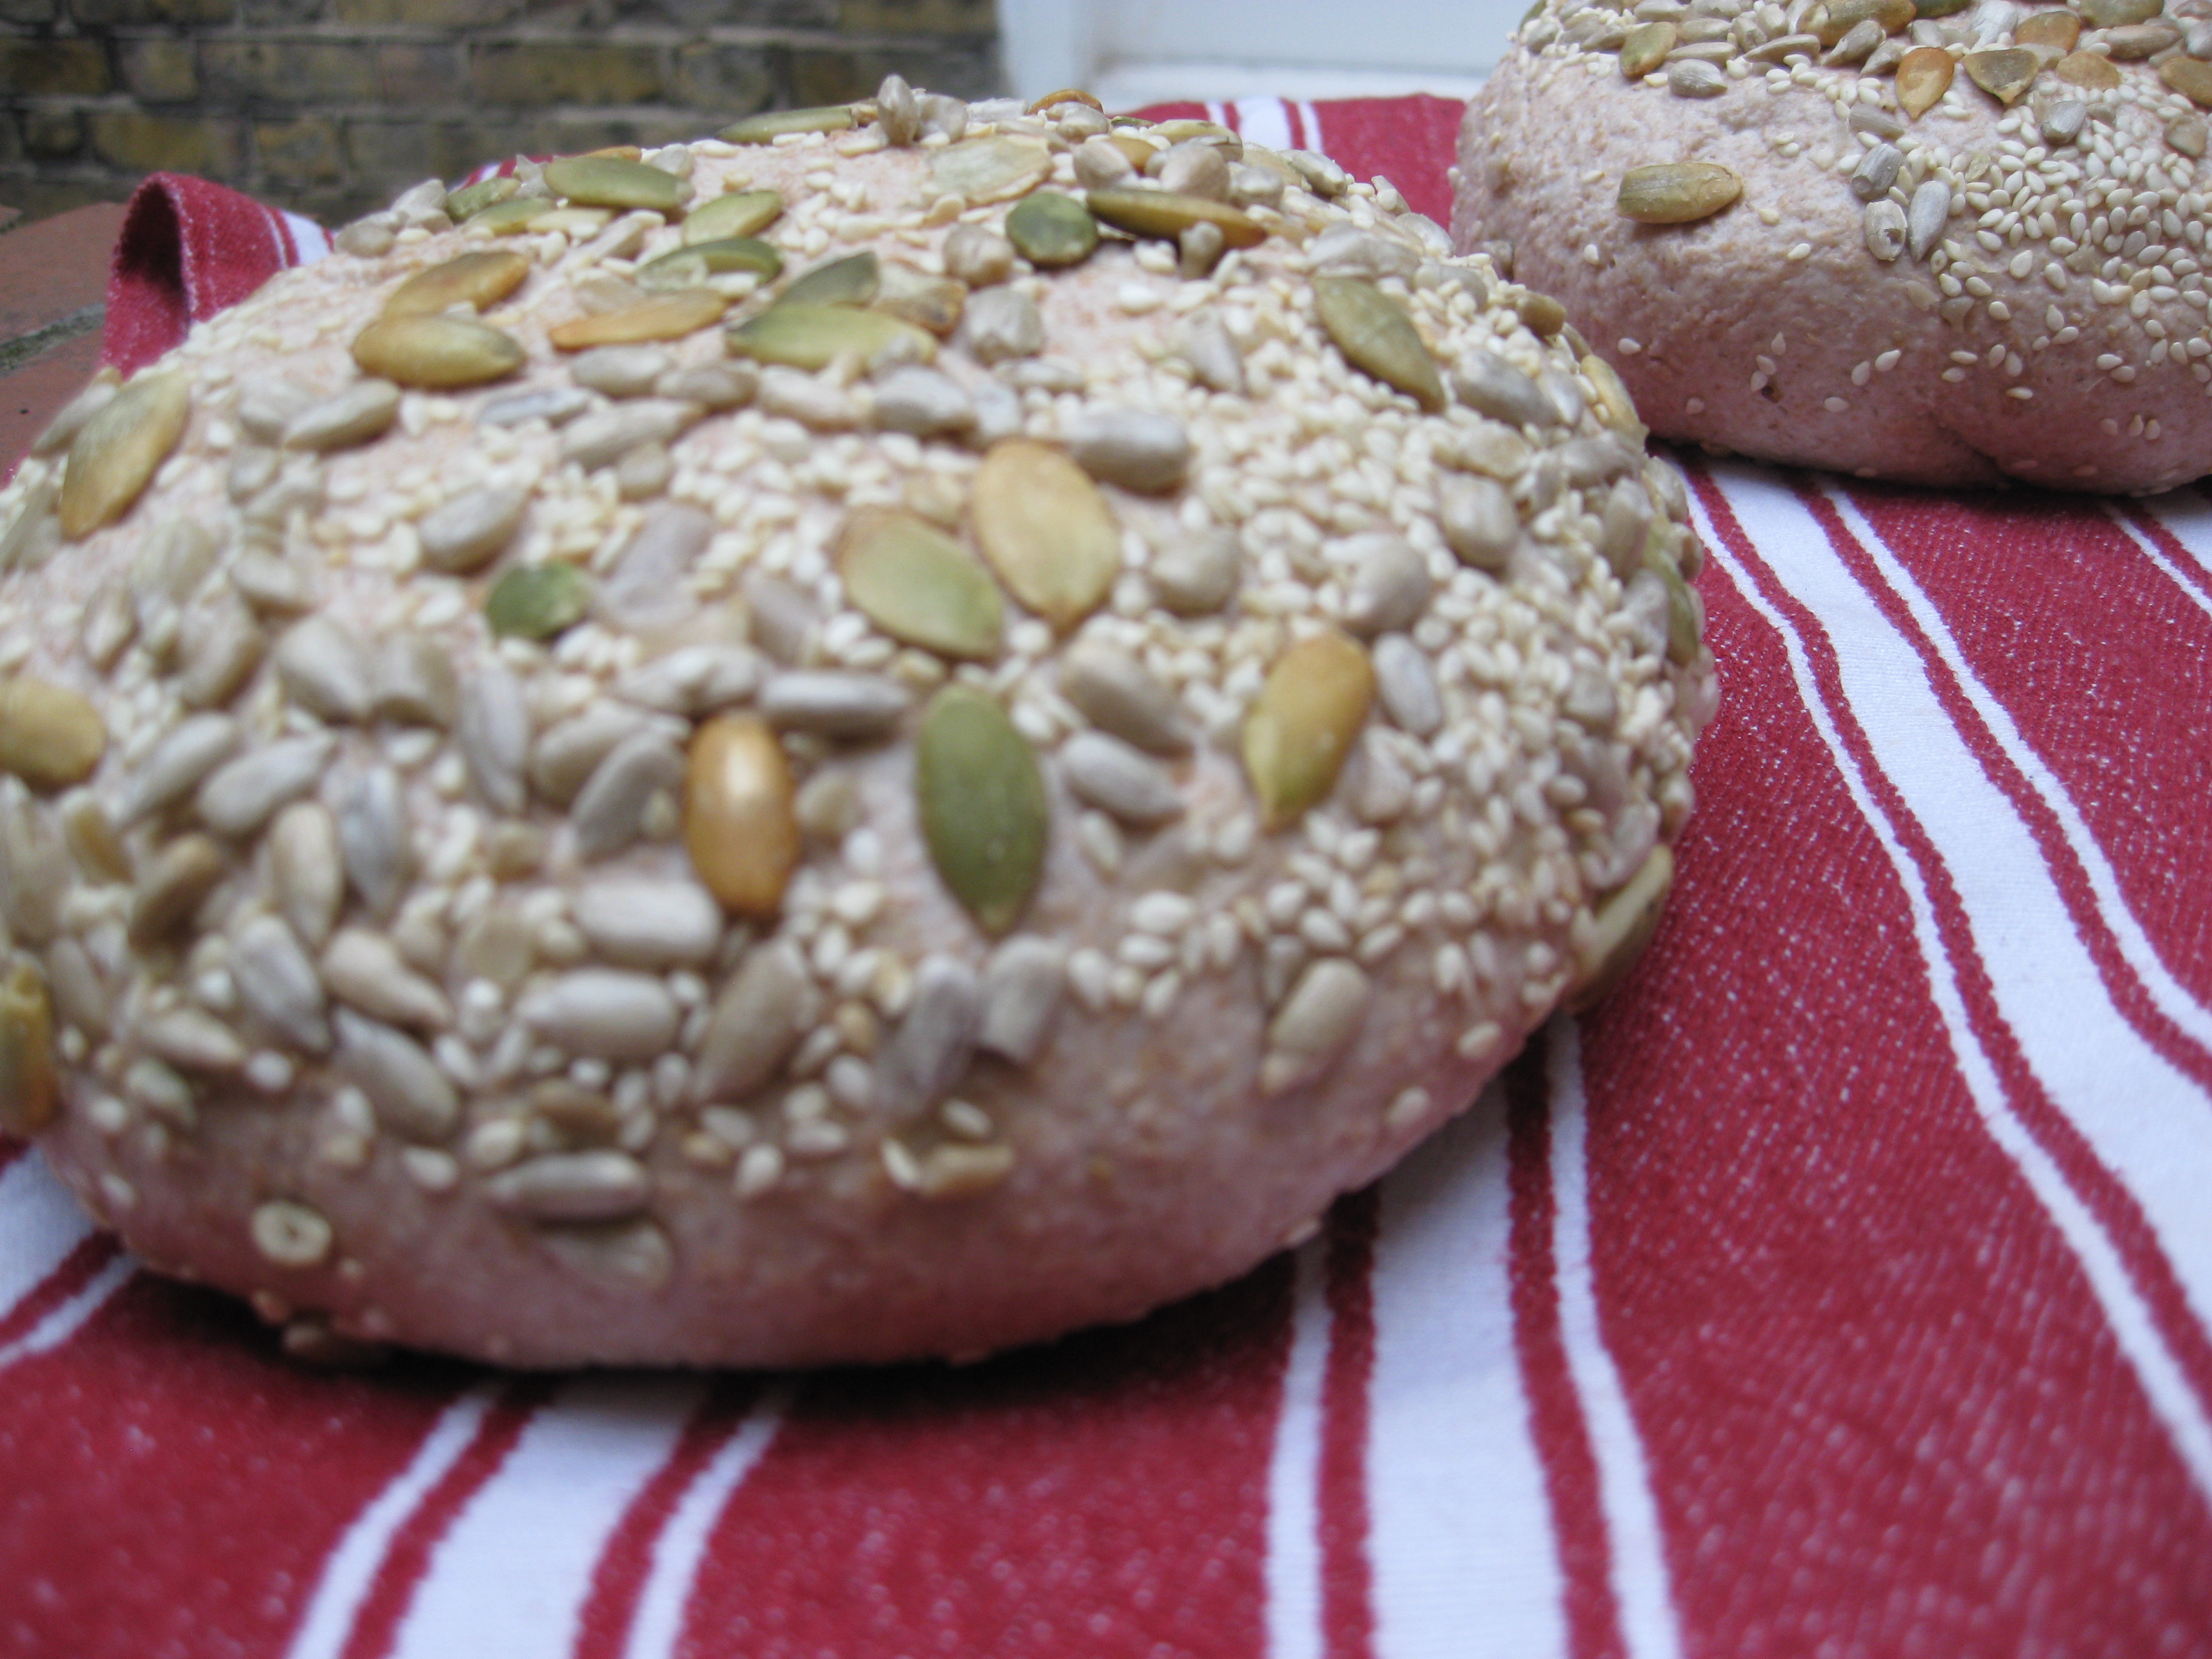
 I had a couple of odds ends of flour, so the mixture isn’t pure spelt – I mixed it up with some strong wholemeal and light brown flours, using my trusty River Cottage Bread Handbook checklist to ensure the right ratio of ingredients. The resulting bread was really interesting – light and slightly chewy in texture with nutty undertones and a beautiful, not-too-thick crust. I allowed the dough to rise twice which I think really helped the lightness, and coated my pair of little loaves in a mixture of toasted sesame and pumpkin seeds which added another dimension of oily crunch.
One top tip – Daniel Stevens advises you steam your loaves as they cook to ensure extra rise and a perfect crust. I’d always ignored this advice thinking it too much effort, but it’s definitely worth those extra few minutes. The steam allows the loaves to rise a little higher before the crust firms up, again helping you towards that ultimate goal of a beautiful light loaf.
Ingredients:
450g wholemeal spelt flour
200g strong wholemeal bread flour
50g light brown flour
7g dried yeast
20g salt
420ml warm water
Mixed toasted seeds (I used mixture of sesame, pumpkin and sunflower)
Mix together the flours, yeast, salt and warm water in a large clean bowl. Once a sticky wet dough is formed, flop it out onto a cool flat worksurface and knead, stretching the gluten away from you, for around 6-8 mins. This is slightly less time than I’d knead a traditional wholemeal loaf, but as per the advice above, spelt needs a little less time. Once a silky, smooth dough is formed, pop it into a clean bowl, wrap in a black bin liner, and leave to double in size (depending on the heat of your room this could be anything up to 2 hours).
Put the oven on full whack – as hot as it goes – with a baking tray or stone inside to warm up. Boil the kettle and keep a small roasting tray to one side. This is for your steam.
Once risen, tip the dough back onto your work surface and press all over. You can then return the dough to the bowl for a second proving if you wish (I did). If using straight away, shape the dough into your desired loaf or loaves – this recipe makes two perfect small loaves or one whopper. If coating, wet the outside of the loaves slightly then roll in the seed mix before placing on a cloth or in a loaf basket to prove – around 20 mins.
When you’re happy that your loaves have proven nicely, cut two fairly deep slashes in the top. This will help them to expand further while cooking. Now work quickly. Transfer the loaves to your hot baking sheet, letting as little heat out the oven as possible. Pour the boiling water into your roasting tray and pop into the bottom shelf of the oven to create some steam.
 After 10 minutes, check the loaves (don’t open the oven before this). If browning quickly, knock the heat down to around 170 degrees C. If only slightly coloured, leave at around 200 degrees C, and set at something in between the two if the loaves are medium coloured. As a rough guideline, two small loaves need around 30 – 40 mins, a larger one up to an hour. A good test is to tap the bottom – if they sound hollow they are pretty much there. If in doubt, overcook slightly – the worst this can do is result in a slightly thicker crust (unless you go crazy and burn them!).
Remove from the oven once cooked and leave to cool on a wire rack. It’s better for the bread not to slice it when warm, but it’s also pretty hard to resist. Perfect as is, or toasted with a thick smear of butter.


Just discovered your blog, and am so glad I did! This spelt bread looks divine. Baking bread is one of life’s purest little delights, isn’t it?
Ah thank you! The spelt was completely delicious – will definitely be making again. And yes, baking is one of life’s greatest pleasures – makes me very happy 🙂
Pingback: Wholemeal courgette flower pot bread: August Fresh from the Oven challenge | thelittleloaf
Pingback: Fougasse two ways: September Fresh from the Oven challenge | thelittleloaf
Pingback: thelittleloaf 2011: A Year in Review | thelittleloaf
Pingback: Crumbs | lardersaga